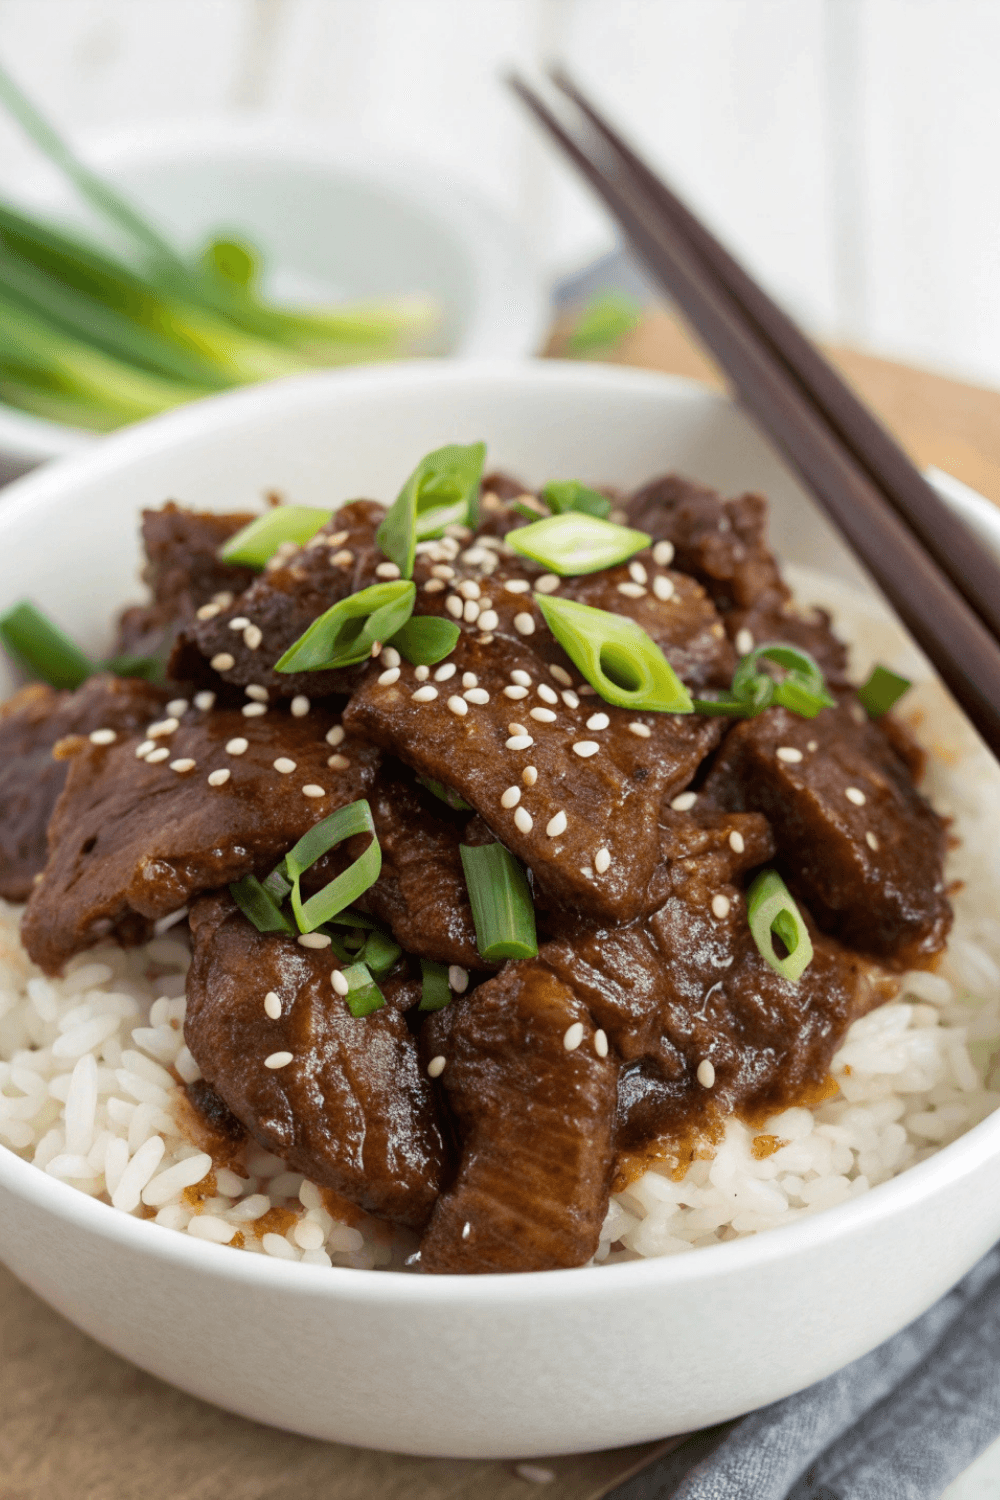
A bold, saucy stir-fry of tender beef in a sweet garlic-soy glaze, ready in under 30 minutes—perfect for a quick weeknight dinner.
🎉 Introduction
Skip the takeout and whip up a homemade version of this 30-Minute Mongolian Beef that’s even better than the restaurant. 🐮🔥 This dish is all about the contrast—crispy seared beef slices coated in a glossy, garlicky soy sauce with just the right balance of sweet and savory.
Paired with fluffy rice or noodles, it’s a satisfying meal that’s lightning-fast and budget-friendly. No fancy ingredients needed—just pantry staples and a hot pan. Let’s bring bold flavor to your table in half an hour!
🛒 Ingredients
🥩 For the Beef
- 1 lb flank steak or sirloin, thinly sliced against the grain
- ¼ cup cornstarch
- 2 tbsp vegetable oil (for searing)
🧄 Sauce
- ½ cup low-sodium soy sauce
- ⅓ cup brown sugar
- ½ cup water
- 4 cloves garlic, minced
- 1 tsp grated fresh ginger
- 2 tsp sesame oil (optional)
🌿 Garnish
- 2 green onions, sliced
- Sesame seeds (optional)
- Cooked rice or noodles, for serving
👩🍳 Directions
Step 1: Prep the Beef
- Toss beef slices with cornstarch until evenly coated. Let sit for 10 minutes—this gives the beef a light crust when cooked.
Step 2: Make the Sauce
- In a bowl or measuring cup, mix soy sauce, brown sugar, water, garlic, ginger, and sesame oil. Set aside.
Step 3: Sear the Beef
- Heat oil in a large skillet or wok over medium-high heat.
- Add beef in batches and sear for 2–3 minutes per side until crispy and browned. Remove to a plate.
Step 4: Simmer the Sauce
- In the same pan, pour in the sauce mixture. Bring to a simmer and cook 3–4 minutes until slightly thickened.
- Return the beef to the pan and toss to coat in the sauce. Heat through for another 2 minutes.
Step 5: Serve
- Serve hot over rice or noodles. Garnish with green onions and sesame seeds.
🍽️ Servings & Timing
- Servings: 4
- Prep Time: 10 minutes
- Cook Time: 20 minutes
- Total Time: ~30 minutes
🥄 Variations
- Spicy Kick: Add red pepper flakes or a squirt of sriracha
- Vegetable Boost: Add broccoli, bell peppers, or snap peas
- Gluten-Free: Use tamari or coconut aminos instead of soy sauce
- Sweeter Version: Increase brown sugar slightly or add a touch of hoisin sauce
- Crispy: Double-sear beef for extra crunch before adding back to the sauce
🧊 Storage & Reheating
- Fridge: Store in an airtight container up to 4 days
- Freezer: Freeze cooled beef and sauce for up to 2 months
- Reheat: Microwave or warm in a skillet with a splash of water or broth to loosen the sauce
❓ 10 FAQs
- What’s the best cut of beef?
Flank steak or sirloin for tenderness—slice thin against the grain. - Why use cornstarch?
It gives the beef a crispy edge and helps thicken the sauce. - Can I make this ahead of time?
Yes—make the sauce and prep the beef in advance for a quick cook later. - Is this dish very sweet?
It’s mildly sweet—reduce brown sugar for a more savory result. - Can I use chicken instead?
Absolutely—thin sliced chicken breast or thighs work great. - What’s the difference from other stir-fries?
The sauce is more caramelized and the beef is often crispier. - Can I add veggies?
Yes—broccoli and bell peppers pair wonderfully. - Do I need sesame oil?
It adds aroma but can be skipped or replaced with neutral oil. - How do I get the beef really tender?
Slice thinly across the grain and don’t overcook! - Can I double the sauce?
Yes! Especially if serving with noodles or rice.
🏁 Conclusion
This 30-Minute Mongolian Beef is bold, comforting, and unbelievably quick. Crispy strips of beef coated in a sweet-savory garlic-soy glaze hit all the right notes. Whether you’re cooking for the family or just yourself, it’s a no-stress recipe that brings takeout flavor home. 🍜🥢
30-Minute Mongolian Beef – Sweet, Savory, and Speedy
Ingredients
Method
- Toss beef slices with cornstarch until evenly coated. Let sit for 10 minutes—this gives the beef a light crust when cooked.
- In a bowl or measuring cup, mix soy sauce, brown sugar, water, garlic, ginger, and sesame oil. Set aside.
- Heat oil in a large skillet or wok over medium-high heat.
- Add beef in batches and sear for 2–3 minutes per side until crispy and browned. Remove to a plate.
- In the same pan, pour in the sauce mixture. Bring to a simmer and cook 3–4 minutes until slightly thickened.
- Return the beef to the pan and toss to coat in the sauce. Heat through for another 2 minutes.
- Step 5: Serve
- Serve hot over rice or noodles. Garnish with green onions and sesame seeds.
Notes
Spicy Kick: Add red pepper flakes or a squirt of sriracha Vegetable Boost: Add broccoli, bell peppers, or snap peas Gluten-Free: Use tamari or coconut aminos instead of soy sauce Sweeter Version: Increase brown sugar slightly or add a touch of hoisin sauce Crispy: Double-sear beef for extra crunch before adding back to the sauce 🧊 Storage & Reheating
Fridge: Store in an airtight container up to 4 days Freezer: Freeze cooled beef and sauce for up to 2 months Reheat: Microwave or warm in a skillet with a splash of water or broth to loosen the sauce ❓ 10 FAQs
What’s the best cut of beef?
Flank steak or sirloin for tenderness—slice thin against the grain. Why use cornstarch?
It gives the beef a crispy edge and helps thicken the sauce. Can I make this ahead of time?
Yes—make the sauce and prep the beef in advance for a quick cook later. Is this dish very sweet?
It’s mildly sweet—reduce brown sugar for a more savory result. Can I use chicken instead?
Absolutely—thin sliced chicken breast or thighs work great. What’s the difference from other stir-fries?
The sauce is more caramelized and the beef is often crispier. Can I add veggies?
Yes—broccoli and bell peppers pair wonderfully. Do I need sesame oil?
It adds aroma but can be skipped or replaced with neutral oil. How do I get the beef really tender?
Slice thinly across the grain and don’t overcook! Can I double the sauce?
Yes! Especially if serving with noodles or rice. 🏁 Conclusion
This 30-Minute Mongolian Beef is bold, comforting, and unbelievably quick. Crispy strips of beef coated in a sweet-savory garlic-soy glaze hit all the right notes. Whether you’re cooking for the family or just yourself, it’s a no-stress recipe that brings takeout flavor home. 🍜🥢


