🎉 Introduction
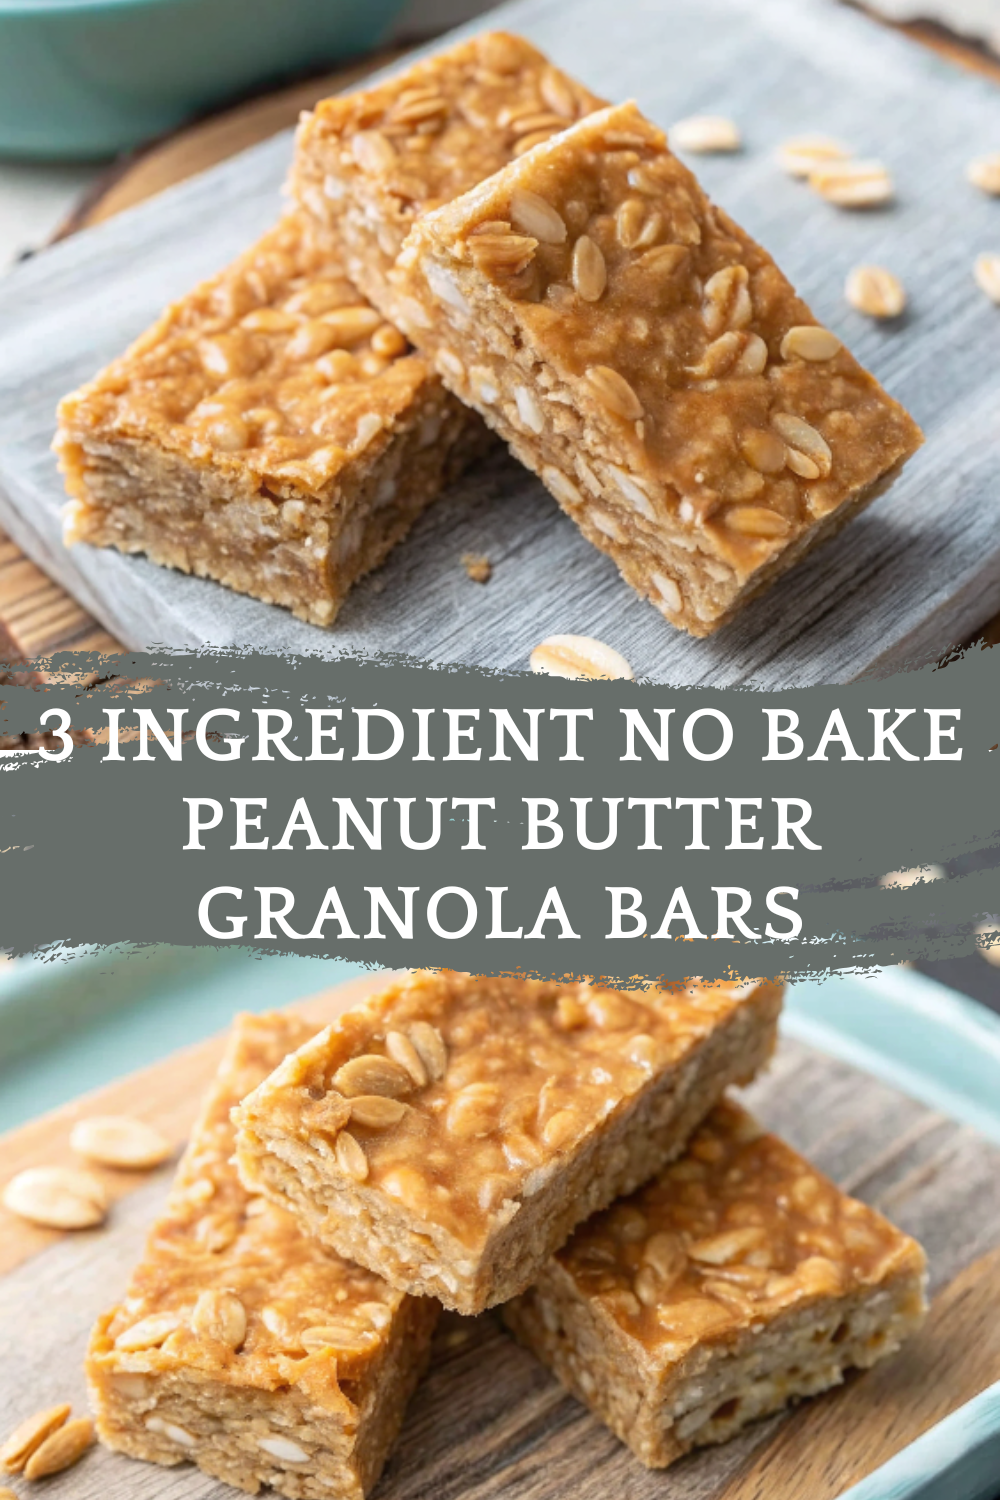
Sometimes the best recipes are the simplest ones. These 3 Ingredient No Bake Peanut Butter Granola Bars are proof that you don’t need a long list of ingredients or fancy techniques to make a delicious, wholesome snack. With just peanut butter, oats, and sweetener, you can whip up chewy, protein-packed bars that are perfect for breakfast on the go, post-workout fuel, or an afternoon pick-me-up.
No baking required means they’re fast, fuss-free, and kid-friendly — a great option to keep in the fridge for healthy snacking all week long.
🧰 Equipment Needed
- Mixing bowl
- Measuring cups and spoons
- Spatula or wooden spoon
- 8×8-inch baking dish
- Parchment paper
- Refrigerator for chilling
🛒 Ingredients
- 2 ½ cups rolled oats (use certified gluten-free if needed)
- 1 cup natural creamy peanut butter
- ½ cup honey or maple syrup
Optional add-ins:
- ¼ cup mini chocolate chips
- ¼ cup chopped nuts or seeds
- Pinch of salt (if peanut butter is unsalted)
👩🍳 Directions
Step 1: Line an 8×8-inch baking dish with parchment paper, leaving extra overhang for easy removal.
Step 2: In a mixing bowl, stir together peanut butter and honey (or maple syrup) until smooth.
Step 3: Add rolled oats and mix until well combined. The mixture should be sticky but easy to press.
Step 4: Transfer mixture to the prepared baking dish. Use a spatula or your hands to press it down firmly and evenly.
Step 5: Optional: Sprinkle mini chocolate chips or nuts on top and press lightly into the surface.
Step 6: Refrigerate for at least 1–2 hours, or until firm.
Step 7: Lift out using parchment overhang and slice into bars.
Step 8: Store in the fridge for grab-and-go snacking.
🍽️ Servings & Timing
- Servings: 12 bars
- Prep time: 10 minutes
- Chill time: 2 hours
- Total time: 2 hours 10 minutes
🧊 Storage & Reheating
- Room temperature: Store in an airtight container for up to 2 days (softer texture).
- Refrigerator: Keeps for up to 1 week.
- Freezer: Store for up to 2 months. Thaw in the fridge before eating.
- Reheating: Not needed — enjoy chilled or room temp.
🥄 Variations
- Almond version: Swap peanut butter for almond butter.
- Vegan option: Use maple syrup instead of honey.
- Chocolate lovers: Stir in cocoa powder or drizzle melted chocolate on top.
- Protein boost: Add 2 tablespoons of protein powder.
- Nut-free: Use sunflower seed butter for a school-safe snack.
❓ 10 FAQs
- Can I use quick oats instead of rolled oats?
– Yes, though the bars will be softer. - Do I need to heat the mixture?
– Not usually, but warming peanut butter and honey slightly can make mixing easier. - Can I make these gluten-free?
– Yes, just use certified gluten-free oats. - Can I use chunky peanut butter?
– Absolutely, it adds extra crunch. - How do I keep the bars from crumbling?
– Press firmly into the pan and chill thoroughly before slicing. - Can I use agave instead of honey or maple syrup?
– Yes, agave works too. - Can I add dried fruit?
– Yes, raisins, cranberries, or chopped dates are great mix-ins. - Do kids like these?
– Definitely! They’re chewy, sweet, and fun to help make. - Can I double the recipe?
– Yes, use a 9×13-inch pan for a double batch. - Do they hold up well in lunchboxes?
– Yes, but they’re best stored cold to stay firm.
🏁 Conclusion
These 3 Ingredient No Bake Peanut Butter Granola Bars are everything you want in a snack — simple, healthy, and delicious. With chewy oats, creamy peanut butter, and a touch of natural sweetness, they’re quick to prepare and perfect for meal prep. Keep a batch in your fridge or freezer, and you’ll always have a wholesome snack ready to go.
3 Ingredient No Bake Peanut Butter Granola Bars | Easy Healthy Snack
Ingredients
Equipment
Method
Notes
– Yes, though the bars will be softer. Do I need to heat the mixture?
– Not usually, but warming peanut butter and honey slightly can make mixing easier. Can I make these gluten-free?
– Yes, just use certified gluten-free oats. Can I use chunky peanut butter?
– Absolutely, it adds extra crunch. How do I keep the bars from crumbling?
– Press firmly into the pan and chill thoroughly before slicing. Can I use agave instead of honey or maple syrup?
– Yes, agave works too. Can I add dried fruit?
– Yes, raisins, cranberries, or chopped dates are great mix-ins. Do kids like these?
– Definitely! They’re chewy, sweet, and fun to help make. Can I double the recipe?
– Yes, use a 9×13-inch pan for a double batch. Do they hold up well in lunchboxes?
– Yes, but they’re best stored cold to stay firm. 🏁 Conclusion
These 3 Ingredient No Bake Peanut Butter Granola Bars are everything you want in a snack — simple, healthy, and delicious. With chewy oats, creamy peanut butter, and a touch of natural sweetness, they’re quick to prepare and perfect for meal prep. Keep a batch in your fridge or freezer, and you’ll always have a wholesome snack ready to go.


