🎉 Introduction
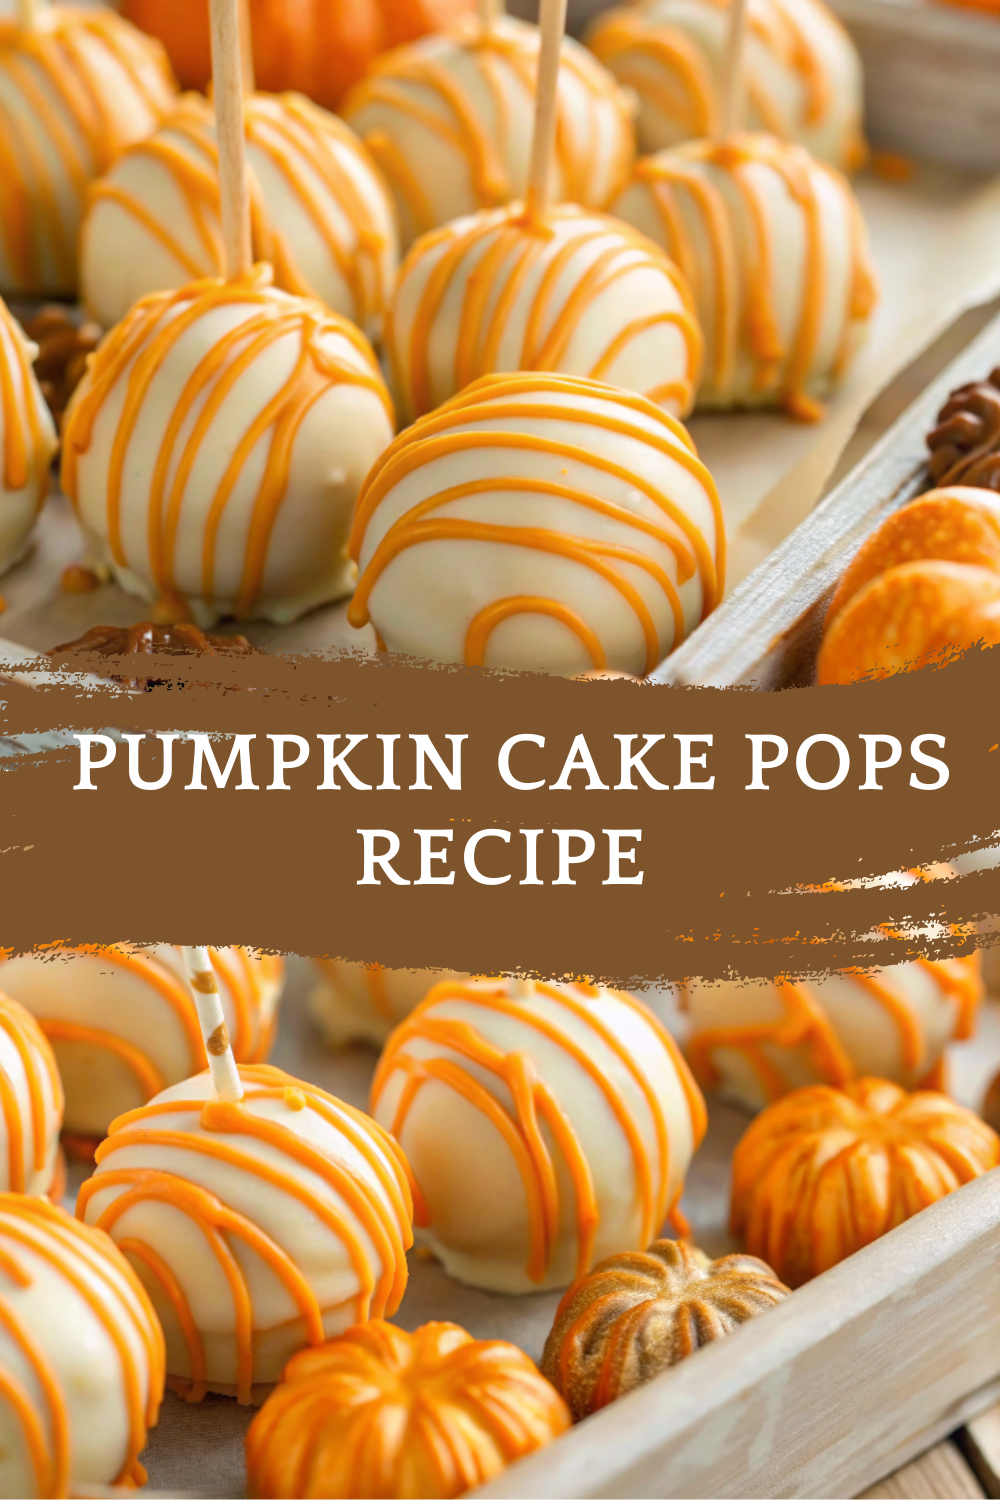
Cake pops are already fun, but when you add the cozy flavor of pumpkin spice and shape them into pumpkins, they become the ultimate fall treat! These Pumpkin Cake Pops are soft, sweet, and perfectly spiced on the inside, coated in smooth candy melts on the outside, and decorated with adorable stems and leaves.
Perfect for kids, parties, school events, or Halloween dessert tables, pumpkin cake pops are both delicious and eye-catching. They’re bite-sized, easy to hold, and a great way to enjoy pumpkin cake in a new, creative form.
🧰 Equipment Needed
- Mixing bowls
- Electric mixer or whisk
- Spatula
- Baking sheet
- Parchment paper
- Cake pop sticks (or lollipop sticks)
- Microwave-safe bowls (for melting chocolate/candy melts)
- Styrofoam block or cake pop stand (for drying)
- Small piping bag or zip-top bag (for decorations)
🛒 Ingredients
For the cake base:
- 1 ½ cups all-purpose flour
- 1 cup granulated sugar
- 1 tsp baking soda
- ½ tsp baking powder
- 1 ½ tsp pumpkin spice
- ½ tsp cinnamon
- ½ tsp salt
- 2 large eggs
- 1 cup pumpkin puree (not pumpkin pie filling)
- ½ cup vegetable oil
- 1 tsp vanilla extract
For the frosting (binder):
- 4 oz cream cheese, softened
- 2 tbsp butter, softened
- 1 cup powdered sugar
- ½ tsp vanilla extract
For coating & decorating:
- Orange candy melts (or white chocolate with orange food coloring)
- Green candy melts (or green icing)
- Pretzel sticks (for stems)
- Leaf-shaped sprinkles or piped green icing leaves
👩🍳 Directions
Step 1: Bake the pumpkin cake
Preheat oven to 350°F (175°C). In a bowl, whisk together flour, sugar, baking soda, baking powder, pumpkin spice, cinnamon, and salt. In another bowl, whisk eggs, pumpkin puree, oil, and vanilla. Combine wet and dry ingredients until smooth. Pour into a greased 9×9-inch baking pan and bake for 25–28 minutes. Let cool completely.
Step 2: Make the frosting
In a medium bowl, beat softened cream cheese, butter, powdered sugar, and vanilla until creamy.
Step 3: Form the cake pop dough
Crumble the cooled cake into fine crumbs. Mix in a few spoonfuls of frosting until the mixture is moist and can hold its shape.
Step 4: Shape into pumpkins
Scoop out tablespoon-sized portions and roll into balls. Slightly flatten the top and bottom, then use a toothpick to make small vertical indentations around the sides to resemble a pumpkin. Place on a parchment-lined baking sheet. Refrigerate for 1 hour (or freeze 20 minutes) to firm up.
Step 5: Insert sticks
Melt a little orange candy melt. Dip each cake pop stick tip into the melted coating, then insert halfway into each pumpkin cake ball. This helps secure the stick. Chill for 10 minutes.
Step 6: Coat with candy melts
Melt the orange candy melts in the microwave in 20-second intervals, stirring until smooth. Dip each cake pop fully into the orange coating, letting excess drip off. Place upright in a Styrofoam block to dry.
Step 7: Decorate as pumpkins
Insert a small piece of pretzel stick on top for the stem. Use melted green candy melts (piped from a bag) or sprinkles to make tiny pumpkin leaves and vines.
Step 8: Serve and enjoy
Allow decorations to set. Display your pumpkin cake pops on a platter or as a cake pop bouquet. Serve and enjoy!
🍽️ Servings & Timing
- Servings: ~20 cake pops
- Prep Time: 40 minutes
- Bake Time: 25 minutes
- Chill Time: 1 hour
- Total Time: ~2 hours
🧊 Storage & Reheating
- Store in an airtight container at room temperature for up to 3 days.
- Refrigerate for up to 1 week.
- Freeze undecorated cake pop centers for up to 2 months. Thaw before coating.
🥄 Variations
- Chocolate Pumpkins: Use chocolate cake instead of pumpkin for variety.
- Jack-O’-Lantern Pops: Draw faces on the pumpkins with black food-safe markers or melted chocolate.
- Mini Pumpkins: Make smaller pops for bite-sized party treats.
- Gluten-Free Version: Use a gluten-free flour blend.
- Healthier Option: Reduce sugar and use Greek yogurt in the cake base.
❓ 10 FAQs
- Do I need a cake pop mold? – No, hand-shaping works perfectly.
- Why are my cake pops falling off the stick? – Make sure to chill them and dip sticks in candy melts before inserting.
- Can I skip the frosting? – You need it to bind the crumbs, but you can use less for a firmer texture.
- Can I make them ahead? – Yes, store decorated pops in the fridge for up to 3 days.
- What if I don’t have candy melts? – Use white chocolate with oil-based food coloring.
- Can I freeze finished cake pops? – Yes, but condensation may affect the coating. Best frozen undecorated.
- What can I use instead of pretzels for stems? – Green fondant or candy sticks.
- Can I use store-bought cake? – Yes, just crumble it and mix with frosting.
- Are these safe for kids to make? – Yes, kids can help roll and decorate, but adults should handle melting chocolate.
- How long do they take to set? – Candy coating sets in about 15–20 minutes at room temp.
🏁 Conclusion
These Pumpkin Cake Pops are festive, fun, and guaranteed to be the star of your fall dessert table. With their spiced pumpkin flavor and creamy coating, they’re a perfect blend of flavor and creativity. Not only are they delicious, but they’re also a hands-on activity that kids will love helping with—rolling, dipping, and decorating their own little pumpkins.
Whether you’re hosting a Halloween bash, a Thanksgiving dinner, or just want a seasonal treat, pumpkin cake pops are the perfect sweet bite to celebrate autumn.
Pumpkin Cake Pops Recipe | Cute & Festive Fall Dessert
Ingredients
Equipment
Method
- Preheat oven to 350°F (175°C). In a bowl, whisk together flour, sugar, baking soda, baking powder, pumpkin spice, cinnamon, and salt. In another bowl, whisk eggs, pumpkin puree, oil, and vanilla. Combine wet and dry ingredients until smooth. Pour into a greased 9×9-inch baking pan and bake for 25–28 minutes. Let cool completely.
- In a medium bowl, beat softened cream cheese, butter, powdered sugar, and vanilla until creamy.
- Crumble the cooled cake into fine crumbs. Mix in a few spoonfuls of frosting until the mixture is moist and can hold its shape.
- Scoop out tablespoon-sized portions and roll into balls. Slightly flatten the top and bottom, then use a toothpick to make small vertical indentations around the sides to resemble a pumpkin. Place on a parchment-lined baking sheet. Refrigerate for 1 hour (or freeze 20 minutes) to firm up.
- Melt a little orange candy melt. Dip each cake pop stick tip into the melted coating, then insert halfway into each pumpkin cake ball. This helps secure the stick. Chill for 10 minutes.
- Melt the orange candy melts in the microwave in 20-second intervals, stirring until smooth. Dip each cake pop fully into the orange coating, letting excess drip off. Place upright in a Styrofoam block to dry.
- Insert a small piece of pretzel stick on top for the stem. Use melted green candy melts (piped from a bag) or sprinkles to make tiny pumpkin leaves and vines.
- Allow decorations to set. Display your pumpkin cake pops on a platter or as a cake pop bouquet. Serve and enjoy!
Notes
These Pumpkin Cake Pops are festive, fun, and guaranteed to be the star of your fall dessert table. With their spiced pumpkin flavor and creamy coating, they’re a perfect blend of flavor and creativity. Not only are they delicious, but they’re also a hands-on activity that kids will love helping with—rolling, dipping, and decorating their own little pumpkins. Whether you’re hosting a Halloween bash, a Thanksgiving dinner, or just want a seasonal treat, pumpkin cake pops are the perfect sweet bite to celebrate autumn.


