🥧 Introduction
Craving cherry pie but don’t want to fuss with rolling dough, chilling crust, or slicing pie wedges? These Easy Cherry Pie Bars are your shortcut to that classic flavor—without the hassle.
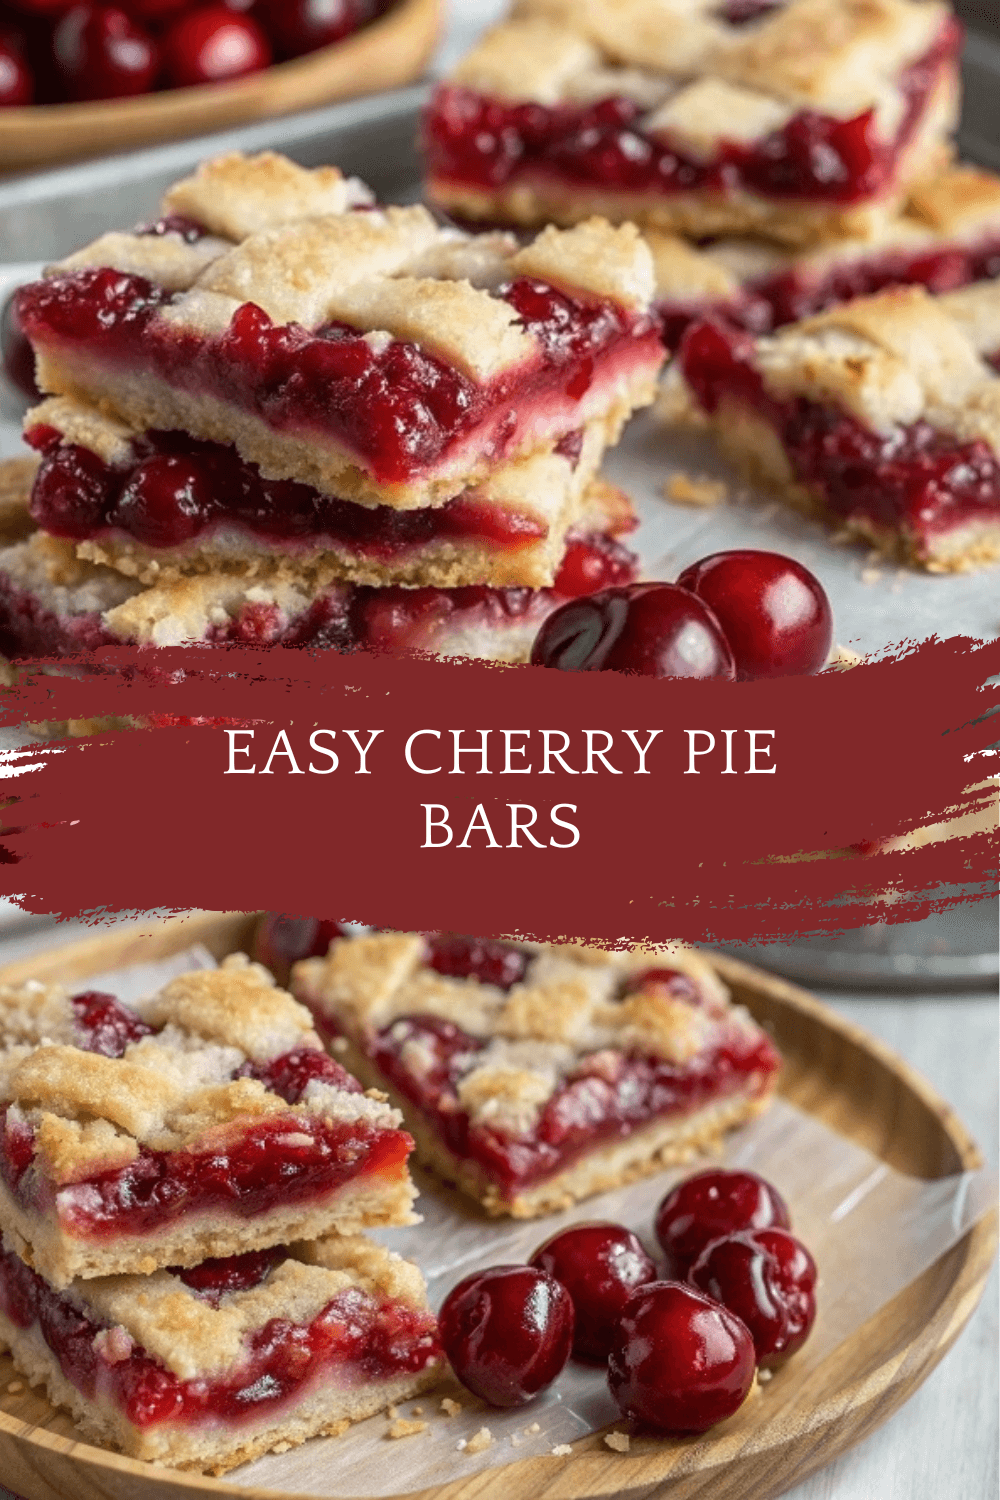
They deliver everything you love: a buttery, soft shortbread-style base, sweet and vibrant cherry filling, and golden crumbles on top that bake into crisp, dreamy perfection. Whether you’re feeding a crowd, baking for a party, or just want a quick weeknight dessert, this recipe is pure cherry bliss—no pie plate required!
🛒 Ingredients
Fresh & Dairy
- 2 large eggs
- 1 cup unsalted butter, softened
Pantry & Baking Staples
- 2½ cups all-purpose flour
- 1 cup granulated sugar
- ½ teaspoon salt
- 1 teaspoon vanilla extract
- 1 teaspoon almond extract
- 1 (21 oz) can premium cherry pie filling
👩🍳 Directions
Step 1: Preheat Oven
- Preheat oven to 350°F (175°C).
- Grease a 9×13-inch baking pan or line with parchment paper for easy cleanup.
Step 2: Make the Dough
- In a large bowl, cream together softened butter and sugar until fluffy.
- Beat in the eggs, one at a time.
- Add vanilla and almond extract.
- Mix in flour and salt until fully combined and crumbly.
Step 3: Create the Crust
- Press about 2/3 of the dough into the prepared pan to form the base.
- Spread the cherry pie filling evenly over the dough.
Step 4: Add the Topping
- Crumble the remaining dough over the cherry layer using your fingers or a spoon.
- Don’t worry about perfection—the rustic look is part of the charm.
Step 5: Bake
- Bake for 30–35 minutes, or until the top is lightly golden and the filling is bubbly.
Step 6: Cool & Cut
- Allow bars to cool completely before cutting into squares.
- Optional: Dust with powdered sugar or drizzle with a simple glaze.
🍽️ Servings and Timing
- Yields: 15–20 bars
- Prep Time: 15 minutes
- Bake Time: 30–35 minutes
- Total Time: 50 minutes
🥄 Variations
- Glazed Cherry Bars: Mix ½ cup powdered sugar with 1–2 tablespoons of milk and drizzle over cooled bars.
- Cherry Almond Bars: Add ¼ cup sliced almonds to the top before baking for extra crunch.
- Mixed Fruit: Try blueberry, raspberry, or apple pie filling instead of cherry.
- Gluten-Free: Use a 1:1 gluten-free flour substitute.
- Lemon Twist: Add 1 teaspoon lemon zest to the dough for a subtle citrus brightness.
🧊 Storage & Reheating
- Room Temperature: Store in an airtight container for up to 3 days.
- Refrigerator: Store up to 5 days for extended freshness.
- Freezer: Wrap cooled bars in layers and freeze for up to 2 months. Thaw overnight in the fridge.
- To Reheat: Warm in the oven at 300°F for 5–7 minutes if you prefer them toasty.
❓ 10 Frequently Asked Questions (FAQs)
1. Can I use homemade cherry pie filling?
Yes! If you have fresh or frozen cherries, simmer them with sugar and cornstarch for a homemade version.
2. Can I skip the almond extract?
You can, but almond extract pairs beautifully with cherries and adds a signature bakery flavor.
3. Do I need to refrigerate the dough?
Nope! This dough comes together fast and goes straight into the pan.
4. Can I use other pie fillings?
Absolutely! Blueberry, peach, or even strawberry-rhubarb work wonderfully.
5. Can I use margarine instead of butter?
You can, but real butter gives the best texture and flavor.
6. Do these freeze well?
Yes! Once cooled, cut and freeze in a single layer or between parchment paper.
7. Can I double the recipe?
Yes, double and bake in a larger sheet pan. Adjust baking time by a few minutes if needed.
8. Can I make these dairy-free?
Yes—use plant-based butter alternatives.
9. How should I serve these bars?
They’re great at room temperature, chilled, or slightly warmed with whipped cream or ice cream.
10. Why is my crust too soft or soggy?
Make sure the bars cool completely before cutting. You can also bake an extra 5 minutes for a firmer base.
🏁 Conclusion
These Easy Cherry Pie Bars are everything you love about cherry pie—just easier to make, easier to slice, and even easier to devour. With their buttery base, sweet cherry center, and crumbly golden topping, they’re pure dessert joy in bar form.
No rolling, no chilling, no stress. Just classic flavors and perfect texture in every bite. Bake a batch and bring the magic of homemade cherry pie—the simple way—to your next dessert moment. 🍒✨
Easy Cherry Pie Bars – Simple, Sweet Cherry Dessert Magic!
Ingredients
Method
- Preheat oven to 350°F (175°C).
- Grease a 9×13-inch baking pan or line with parchment paper for easy cleanup.
- In a large bowl, cream together softened butter and sugar until fluffy.
- Beat in the eggs, one at a time.
- Add vanilla and almond extract.
- Mix in flour and salt until fully combined and crumbly.
- Press about 2/3 of the dough into the prepared pan to form the base.
- Spread the cherry pie filling evenly over the dough.
- Crumble the remaining dough over the cherry layer using your fingers or a spoon.
- Don’t worry about perfection—the rustic look is part of the charm.
- Bake for 30–35 minutes, or until the top is lightly golden and the filling is bubbly.
- Allow bars to cool completely before cutting into squares.
- Optional: Dust with powdered sugar or drizzle with a simple glaze.
Notes
Glazed Cherry Bars: Mix ½ cup powdered sugar with 1–2 tablespoons of milk and drizzle over cooled bars. Cherry Almond Bars: Add ¼ cup sliced almonds to the top before baking for extra crunch. Mixed Fruit: Try blueberry, raspberry, or apple pie filling instead of cherry. Gluten-Free: Use a 1:1 gluten-free flour substitute. Lemon Twist: Add 1 teaspoon lemon zest to the dough for a subtle citrus brightness. 🧊 Storage & Reheating
Room Temperature: Store in an airtight container for up to 3 days. Refrigerator: Store up to 5 days for extended freshness. Freezer: Wrap cooled bars in layers and freeze for up to 2 months. Thaw overnight in the fridge. To Reheat: Warm in the oven at 300°F for 5–7 minutes if you prefer them toasty. ❓ 10 Frequently Asked Questions (FAQs)
1. Can I use homemade cherry pie filling?
Yes! If you have fresh or frozen cherries, simmer them with sugar and cornstarch for a homemade version. 2. Can I skip the almond extract?
You can, but almond extract pairs beautifully with cherries and adds a signature bakery flavor. 3. Do I need to refrigerate the dough?
Nope! This dough comes together fast and goes straight into the pan. 4. Can I use other pie fillings?
Absolutely! Blueberry, peach, or even strawberry-rhubarb work wonderfully. 5. Can I use margarine instead of butter?
You can, but real butter gives the best texture and flavor. 6. Do these freeze well?
Yes! Once cooled, cut and freeze in a single layer or between parchment paper. 7. Can I double the recipe?
Yes, double and bake in a larger sheet pan. Adjust baking time by a few minutes if needed. 8. Can I make these dairy-free?
Yes—use plant-based butter alternatives. 9. How should I serve these bars?
They’re great at room temperature, chilled, or slightly warmed with whipped cream or ice cream. 10. Why is my crust too soft or soggy?
Make sure the bars cool completely before cutting. You can also bake an extra 5 minutes for a firmer base. 🏁 Conclusion
These Easy Cherry Pie Bars are everything you love about cherry pie—just easier to make, easier to slice, and even easier to devour. With their buttery base, sweet cherry center, and crumbly golden topping, they’re pure dessert joy in bar form. No rolling, no chilling, no stress. Just classic flavors and perfect texture in every bite. Bake a batch and bring the magic of homemade cherry pie—the simple way—to your next dessert moment. 🍒✨


