🎉 Introduction
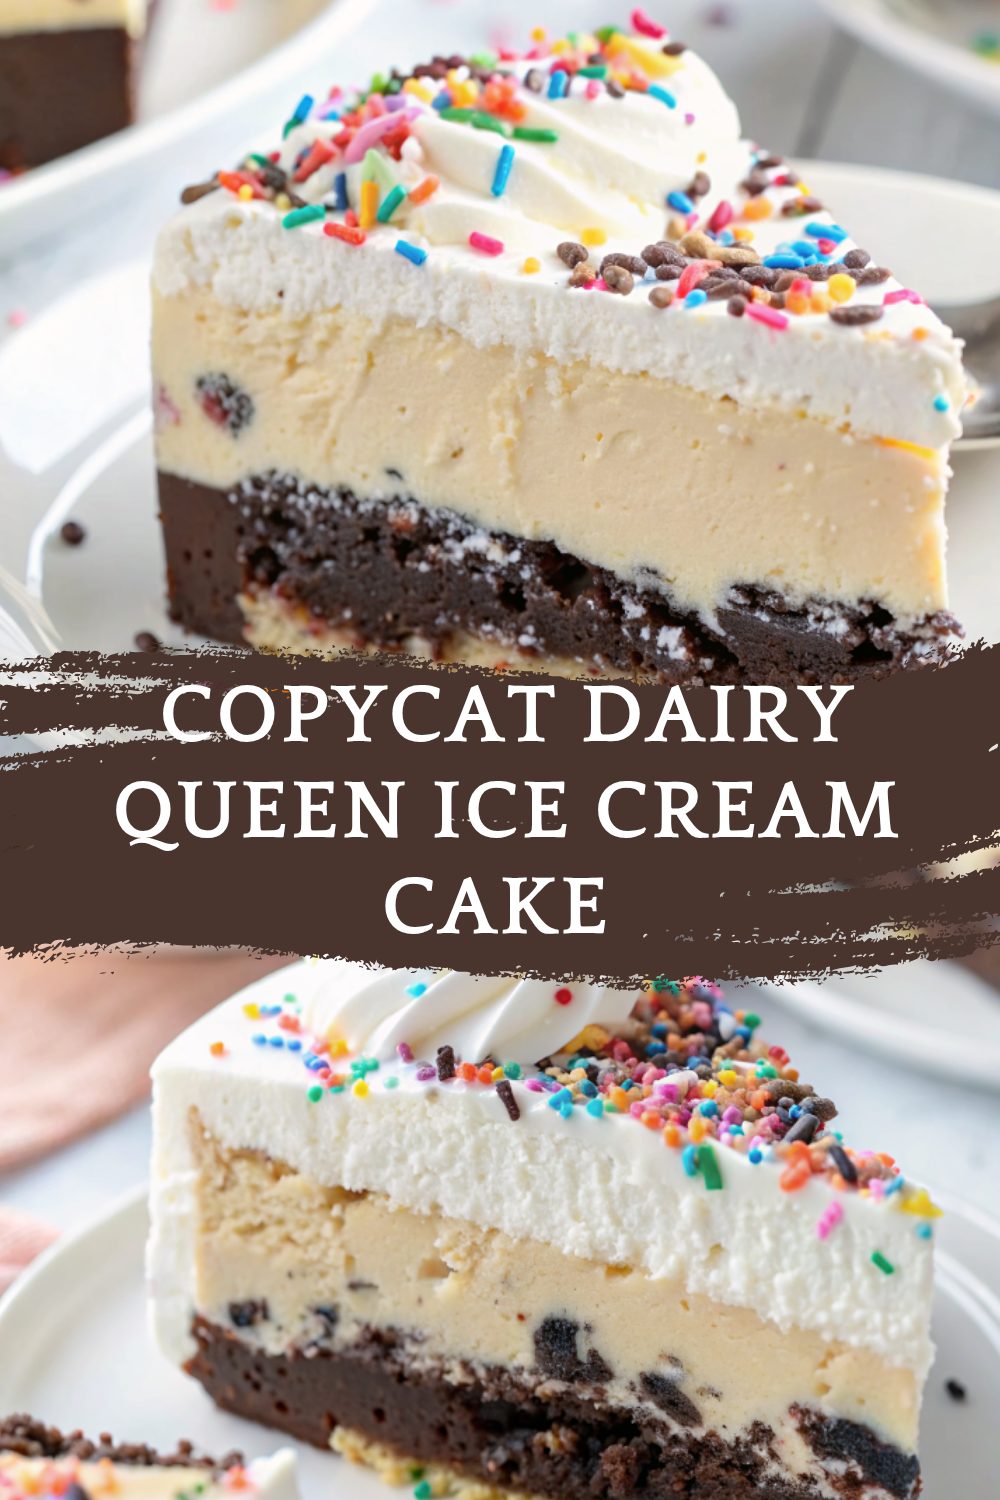
Craving that iconic Dairy Queen ice cream cake without leaving your house? You’re in luck. This Copycat Dairy Queen Ice Cream Cake is a layered dream of creamy ice cream, fudgy chocolate sauce, and that famous chocolate crunch center — all finished with fluffy whipped topping and sprinkles.
Perfect for birthdays, celebrations, or just cooling off on a hot day, this DIY frozen treat delivers all the nostalgia and flavor of the original, but made right in your kitchen. Bonus: You can customize it with your favorite flavors!
Whether you’re a fan of the classic vanilla-chocolate combo or want to swap in cookies and cream, this ice cream cake recipe is easy, fun, and sure to impress.
🧰 Equipment Needed
To make your homemade ice cream cake as epic as the real deal, here’s what you’ll need:
- 9-inch springform pan (or cake pan lined with parchment)
- Offset spatula
- Mixing bowls
- Whisk or hand mixer
- Small saucepan
- Plastic wrap or foil
- Ice cream scoop
- Rubber spatula
🛒 Ingredients
🍦 Ice Cream Layers:
- 1.5 quarts chocolate ice cream
- 1.5 quarts vanilla ice cream
Tip: You can substitute any two flavors you love! Try Oreo, strawberry, or mint chip.
🍫 Crunchy Center & Fudge:
- 1½ cups crushed chocolate sandwich cookies (like Oreos)
- ¾ cup hot fudge sauce (jarred or homemade)
- 2 tablespoons coconut oil or vegetable oil
🍰 Frosting & Topping:
- 2 cups heavy whipping cream
- ¼ cup powdered sugar
- 1 teaspoon vanilla extract
- Sprinkles, crushed cookies, or chocolate shavings for decorating
👩🍳 Directions
Step 1: Prepare the Pan
Line a 9-inch springform pan with plastic wrap or parchment paper. Let the chocolate ice cream soften slightly at room temperature (about 10–15 minutes).
Step 2: Add the Bottom Ice Cream Layer
Scoop the softened chocolate ice cream into the bottom of the pan. Spread into an even layer using an offset spatula or spoon. Freeze for 30 minutes to firm up.
Step 3: Make the Crunchy Fudge Center
In a small bowl, mix the crushed cookies with coconut oil and stir to coat. Warm the fudge sauce slightly (just enough to make it spreadable), then let it cool a bit.
After the chocolate ice cream has firmed up, spread the fudge sauce evenly over it, then sprinkle the cookie mixture on top. Press lightly to create an even crunchy layer. Freeze again for 30 minutes.
Step 4: Add the Top Ice Cream Layer
Soften the vanilla ice cream, then spread it over the crunch layer, smoothing the top. Cover with plastic wrap and freeze for 4–6 hours, or until completely firm.
Step 5: Whip the Cream Topping
In a cold bowl, beat the heavy cream, powdered sugar, and vanilla extract until stiff peaks form (about 3–4 minutes). You now have a fluffy whipped topping!
Step 6: Frost the Cake
Remove the cake from the pan and place it on a cake stand or serving plate. Quickly frost the sides and top with the whipped cream. Use a piping bag for decorative swirls if desired.
Step 7: Decorate and Freeze
Add sprinkles, crushed cookies, or chocolate curls for that classic DQ look. Return to the freezer for at least 1 hour before slicing.
🍽️ Servings & Timing
- Servings: 10–12 slices
- Prep Time: 45 minutes
- Freeze Time: 6–8 hours (including chill times)
- Total Time: ~7 hours (mostly hands-off)
Ideal for birthdays, summer parties, or any frozen celebration!
🧊 Storage & Reheating
Storage:
- Store the cake in the freezer wrapped tightly in plastic wrap or in an airtight container for up to 2 weeks.
Reheating (Serving Tips):
- Remove the cake from the freezer and let it sit at room temperature for 10–15 minutes before slicing for easier serving.
🥄 Variations
Get creative with your ice cream cake by switching up the layers:
- Cookies & Cream Cake: Use cookies & cream and vanilla ice cream with Oreo crunch.
- Mint Chocolate Cake: Use mint chip and chocolate ice cream with a chocolate mint cookie center.
- Strawberry Shortcake Cake: Use strawberry and vanilla ice cream, with crushed golden Oreos and strawberry preserves in the middle.
- Peanut Butter Fudge Cake: Use peanut butter cup ice cream, add chopped peanut butter cups, and top with melted peanut butter drizzle.
- Vegan Option: Use dairy-free ice cream, coconut whipped cream, and vegan fudge sauce.
❓ 10 FAQs
1. Can I make this ice cream cake ahead of time?
Yes! It’s best made a day in advance to give it time to set properly.
2. What’s the best way to slice it?
Use a sharp knife dipped in hot water. Wipe clean between slices for perfect cuts.
3. Can I use store-bought whipped topping?
Yes, but homemade whipped cream gives a fresher taste and fluffier texture.
4. Can I use different pans?
Absolutely. A loaf pan or 8-inch round cake pan works well — just line it with plastic wrap for easy removal.
5. How do I make homemade fudge sauce?
Mix 1/2 cup cocoa powder, 1/2 cup sugar, 1/2 cup heavy cream, and 2 tbsp butter in a saucepan. Heat until smooth and thickened.
6. Can I refreeze the cake after slicing?
Yes. Just rewrap tightly and place back in the freezer.
7. What kind of cookies work best for the crunch?
Chocolate sandwich cookies (like Oreos) are classic, but you can also try graham crackers, chocolate wafer cookies, or gluten-free options.
8. Can I flavor the whipped cream?
Yes — try adding cocoa powder, espresso, or fruit puree for a fun twist.
9. How do I store leftovers?
Keep any remaining slices in an airtight container in the freezer. They’ll keep for up to 2 weeks.
10. Can kids help make this recipe?
Yes! This is a fun, kid-friendly dessert to assemble — just make sure an adult handles hot fudge and sharp tools.
🏁 Conclusion
With its creamy layers, fudgy center, and nostalgic crunch, this Copycat Dairy Queen Ice Cream Cake brings pure joy in every bite. It’s a frozen dessert that’s just as fun to make as it is to eat — and the best part? You can tailor it to suit any flavor craving or celebration.
Whether it’s a birthday, holiday, or just because, this homemade version delivers all the DQ magic without the price tag or trip to the store. So grab your favorite ice cream flavors, gather your toppings, and get ready to create a cake that will wow every single time.
Copycat Dairy Queen Ice Cream Cake – Make This Frozen Treat at Home!
Ingredients
Equipment
Method
- Line a 9-inch springform pan with plastic wrap or parchment paper. Let the chocolate ice cream soften slightly at room temperature (about 10–15 minutes).
- Scoop the softened chocolate ice cream into the bottom of the pan. Spread into an even layer using an offset spatula or spoon. Freeze for 30 minutes to firm up.
- In a small bowl, mix the crushed cookies with coconut oil and stir to coat. Warm the fudge sauce slightly (just enough to make it spreadable), then let it cool a bit.
- After the chocolate ice cream has firmed up, spread the fudge sauce evenly over it, then sprinkle the cookie mixture on top. Press lightly to create an even crunchy layer. Freeze again for 30 minutes.
- Soften the vanilla ice cream, then spread it over the crunch layer, smoothing the top. Cover with plastic wrap and freeze for 4–6 hours, or until completely firm.
- In a cold bowl, beat the heavy cream, powdered sugar, and vanilla extract until stiff peaks form (about 3–4 minutes). You now have a fluffy whipped topping!
- Remove the cake from the pan and place it on a cake stand or serving plate. Quickly frost the sides and top with the whipped cream. Use a piping bag for decorative swirls if desired.
- Add sprinkles, crushed cookies, or chocolate curls for that classic DQ look. Return to the freezer for at least 1 hour before slicing.
Notes
Storage:
Store the cake in the freezer wrapped tightly in plastic wrap or in an airtight container for up to 2 weeks. Reheating (Serving Tips):
Remove the cake from the freezer and let it sit at room temperature for 10–15 minutes before slicing for easier serving. 🥄 Variations
Get creative with your ice cream cake by switching up the layers: Cookies & Cream Cake: Use cookies & cream and vanilla ice cream with Oreo crunch. Mint Chocolate Cake: Use mint chip and chocolate ice cream with a chocolate mint cookie center. Strawberry Shortcake Cake: Use strawberry and vanilla ice cream, with crushed golden Oreos and strawberry preserves in the middle. Peanut Butter Fudge Cake: Use peanut butter cup ice cream, add chopped peanut butter cups, and top with melted peanut butter drizzle. Vegan Option: Use dairy-free ice cream, coconut whipped cream, and vegan fudge sauce. ❓ 10 FAQs
1. Can I make this ice cream cake ahead of time?
Yes! It’s best made a day in advance to give it time to set properly. 2. What’s the best way to slice it?
Use a sharp knife dipped in hot water. Wipe clean between slices for perfect cuts. 3. Can I use store-bought whipped topping?
Yes, but homemade whipped cream gives a fresher taste and fluffier texture. 4. Can I use different pans?
Absolutely. A loaf pan or 8-inch round cake pan works well — just line it with plastic wrap for easy removal. 5. How do I make homemade fudge sauce?
Mix 1/2 cup cocoa powder, 1/2 cup sugar, 1/2 cup heavy cream, and 2 tbsp butter in a saucepan. Heat until smooth and thickened. 6. Can I refreeze the cake after slicing?
Yes. Just rewrap tightly and place back in the freezer. 7. What kind of cookies work best for the crunch?
Chocolate sandwich cookies (like Oreos) are classic, but you can also try graham crackers, chocolate wafer cookies, or gluten-free options. 8. Can I flavor the whipped cream?
Yes — try adding cocoa powder, espresso, or fruit puree for a fun twist. 9. How do I store leftovers?
Keep any remaining slices in an airtight container in the freezer. They’ll keep for up to 2 weeks. 10. Can kids help make this recipe?
Yes! This is a fun, kid-friendly dessert to assemble — just make sure an adult handles hot fudge and sharp tools. 🏁 Conclusion
With its creamy layers, fudgy center, and nostalgic crunch, this Copycat Dairy Queen Ice Cream Cake brings pure joy in every bite. It’s a frozen dessert that’s just as fun to make as it is to eat — and the best part? You can tailor it to suit any flavor craving or celebration. Whether it’s a birthday, holiday, or just because, this homemade version delivers all the DQ magic without the price tag or trip to the store. So grab your favorite ice cream flavors, gather your toppings, and get ready to create a cake that will wow every single time.


