🎉 Introduction
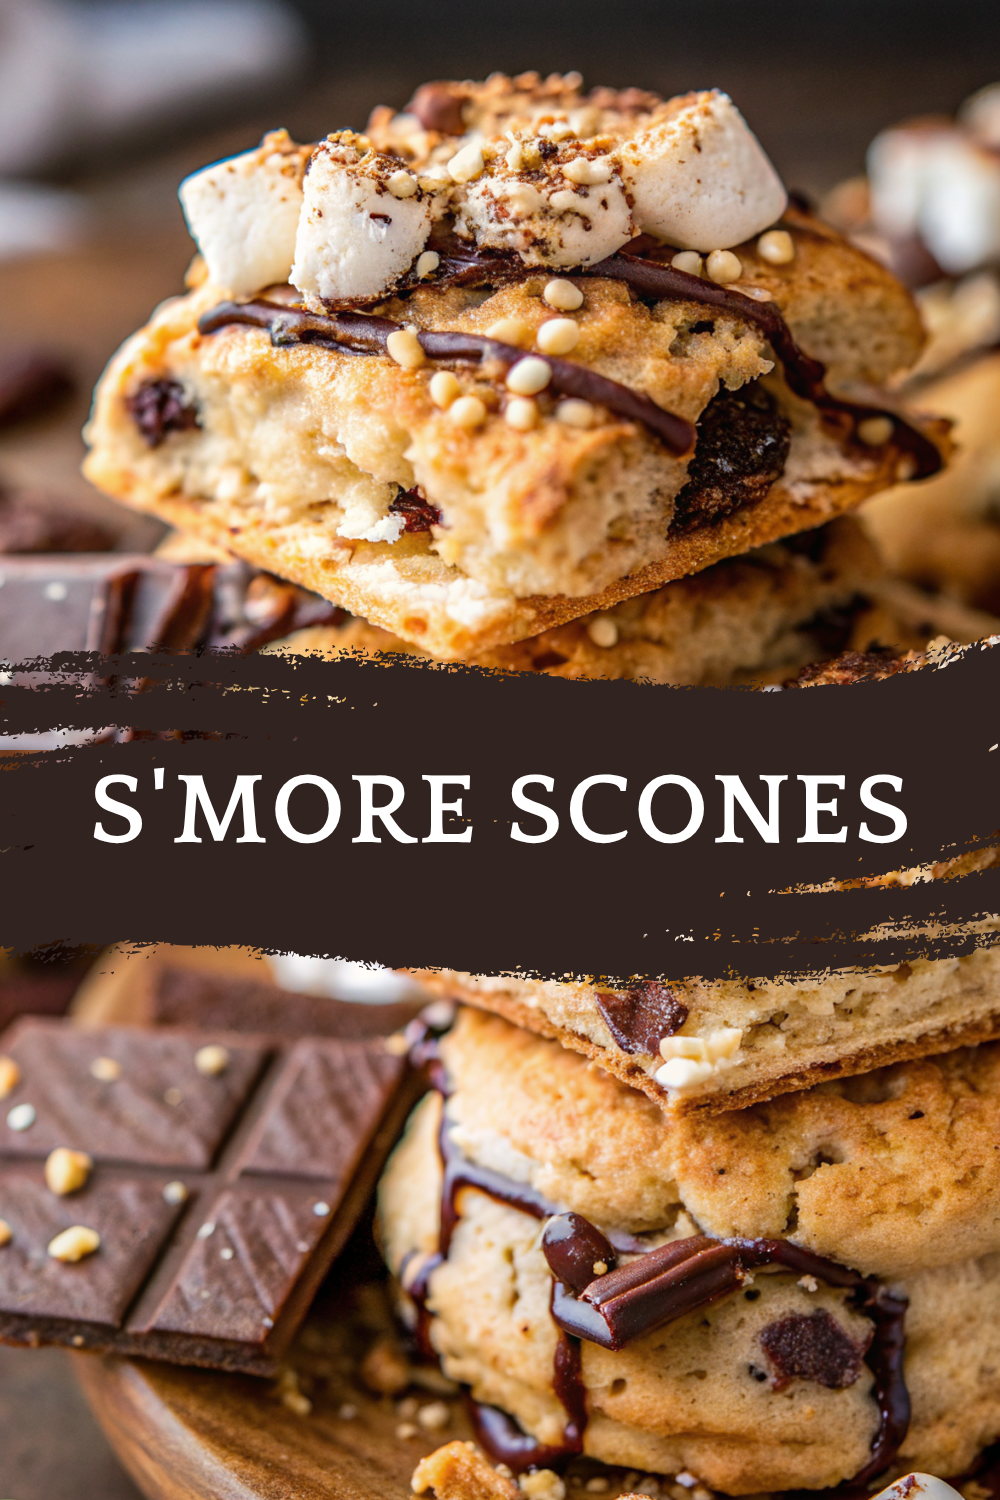
What happens when your favorite campfire treat collides with a buttery, flaky scone? You get S’more Scones — a decadent, crunchy-meets-gooey, and totally irresistible twist on traditional scones. Imagine chunks of melted chocolate, bits of mini marshmallows, and sweet graham cracker crumbs baked into a golden pastry, then topped with more chocolate and marshmallow for that unmistakable s’mores magic.
Perfect for brunch, afternoon coffee, dessert, or a grab-and-go breakfast that feels indulgent, these s’more-inspired scones will steal the spotlight wherever they go. No tent or fire pit required — just your oven, a few pantry staples, and a craving for something unforgettable.
Whether you’re a die-hard s’mores fan or just love creative bakes, this is a treat you’ll want to keep in regular rotation.
🧰 Equipment Needed
Here’s everything you need to bring these scones to life:
- Large mixing bowl
- Pastry cutter or fork
- Measuring cups & spoons
- Baking sheet
- Parchment paper or silicone baking mat
- Knife or bench scraper
- Cooling rack
- Spoon or spatula
🛒 Ingredients
🍋 Condiments:
- ½ tbsp lemon juice (to slightly curdle the cream for a faux buttermilk effect)
🧁 Pantry Items and Spices:
- 1½ cups all-purpose flour
- 1 tbsp baking powder
- ½ tsp salt
- 2 tsp vanilla extract
- 1 cup chocolate chunks or chopped chocolate bar
- ½ cup marshmallow sprinkles (or mini marshmallows chopped smaller)
🍪 Savory Snacks:
- 1 cup graham cracker crumbs (plus more for sprinkling)
- 1 extra graham cracker, crumbled for topping
🧈 Dairy:
- 6 tbsp unsalted butter, cold and cubed
- 1 cup heavy cream
🍬 Desserts:
- 1 cup mini marshmallows
👩🍳 Directions
Step 1: Prep and Preheat
Preheat your oven to 400°F (200°C). Line a baking sheet with parchment paper.
In a small bowl, combine 1 cup cream with ½ tbsp lemon juice, stir gently, and let it sit while you prep the dry ingredients. This mimics the tang of buttermilk and helps with rise and flavor.
Step 2: Mix the Dry Ingredients
In a large bowl, whisk together:
- 1½ cups all-purpose flour
- 1 tbsp baking powder
- ½ tsp salt
- 1 cup graham cracker crumbs
Step 3: Cut in the Butter
Add 6 tbsp cold, cubed butter to the dry mixture. Use a pastry cutter or fork to cut the butter into the flour until the mixture resembles coarse crumbs. You should see small bits of butter throughout — this makes for a flaky scone.
Step 4: Add the Mix-Ins
Stir in:
- 1 cup chocolate chunks
- ½ cup marshmallow sprinkles (or mini marshmallows chopped in half)
Toss lightly to coat everything in the flour mixture.
Step 5: Add the Cream
Pour in the cream/lemon mixture and 2 tsp vanilla extract. Mix gently until a shaggy dough forms. Do not overwork it.
If the dough is too dry, add a splash of cream. If too wet, sprinkle in a little extra flour.
Step 6: Shape and Cut
Transfer dough to a floured surface and gently knead just a few times to bring it together.
Shape into a 6–7 inch circle about 1 inch thick. Cut into 6–8 wedges using a knife or bench scraper.
Step 7: Bake
Place scones on the prepared baking sheet, leaving space between each. Press mini marshmallows and extra chocolate chunks on top.
Bake for 16–20 minutes, until golden brown and puffy. Marshmallows should be melty and lightly toasted.
Step 8: Cool and Finish
Cool on the tray for 5 minutes, then transfer to a wire rack. Sprinkle with extra graham cracker crumbs and drizzle with melted chocolate if desired.
🍽️ Servings & Timing
- Servings: 6–8 scones
- Prep Time: 15 minutes
- Bake Time: 18–20 minutes
- Total Time: ~35 minutes
Perfect for brunches, holiday mornings, or sweet summer treats.
🧊 Storage & Reheating
Storage:
- Store cooled scones in an airtight container at room temperature for up to 2 days.
Freezing:
- Freeze unbaked scones (after cutting into wedges) on a tray, then transfer to a freezer bag. Bake from frozen at 375°F for 22–25 minutes.
Reheating:
- Rewarm in the oven at 300°F for 5–7 minutes or microwave for 10 seconds.
Best served warm when the chocolate and marshmallows are gooey!
🥄 Variations
Give your s’more scones a twist with these creative upgrades:
- Peanut Butter S’more Scones: Swirl in 2 tbsp peanut butter or add PB chips.
- Nutty Crunch: Add ¼ cup chopped pecans or hazelnuts.
- Double Chocolate: Use chocolate scone dough with cocoa powder for extra richness.
- Campfire Finish: Toast marshmallows on top with a kitchen torch for real s’mores flavor.
- Gluten-Free: Use gluten-free flour and certified GF graham crackers.
- Stuffed Surprise: Hide a square of chocolate and mini marshmallows in the center of each wedge.
❓ 10 FAQs
1. Can I use store-bought graham cracker crumbs?
Absolutely. Pre-crushed crumbs make this even easier.
2. How do I keep marshmallows from burning?
Use marshmallow bits or sprinkles, or add marshmallows only in the last 5 minutes of baking.
3. Can I make the dough ahead of time?
Yes! Chill shaped dough overnight, then bake fresh in the morning.
4. How do I get the flakiest scones?
Use cold butter and don’t overmix. Visible butter pockets = flaky layers!
5. Can I make them without cream?
Cream is best, but full-fat milk or buttermilk works in a pinch.
6. What kind of chocolate works best?
Chopped chocolate bars melt better than chips and give nice pockets of goo.
7. Do I need to chill the dough before baking?
Chilling for 10–15 minutes helps hold shape and prevent overspreading.
8. Are s’more scones overly sweet?
They’re sweet, but balanced. Reduce sugar slightly if desired, or skip extra toppings.
9. Can I glaze the top?
Yes — a chocolate or marshmallow glaze is a delicious touch.
10. Are they good the next day?
Yes! Reheat slightly for best texture, especially if you want gooey chocolate.
🏁 Conclusion
If you’re a fan of s’mores and love a fresh-baked scone, these S’more Scones are about to become your new favorite treat. With gooey marshmallows, rich chocolate chunks, and that buttery graham cracker crunch baked into every bite, they combine decadence and nostalgia into a warm, flaky pastry that’s perfect anytime.
Whether you serve them for brunch, dessert, or as a sweet snack, these scones are a simple way to bring a little campfire joy to your kitchen — no flames or sticky fingers required!
S’more Scones – Gooey Campfire Magic Meets Flaky Breakfast Pastry
Ingredients
Equipment
Method
- Preheat your oven to 400°F (200°C). Line a baking sheet with parchment paper.
- In a small bowl, combine 1 cup cream with ½ tbsp lemon juice, stir gently, and let it sit while you prep the dry ingredients. This mimics the tang of buttermilk and helps with rise and flavor.
- In a large bowl, whisk together:
- 1½ cups all-purpose flour
- 1 tbsp baking powder
- ½ tsp salt
- 1 cup graham cracker crumbs
- Add 6 tbsp cold, cubed butter to the dry mixture. Use a pastry cutter or fork to cut the butter into the flour until the mixture resembles coarse crumbs. You should see small bits of butter throughout — this makes for a flaky scone.
- Stir in:
- 1 cup chocolate chunks
- ½ cup marshmallow sprinkles (or mini marshmallows chopped in half)
- Toss lightly to coat everything in the flour mixture.
- Pour in the cream/lemon mixture and 2 tsp vanilla extract. Mix gently until a shaggy dough forms. Do not overwork it.
- If the dough is too dry, add a splash of cream. If too wet, sprinkle in a little extra flour.
- Transfer dough to a floured surface and gently knead just a few times to bring it together.
- Shape into a 6–7 inch circle about 1 inch thick. Cut into 6–8 wedges using a knife or bench scraper.
- Place scones on the prepared baking sheet, leaving space between each. Press mini marshmallows and extra chocolate chunks on top.
- Bake for 16–20 minutes, until golden brown and puffy. Marshmallows should be melty and lightly toasted.
- Cool on the tray for 5 minutes, then transfer to a wire rack. Sprinkle with extra graham cracker crumbs and drizzle with melted chocolate if desired.
Notes
Storage:
Store cooled scones in an airtight container at room temperature for up to 2 days. Freezing:
Freeze unbaked scones (after cutting into wedges) on a tray, then transfer to a freezer bag. Bake from frozen at 375°F for 22–25 minutes. Reheating:
Rewarm in the oven at 300°F for 5–7 minutes or microwave for 10 seconds. Best served warm when the chocolate and marshmallows are gooey! 🥄 Variations
Give your s’more scones a twist with these creative upgrades: Peanut Butter S’more Scones: Swirl in 2 tbsp peanut butter or add PB chips. Nutty Crunch: Add ¼ cup chopped pecans or hazelnuts. Double Chocolate: Use chocolate scone dough with cocoa powder for extra richness. Campfire Finish: Toast marshmallows on top with a kitchen torch for real s’mores flavor. Gluten-Free: Use gluten-free flour and certified GF graham crackers. Stuffed Surprise: Hide a square of chocolate and mini marshmallows in the center of each wedge. ❓ 10 FAQs
1. Can I use store-bought graham cracker crumbs?
Absolutely. Pre-crushed crumbs make this even easier. 2. How do I keep marshmallows from burning?
Use marshmallow bits or sprinkles, or add marshmallows only in the last 5 minutes of baking. 3. Can I make the dough ahead of time?
Yes! Chill shaped dough overnight, then bake fresh in the morning. 4. How do I get the flakiest scones?
Use cold butter and don’t overmix. Visible butter pockets = flaky layers! 5. Can I make them without cream?
Cream is best, but full-fat milk or buttermilk works in a pinch. 6. What kind of chocolate works best?
Chopped chocolate bars melt better than chips and give nice pockets of goo. 7. Do I need to chill the dough before baking?
Chilling for 10–15 minutes helps hold shape and prevent overspreading. 8. Are s’more scones overly sweet?
They’re sweet, but balanced. Reduce sugar slightly if desired, or skip extra toppings. 9. Can I glaze the top?
Yes — a chocolate or marshmallow glaze is a delicious touch. 10. Are they good the next day?
Yes! Reheat slightly for best texture, especially if you want gooey chocolate. 🏁 Conclusion
If you’re a fan of s’mores and love a fresh-baked scone, these S’more Scones are about to become your new favorite treat. With gooey marshmallows, rich chocolate chunks, and that buttery graham cracker crunch baked into every bite, they combine decadence and nostalgia into a warm, flaky pastry that’s perfect anytime. Whether you serve them for brunch, dessert, or as a sweet snack, these scones are a simple way to bring a little campfire joy to your kitchen — no flames or sticky fingers required!


