🎉 Introduction
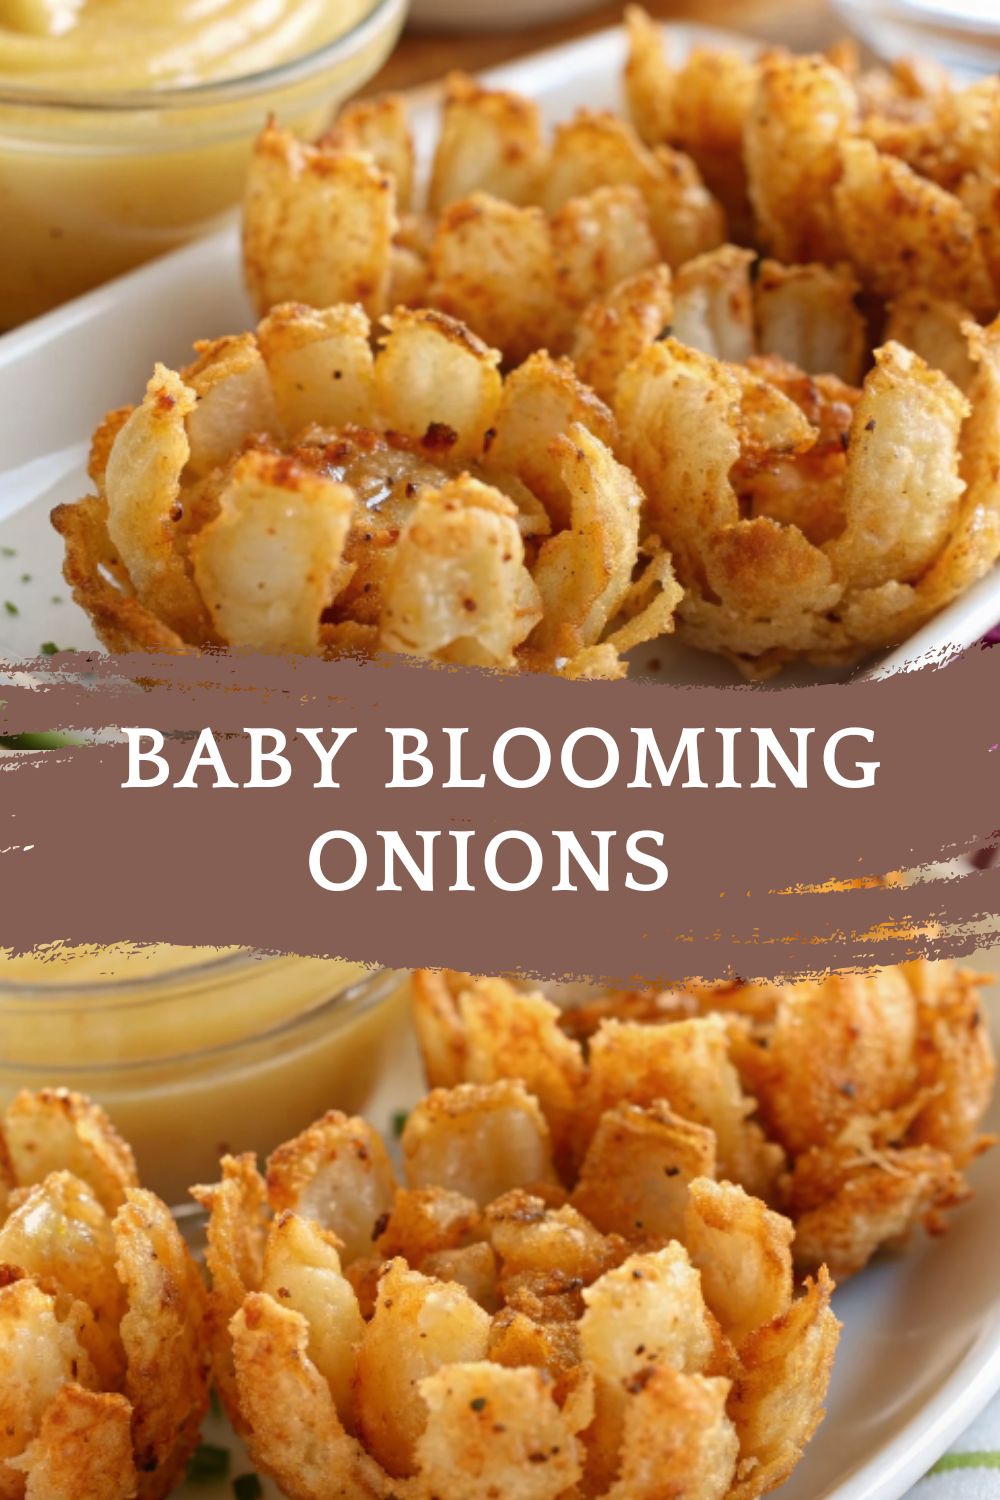
Baby blooming onions are a fun, irresistible twist on the classic restaurant favorite. Instead of one large onion, this version uses small onions to create perfectly portioned, ultra-crispy bites that are ideal for sharing. Each onion “blooms” into tender petals on the inside with a crunchy, seasoned coating on the outside—making them impossible to resist.
These mini versions are perfect for appetizers, party platters, game nights, or casual family snacks. They cook faster than a full-sized blooming onion and are easier to serve, dip, and enjoy. Every bite delivers a satisfying contrast of textures: crispy coating, soft onion layers, and bold seasoning.
Best of all, baby blooming onions are made with simple ingredients and straightforward steps. Whether baked or fried, they bring restaurant-style flavor right into your kitchen with ease.
🧰 Equipment Needed
- Sharp knife
- Cutting board
- Medium mixing bowls (2–3)
- Whisk or fork
- Deep skillet or saucepan (for frying)
- Slotted spoon or tongs
- Paper towels
- Baking sheet (if baking option is used)
- Measuring cups and spoons
🛒 Ingredients
Onions
- 6–8 small onions (baby onions or small yellow onions)
Coating
- 1 cup all-purpose flour
- 1 teaspoon paprika
- 1 teaspoon garlic powder
- 1 teaspoon onion powder
- ½ teaspoon black pepper
- ½ teaspoon salt
Wet Batter
- 2 large eggs
- ½ cup milk
For Cooking
- Cooking oil for frying or olive oil spray for baking
Optional Dipping Sauce
- ½ cup mayonnaise
- 1 teaspoon paprika
- ½ teaspoon garlic powder
- Black pepper to taste
These ingredients work together to give baby blooming onions their signature crunch and savory flavor.
👩🍳 Directions
Step 1:
Peel the onions and trim a small slice off the top of each one, keeping the root end intact.
Step 2:
Place an onion root-side down. Starting about 1 cm from the root, make vertical cuts downward to create 8–12 sections, being careful not to cut all the way through the root.
Step 3:
Gently spread the onion layers apart with your fingers to create a blooming effect. Repeat with all onions.
Step 4:
In a mixing bowl, combine the flour, paprika, garlic powder, onion powder, salt, and black pepper. Mix well.
Step 5:
In a separate bowl, whisk together the eggs and milk until fully combined.
Step 6:
Dip each onion into the flour mixture, making sure it gets between the layers.
Step 7:
Dip the floured onion into the egg mixture, allowing excess to drip off.
Step 8:
Return the onion to the flour mixture and coat again thoroughly, pressing gently to ensure even coverage.
Step 9 (Frying Option):
Heat oil in a deep skillet over medium heat. Carefully place the onions into the hot oil and fry for 4–6 minutes, turning occasionally, until golden brown and crispy.
Step 10 (Baking Option):
Preheat the oven to 200°C (400°F). Place the coated onions on a baking sheet, spray lightly with olive oil, and bake for 20–25 minutes until golden and crisp.
Step 11:
Remove the onions from the oil or oven and place them on paper towels to drain excess oil.
Step 12:
Allow the onions to cool slightly before serving so the petals hold their shape.
🍽️ Servings & Timing
- Servings: 4–6 people
- Preparation Time: 15 minutes
- Cooking Time: 20–25 minutes
- Total Time: Approximately 40 minutes
Perfect as an appetizer, snack, or party favorite.
🧊 Storage & Reheating
- Refrigerator:
Store leftovers in an airtight container for up to 2 days. - Freezer:
Not recommended, as the texture may soften. - Reheating:
Reheat in the oven or air fryer until crisp. Avoid microwaving for best texture.
🥄 Variations
- Spicy version: Add chili powder or cayenne to the flour mix
- Extra crunchy: Double-coat with flour and egg
- Herb-flavored: Add dried herbs to the coating
- Baked only: Skip frying for a lighter version
- Kid-friendly: Reduce spices for a milder taste
These variations let you enjoy baby blooming onions in new and exciting ways.
❓ 10 FAQs
- What onions work best?
Small yellow or baby onions are ideal. - Do I have to fry them?
No, baking works very well. - Why keep the root intact?
It helps the onion hold together while blooming. - Can I prepare them ahead of time?
You can cut and coat them a few hours ahead. - How do I make them crispier?
Ensure the oil is hot or bake at high heat. - Are these kid-friendly?
Yes, just keep the seasoning mild. - Can I air-fry them?
Yes, cook until golden and crisp. - What sauce pairs well?
Creamy dips work best. - Why double coat?
It adds extra crunch and flavor. - Can I double the recipe?
Yes, just cook in batches.
🏁 Conclusion
Baby blooming onions bring all the fun and flavor of the classic dish into a perfectly snackable size. Crispy on the outside, tender on the inside, and packed with savory seasoning, they’re a guaranteed hit at any gathering. Easy to prepare and endlessly customizable, this recipe is one you’ll come back to again and again.
Baby Blooming Onions – Crispy, Golden, and Perfectly Snackable
Ingredients
Equipment
Method
- Peel the onions and trim a small slice off the top of each one, keeping the root end intact.
- Place an onion root-side down. Starting about 1 cm from the root, make vertical cuts downward to create 8–12 sections, being careful not to cut all the way through the root.
- Gently spread the onion layers apart with your fingers to create a blooming effect. Repeat with all onions.
- In a mixing bowl, combine the flour, paprika, garlic powder, onion powder, salt, and black pepper. Mix well.
- In a separate bowl, whisk together the eggs and milk until fully combined.
- Dip each onion into the flour mixture, making sure it gets between the layers.
- Dip the floured onion into the egg mixture, allowing excess to drip off.
- Return the onion to the flour mixture and coat again thoroughly, pressing gently to ensure even coverage.
- Heat oil in a deep skillet over medium heat. Carefully place the onions into the hot oil and fry for 4–6 minutes, turning occasionally, until golden brown and crispy.
- Preheat the oven to 200°C (400°F). Place the coated onions on a baking sheet, spray lightly with olive oil, and bake for 20–25 minutes until golden and crisp.
- Remove the onions from the oil or oven and place them on paper towels to drain excess oil.
- Allow the onions to cool slightly before serving so the petals hold their shape.
Notes
Store leftovers in an airtight container for up to 2 days. Freezer:
Not recommended, as the texture may soften. Reheating:
Reheat in the oven or air fryer until crisp. Avoid microwaving for best texture. 🥄 Variations Spicy version: Add chili powder or cayenne to the flour mix Extra crunchy: Double-coat with flour and egg Herb-flavored: Add dried herbs to the coating Baked only: Skip frying for a lighter version Kid-friendly: Reduce spices for a milder taste These variations let you enjoy baby blooming onions in new and exciting ways. ❓ 10 FAQs What onions work best?
Small yellow or baby onions are ideal. Do I have to fry them?
No, baking works very well. Why keep the root intact?
It helps the onion hold together while blooming. Can I prepare them ahead of time?
You can cut and coat them a few hours ahead. How do I make them crispier?
Ensure the oil is hot or bake at high heat. Are these kid-friendly?
Yes, just keep the seasoning mild. Can I air-fry them?
Yes, cook until golden and crisp. What sauce pairs well?
Creamy dips work best. Why double coat?
It adds extra crunch and flavor. Can I double the recipe?
Yes, just cook in batches. 🏁 Conclusion Baby blooming onions bring all the fun and flavor of the classic dish into a perfectly snackable size. Crispy on the outside, tender on the inside, and packed with savory seasoning, they’re a guaranteed hit at any gathering. Easy to prepare and endlessly customizable, this recipe is one you’ll come back to again and again.


