🎉 Introduction
When it comes to comforting desserts, nothing beats a homemade apple pie. With its buttery, flaky crust, tender spiced apple filling, and that warm cinnamon aroma wafting through the kitchen, apple pie is a timeless treat that’s perfect for holidays, Sunday dinners, or simply when you want to spoil yourself.
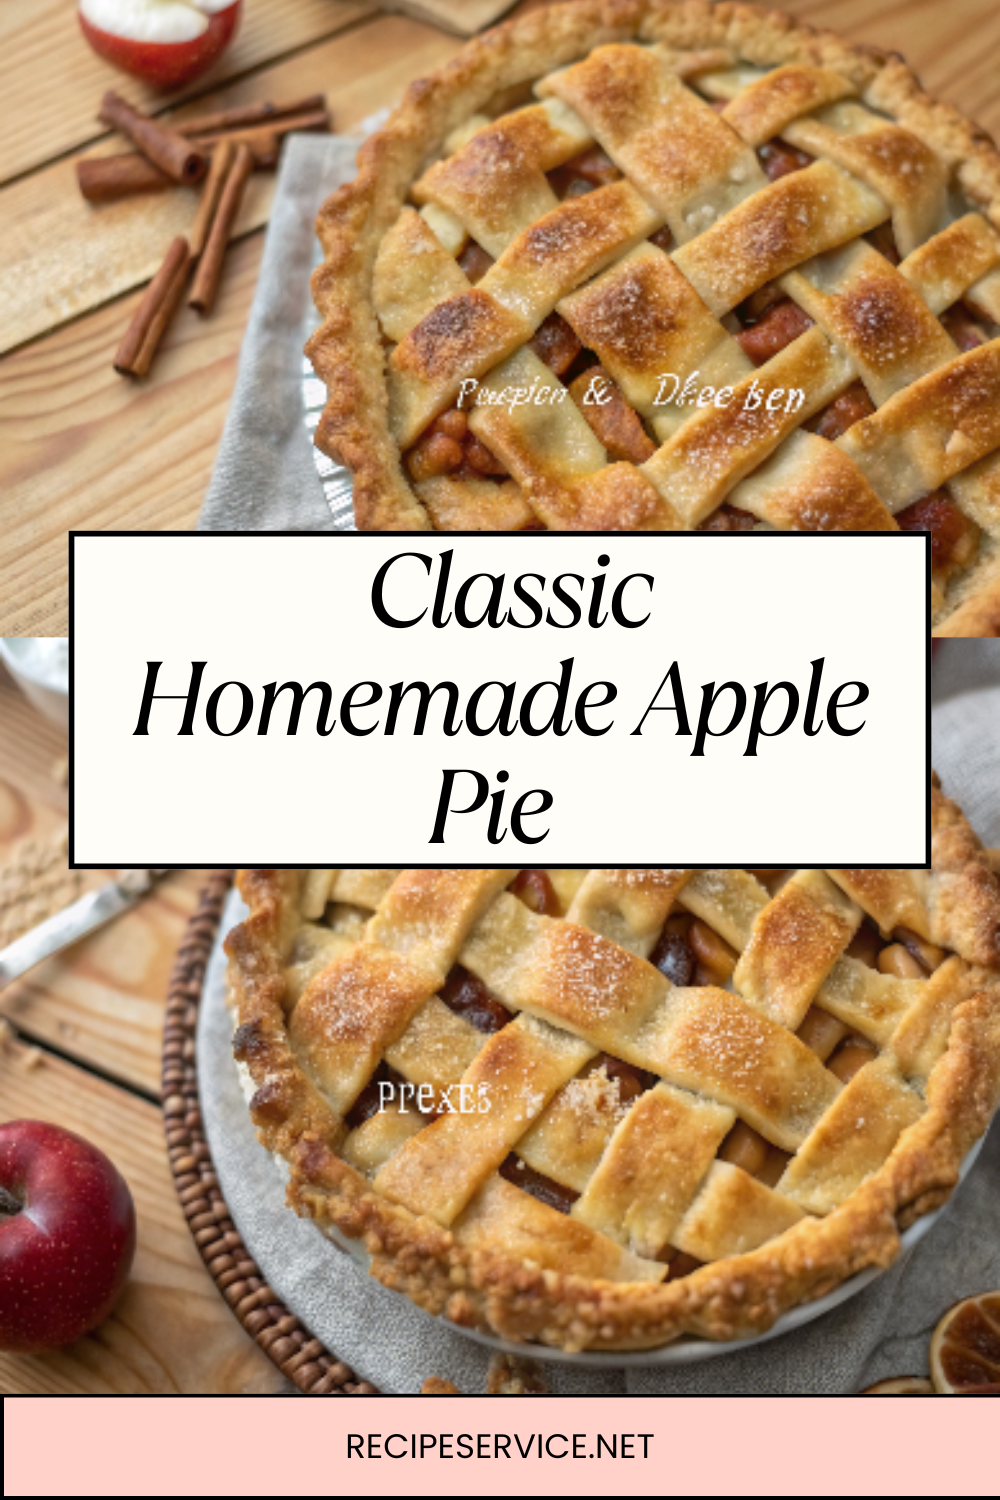
This recipe uses fresh apples for natural sweetness, warm cinnamon for coziness, and a hint of lemon juice to balance flavors. The result? A golden, picture-perfect pie with a filling that’s juicy but not runny, nestled in a crust that shatters with every bite.
🧰 Equipment Needed
- Large mixing bowl
- Cutting board & knife
- Measuring cups & spoons
- Rolling pin
- 9-inch pie dish
- Pastry brush
- Small saucepan
- Cooling rack
🛒 Ingredients
Fruits & Vegetables:
- 8 cups apples, peeled, cored, and sliced (about 6–7 medium apples)
Fresh Produce:
- 1 egg, beaten (for egg wash)
Condiments:
- 1 tsp lemon juice, fresh
Culinary Aids & Spices:
- 1 tbsp all-purpose flour
- ⅔ cup brown sugar, lightly packed
- 2 tsp ground cinnamon
- ¼ tsp salt
- 1 tbsp coarse sugar (for sprinkling)
Bread & Pastries:
- 1 perfect pie crust recipe (enough for top and bottom crust)
Dairy:
- ¼ cup butter (unsalted)
Liquids:
- 1 tsp water
👩🍳 Directions
Step 1: Prepare the Apples
- Peel, core, and slice apples into thin, even pieces.
- Place apple slices in a large mixing bowl.
- Add lemon juice, brown sugar, flour, cinnamon, and salt. Toss gently to coat apples evenly.
Step 2: Prepare the Crust
- Roll out half of the pie dough on a lightly floured surface until about ⅛-inch thick.
- Transfer to a 9-inch pie dish, letting excess dough hang over the edges.
Step 3: Make the Filling
- In a small saucepan, melt butter over medium heat.
- Pour the butter over the apple mixture and toss to combine.
- Spoon the apple filling evenly into the prepared crust, mounding slightly in the center.
Step 4: Add the Top Crust
- Roll out the remaining dough and place over the filling.
- Trim excess dough, leaving about 1 inch overhang, and fold edges under.
- Crimp edges with your fingers or a fork for a decorative finish.
Step 5: Egg Wash & Sugar
- In a small bowl, whisk the egg with water.
- Brush the egg wash over the top crust.
- Sprinkle with coarse sugar for sparkle and crunch.
Step 6: Bake the Pie
- Preheat oven to 200°C (400°F).
- Place pie on the middle rack and bake for 20 minutes.
- Reduce oven temperature to 180°C (350°F) and bake for another 30–35 minutes, or until crust is golden brown and filling is bubbling.
- If edges brown too quickly, cover them with foil.
Step 7: Cool & Serve
- Transfer pie to a cooling rack and let rest for at least 2 hours before slicing.
- Serve warm or at room temperature—plain, with whipped cream, or with a scoop of vanilla ice cream.
🍽️ Servings & Timing
- Servings: 8 slices
- Prep Time: 25 minutes
- Cook Time: 50–55 minutes
- Total Time: ~1 hour 20 minutes (plus cooling)
🧊 Storage & Reheating
Room Temperature:
- Keep covered for up to 2 days.
Refrigerator:
- Store tightly wrapped for up to 5 days.
Freezer:
- Wrap cooled pie in plastic wrap, then foil; freeze for up to 3 months.
Reheating:
- Warm slices in a 180°C (350°F) oven for 10–15 minutes.
🥄 Variations
- Dutch Apple Pie: Swap top crust for a buttery crumble topping.
- Caramel Apple Pie: Drizzle caramel sauce over filling before adding the crust.
- Mixed Fruit Pie: Add pears or berries to the apple filling.
- No-Refined-Sugar Version: Use coconut sugar or maple syrup instead of brown sugar.
- Mini Apple Pies: Make in muffin tins for individual servings.
❓ 10 FAQs
1. What apples are best for apple pie?
Granny Smith, Honeycrisp, and Braeburn hold their shape and balance sweetness with tartness.
2. Can I use store-bought crust?
Yes—homemade has more flavor, but store-bought is a time-saver.
3. How do I prevent a soggy bottom crust?
Pre-bake the crust for 10 minutes or sprinkle a little flour or breadcrumbs under the filling.
4. Can I make the pie ahead of time?
Yes—bake a day in advance and store at room temperature.
5. Should I peel the apples?
Peeling is recommended for a tender filling, but you can leave skins on for texture.
6. Why add lemon juice?
It prevents apples from browning and adds brightness to the flavor.
7. Can I make it gluten-free?
Yes—use a gluten-free crust and flour alternative.
8. Can I freeze the pie before baking?
Yes—assemble, wrap well, and freeze. Bake from frozen, adding about 20 extra minutes.
9. Can I reduce the sugar?
Yes—reduce by ¼ cup for a less sweet pie.
10. What’s the best way to serve leftover pie?
Warm with vanilla ice cream for the ultimate comfort dessert.
🏁 Conclusion
A classic homemade apple pie is more than just a dessert—it’s a slice of tradition and comfort. With its flaky crust, tender spiced apples, and golden top, it’s perfect for cozy nights, family gatherings, and celebrations.
Once you make this from scratch, you’ll never go back to store-bought.

Classic Homemade Apple Pie | Fresh, Sweet & Comforting
Ingredients
Equipment
Method
- Peel, core, and slice apples into thin, even pieces.
- Place apple slices in a large mixing bowl.
- Add lemon juice, brown sugar, flour, cinnamon, and salt. Toss gently to coat apples evenly.
- Roll out half of the pie dough on a lightly floured surface until about ⅛-inch thick.
- Transfer to a 9-inch pie dish, letting excess dough hang over the edges.
- In a small saucepan, melt butter over medium heat.
- Pour the butter over the apple mixture and toss to combine.
- Spoon the apple filling evenly into the prepared crust, mounding slightly in the center.
- Roll out the remaining dough and place over the filling.
- Trim excess dough, leaving about 1 inch overhang, and fold edges under.
- Crimp edges with your fingers or a fork for a decorative finish.
- In a small bowl, whisk the egg with water.
- Brush the egg wash over the top crust.
- Sprinkle with coarse sugar for sparkle and crunch.
- Preheat oven to 200°C (400°F).
- Place pie on the middle rack and bake for 20 minutes.
- Reduce oven temperature to 180°C (350°F) and bake for another 30–35 minutes, or until crust is golden brown and filling is bubbling.
- If edges brown too quickly, cover them with foil.
- Transfer pie to a cooling rack and let rest for at least 2 hours before slicing.
- Serve warm or at room temperature—plain, with whipped cream, or with a scoop of vanilla ice cream.
Notes
Room Temperature: Keep covered for up to 2 days. Refrigerator: Store tightly wrapped for up to 5 days. Freezer: Wrap cooled pie in plastic wrap, then foil; freeze for up to 3 months. Reheating: Warm slices in a 180°C (350°F) oven for 10–15 minutes. 🥄 Variations
Dutch Apple Pie: Swap top crust for a buttery crumble topping. Caramel Apple Pie: Drizzle caramel sauce over filling before adding the crust. Mixed Fruit Pie: Add pears or berries to the apple filling. No-Refined-Sugar Version: Use coconut sugar or maple syrup instead of brown sugar. Mini Apple Pies: Make in muffin tins for individual servings. ❓ 10 FAQs
1. What apples are best for apple pie?
Granny Smith, Honeycrisp, and Braeburn hold their shape and balance sweetness with tartness. 2. Can I use store-bought crust?
Yes—homemade has more flavor, but store-bought is a time-saver. 3. How do I prevent a soggy bottom crust?
Pre-bake the crust for 10 minutes or sprinkle a little flour or breadcrumbs under the filling. 4. Can I make the pie ahead of time?
Yes—bake a day in advance and store at room temperature. 5. Should I peel the apples?
Peeling is recommended for a tender filling, but you can leave skins on for texture. 6. Why add lemon juice?
It prevents apples from browning and adds brightness to the flavor. 7. Can I make it gluten-free?
Yes—use a gluten-free crust and flour alternative. 8. Can I freeze the pie before baking?
Yes—assemble, wrap well, and freeze. Bake from frozen, adding about 20 extra minutes. 9. Can I reduce the sugar?
Yes—reduce by ¼ cup for a less sweet pie. 10. What’s the best way to serve leftover pie?
Warm with vanilla ice cream for the ultimate comfort dessert. 🏁 Conclusion
A classic homemade apple pie is more than just a dessert—it’s a slice of tradition and comfort. With its flaky crust, tender spiced apples, and golden top, it’s perfect for cozy nights, family gatherings, and celebrations. Once you make this from scratch, you’ll never go back to store-bought.


