Crispy Chicken Katsu: Crunchy & Delicious Japanese Comfort Food
Craving something crispy, juicy, and deeply satisfying? Say hello to Chicken Katsu — Japan’s answer to comfort food. With a perfectly golden Panko crust and tender, juicy chicken inside, this beloved dish is easy to make at home and just as good (if not better!) than your favorite Japanese restaurant.
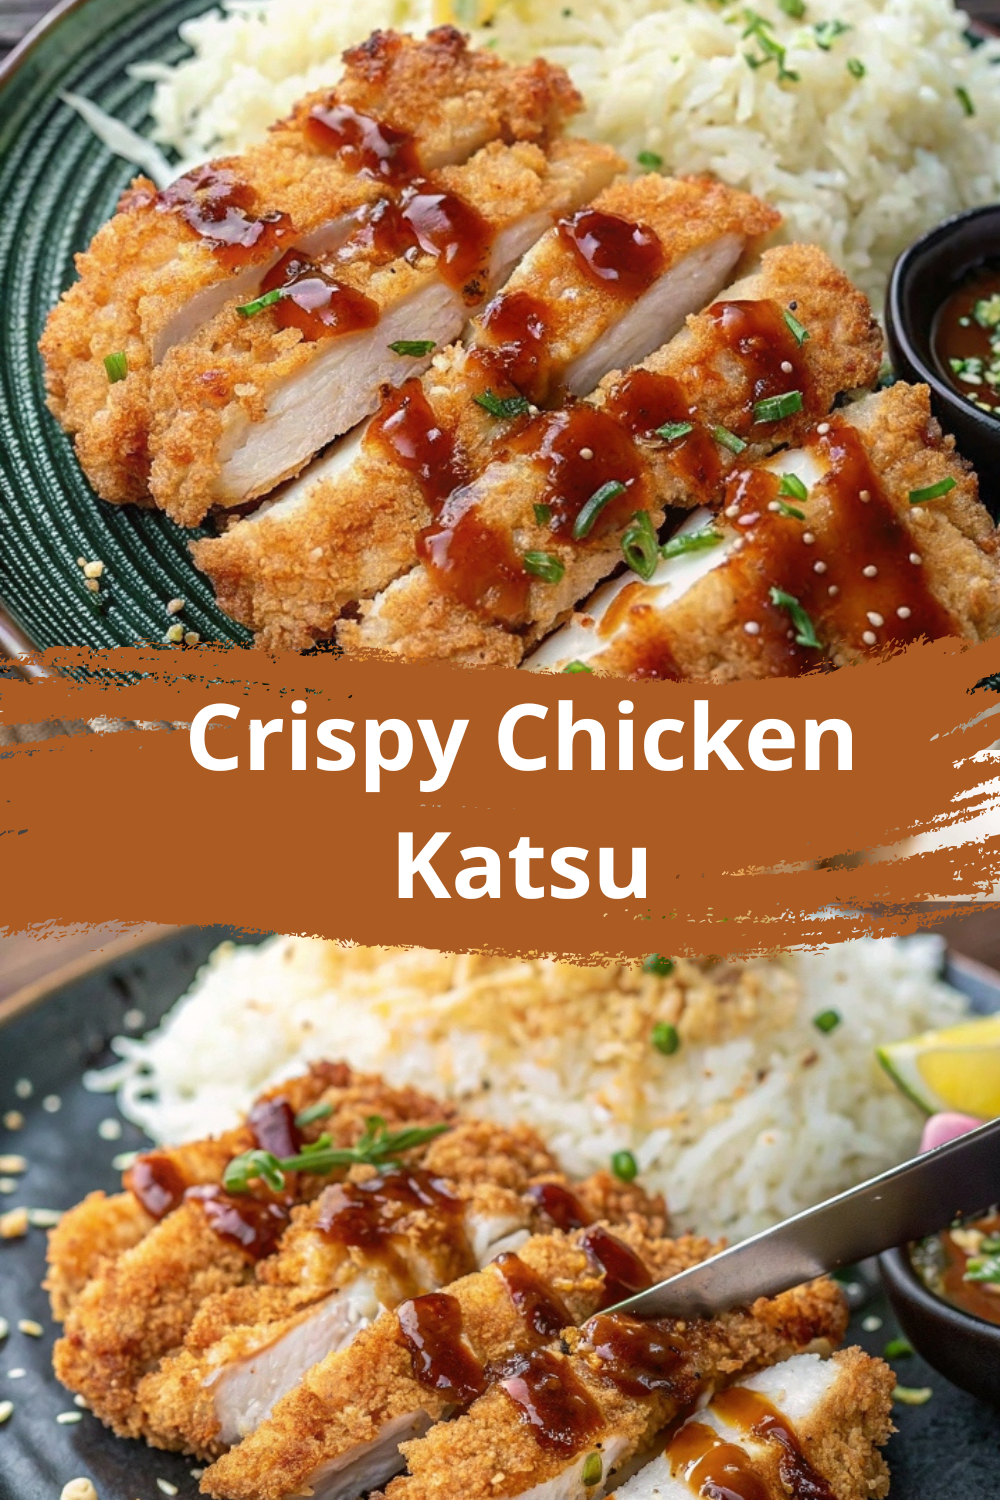
Chicken Katsu is a Japanese-style breaded chicken cutlet — similar to a schnitzel — served sliced and typically paired with tonkatsu sauce, shredded cabbage, and a bowl of fluffy rice. It’s crispy, flavorful, and so comforting. Whether you’re making it for a cozy dinner or a weekend treat, it’s a meal the whole family will love.
If you’re a fan of Japanese cuisine, you’ll also love Teriyaki Chicken or Japanese Curry.
Ingredients
Equipment
Method
Step 1: Prepare the Chicken
- Slice each chicken breast in half horizontally to make 4 thinner cutlets.
- If needed, pound each cutlet to even thickness (about ½ inch thick) using a mallet.
- Season both sides with salt and black pepper.
Step 2: Set Up Breading Station
- Prepare 3 shallow bowls:
- Flour in the first bowl
- Beaten eggs in the second
- Panko breadcrumbs in the third
✅ Panko is essential for that authentic, ultra-crunchy texture!
Step 3: Bread the Chicken
- Dredge each cutlet in flour, coating both sides and shaking off excess.
- Dip into egg wash, letting the excess drip off.
- Press into Panko, pressing firmly to coat fully.
- Repeat with all cutlets and place on a plate or tray.
Step 4: Fry the Chicken
- Heat ½ inch of oil in a large skillet over medium-high heat (350°F / 175°C).
- Carefully place 1–2 cutlets in the oil (don’t overcrowd).
- Fry for 3–4 minutes per side, or until golden brown and cooked through (165°F internal temp).
- Transfer to a paper towel-lined plate or wire rack.
Step 5: Make the Tonkatsu Sauce (Optional)
- In a small bowl, mix:
- Ketchup
- Worcestershire
- Soy sauce
- Sugar
- Mustard (if using)
- Stir until smooth. Taste and adjust sweetness or saltiness to preference.
- Step 6: Serve!
- Slice chicken into strips and serve over steamed rice with shredded cabbage, lemon wedges, and a drizzle of tonkatsu sauce.
Notes
🔁 Variations
1. Spicy Katsu
Add 1 tsp chili powder or cayenne to the Panko for a spicy kick. 2. Chicken Katsu Sandwich (Katsu Sando)
Serve crispy chicken on soft white bread with cabbage and tonkatsu sauce — Japanese sandwich perfection! 3. Baked Chicken Katsu
Spray breaded cutlets with oil and bake at 425°F for 20–25 minutes, flipping halfway. 4. Air Fryer Katsu
Air fry at 400°F for 10–12 minutes, flipping once. 5. Katsu Donburi (Katsudon)
Serve Katsu over rice and pour a lightly sweet soy-onion-egg mixture over top. 🧊 Storage & Reheating
Refrigerator:
Store cooked katsu in an airtight container for up to 3 days. Freezer:
Freeze cooked or uncooked breaded chicken for up to 2 months. Separate layers with parchment paper. Reheat:
Oven: 350°F for 10 minutes Air Fryer: 350°F for 5–7 minutes Avoid microwave to maintain crispiness ❓ 10 Frequently Asked Questions (FAQs)
1. What’s the difference between Chicken Katsu and Tonkatsu?
Chicken Katsu uses chicken; Tonkatsu uses pork cutlets. Both are breaded and fried the same way. 2. Can I use chicken thighs?
Yes — boneless, skinless chicken thighs are juicy and work great. 3. Is Chicken Katsu gluten-free?
Not by default. Use GF flour, GF Panko, and tamari in the sauce to make it gluten-free. 4. Can I make this without deep frying?
Yes — bake or air fry using the same breading steps. 5. What oil is best for frying?
Use neutral oils like canola, vegetable, or peanut oil with a high smoke point. 6. Can I prep this ahead of time?
Yes — bread the cutlets and refrigerate for up to 1 day before frying. 7. What is tonkatsu sauce made of?
A blend of ketchup, Worcestershire, soy sauce, and sugar. It’s sweet, tangy, and umami-rich. 8. Do I need to pound the chicken?
It helps for even cooking and tenderness, but it’s optional if the cutlets are already thin. 9. What goes well with Chicken Katsu?
Try it with: Steamed rice Miso soup Shredded cabbage Pickled veggies 10. Can I make a vegetarian version?
Yes! Try using tofu, eggplant, or zucchini instead of chicken. ✅ Conclusion
This Crispy Chicken Katsu recipe brings you the crunch, comfort, and flavor of Japanese cuisine — right from your own kitchen. Whether you’re enjoying it as a simple dinner, building a bento box, or layering it into a sandwich, Chicken Katsu is the kind of dish that turns ordinary ingredients into crispy, golden magic. With its quick prep, satisfying texture, and versatile serving options, this dish will be a regular favorite at your table. Looking for more Japanese comfort dishes? Japanese Curry with Chicken Katsu Oyako Don (Chicken & Egg Rice Bowl) Homemade Gyoza Dumplings


