Bursting with juicy berries and topped with a golden, biscuit-like crust—this quick dessert is comfort food at its easiest and most delicious.
🎉 Introduction
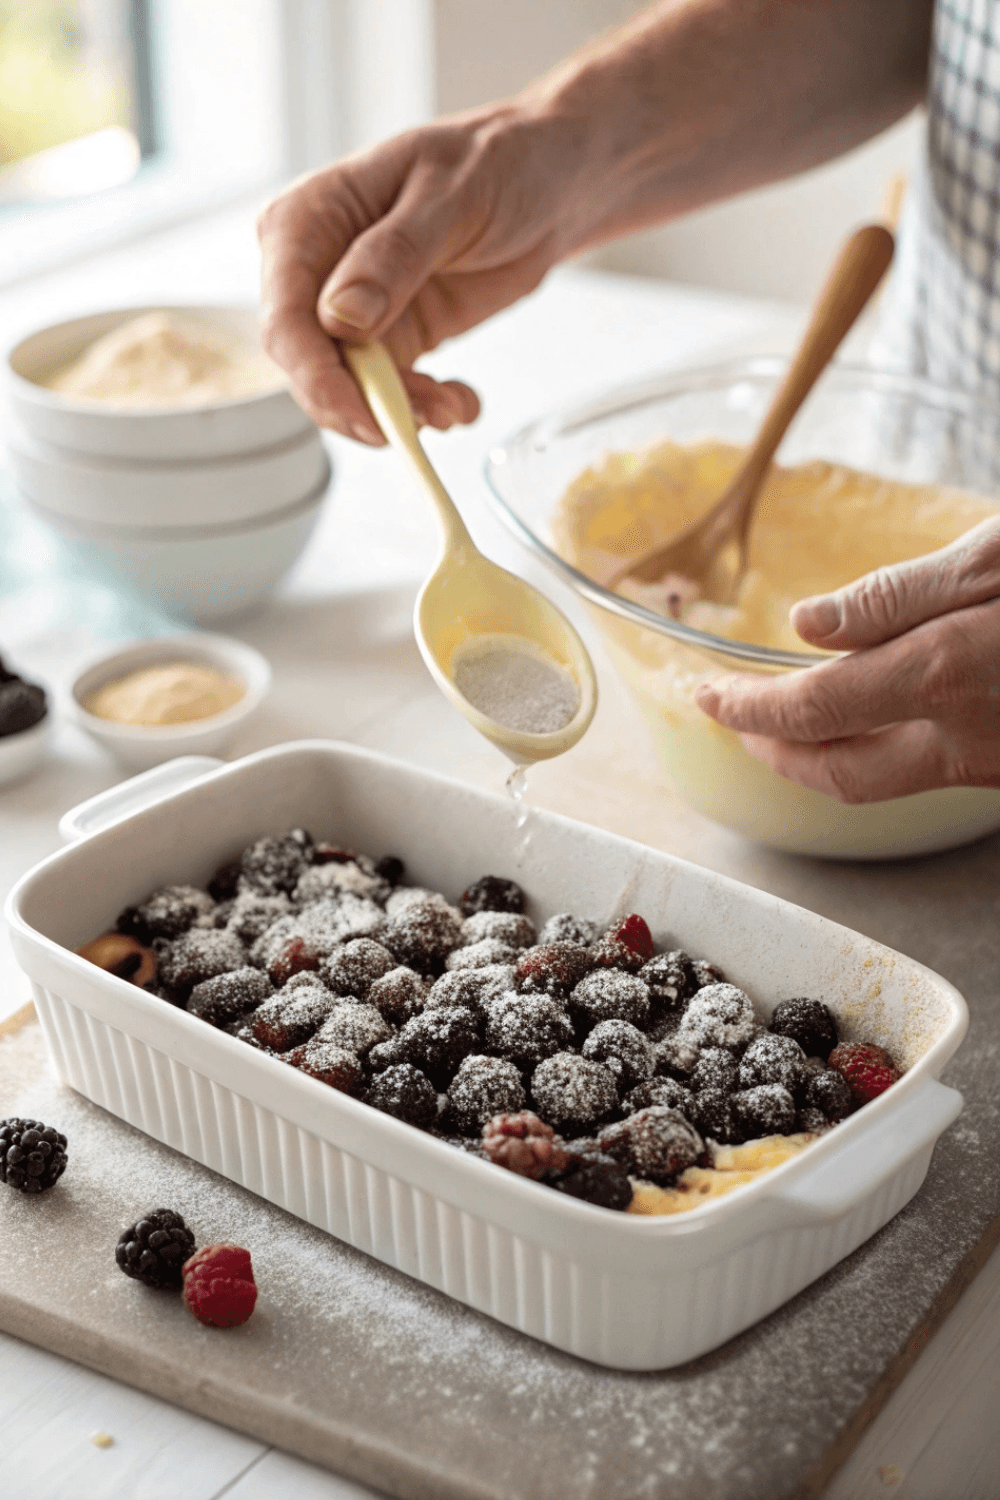
When you’re craving a warm, fruity dessert with minimal effort, this Easy Bisquick Blackberry Cobbler delivers in the most satisfying way. It’s a rustic Southern-style treat made with pantry staples and fresh or frozen blackberries, and it’s ready in under an hour! 🫐🍰
With a fluffy, biscuit-like topping and syrupy blackberry filling, it’s a crowd-pleaser for any summer gathering—or just a cozy weeknight indulgence. Add a scoop of vanilla ice cream, and you’ve got dessert magic. ✨
🛒 Ingredients
🫐 Blackberry Filling
- 4 cups blackberries (fresh or frozen)
- ½ cup sugar (adjust to taste)
- 1 tbsp lemon juice
- 1 tbsp cornstarch (for thicker sauce)
- ½ tsp cinnamon (optional)
🧁 Cobbler Topping
- 1 cup Bisquick mix
- 1 tbsp sugar (optional)
- ⅔ cup milk
- 2 tbsp melted butter
👩🍳 Directions
Step 1: Preheat & Prep
- Preheat oven to 375°F (190°C).
- Lightly grease a 9×9-inch baking dish or similar-sized oven-safe pan.
Step 2: Make the Filling
- In a mixing bowl, toss blackberries with sugar, lemon juice, cornstarch, and cinnamon (if using).
- Pour mixture into prepared baking dish and spread evenly.
Step 3: Mix the Topping
- In another bowl, stir together Bisquick, sugar (if using), milk, and melted butter until just combined—don’t overmix.
- Drop spoonfuls of batter evenly over the blackberry mixture.
Step 4: Bake
- Bake for 35–45 minutes, or until the topping is golden brown and the filling is bubbling around the edges.
- Let cool for 10–15 minutes before serving.
🍽️ Servings & Timing
- Servings: 6–8
- Prep Time: 10 minutes
- Bake Time: 40 minutes
- Total Time: ~50 minutes
🥄 Variations
- Berry Blend: Add raspberries, blueberries, or chopped peaches
- Spiced Up: Add a pinch of nutmeg or cardamom to the filling
- Extra Buttery: Brush biscuit topping with butter before baking
- Lemon Zing: Add lemon zest to the Bisquick batter
- Individual Servings: Bake in ramekins for a personal touch
🧊 Storage & Reheating
- Room Temp: Best served fresh, but can sit for up to 6 hours
- Fridge: Store covered for 3–4 days
- Reheat: Warm in oven at 325°F or microwave for 30 seconds
- Freezer: Freeze portions for up to 1 month. Thaw and reheat before serving
❓ 10 FAQs
- Can I use frozen blackberries?
Yes—just don’t thaw them first to avoid extra liquid. - Is Bisquick necessary?
Any all-purpose baking mix works similarly. - Do I have to sweeten the berries?
You can adjust sugar depending on the berry sweetness. - Can I make it gluten-free?
Use gluten-free Bisquick or a similar baking mix. - What size pan should I use?
A 9×9-inch dish is perfect; an 8×8 works too with a slightly thicker cobbler. - Can I double the recipe?
Yes—use a 9×13-inch pan and adjust baking time accordingly. - What if I don’t have cornstarch?
Use flour or arrowroot powder to help thicken the filling. - Can I use milk alternatives?
Yes—almond, oat, or soy milk all work fine. - What’s the difference between cobbler and crisp?
Cobbler has a biscuit topping; crisp uses a buttery oat crumb. - Can I make this ahead of time?
You can prep the filling and topping separately, then assemble just before baking.
🏁 Conclusion
This Easy Bisquick Blackberry Cobbler is the ultimate shortcut to homemade comfort. With juicy fruit and a golden, tender crust, it’s the perfect dessert for lazy weekends, last-minute guests, or just because. 🫐💛
Top it with ice cream or whipped cream for the full Southern experience—and savor every sweet, buttery bite.
Easy Bisquick Blackberry Cobbler Recipe – A Rustic Summer Classic
Ingredients
Method
- Preheat oven to 375°F (190°C).
- Lightly grease a 9×9-inch baking dish or similar-sized oven-safe pan.
- In a mixing bowl, toss blackberries with sugar, lemon juice, cornstarch, and cinnamon (if using).
- Pour mixture into prepared baking dish and spread evenly.
- In another bowl, stir together Bisquick, sugar (if using), milk, and melted butter until just combined—don’t overmix.
- Drop spoonfuls of batter evenly over the blackberry mixture.
- Bake for 35–45 minutes, or until the topping is golden brown and the filling is bubbling around the edges.
- Let cool for 10–15 minutes before serving.
Notes
Berry Blend: Add raspberries, blueberries, or chopped peaches Spiced Up: Add a pinch of nutmeg or cardamom to the filling Extra Buttery: Brush biscuit topping with butter before baking Lemon Zing: Add lemon zest to the Bisquick batter Individual Servings: Bake in ramekins for a personal touch 🧊 Storage & Reheating
Room Temp: Best served fresh, but can sit for up to 6 hours Fridge: Store covered for 3–4 days Reheat: Warm in oven at 325°F or microwave for 30 seconds Freezer: Freeze portions for up to 1 month. Thaw and reheat before serving ❓ 10 FAQs
Can I use frozen blackberries?
Yes—just don’t thaw them first to avoid extra liquid. Is Bisquick necessary?
Any all-purpose baking mix works similarly. Do I have to sweeten the berries?
You can adjust sugar depending on the berry sweetness. Can I make it gluten-free?
Use gluten-free Bisquick or a similar baking mix. What size pan should I use?
A 9×9-inch dish is perfect; an 8×8 works too with a slightly thicker cobbler. Can I double the recipe?
Yes—use a 9×13-inch pan and adjust baking time accordingly. What if I don’t have cornstarch?
Use flour or arrowroot powder to help thicken the filling. Can I use milk alternatives?
Yes—almond, oat, or soy milk all work fine. What’s the difference between cobbler and crisp?
Cobbler has a biscuit topping; crisp uses a buttery oat crumb. Can I make this ahead of time?
You can prep the filling and topping separately, then assemble just before baking. 🏁 Conclusion
This Easy Bisquick Blackberry Cobbler is the ultimate shortcut to homemade comfort. With juicy fruit and a golden, tender crust, it’s the perfect dessert for lazy weekends, last-minute guests, or just because. 🫐💛 Top it with ice cream or whipped cream for the full Southern experience—and savor every sweet, buttery bite.


