🎉 Introduction
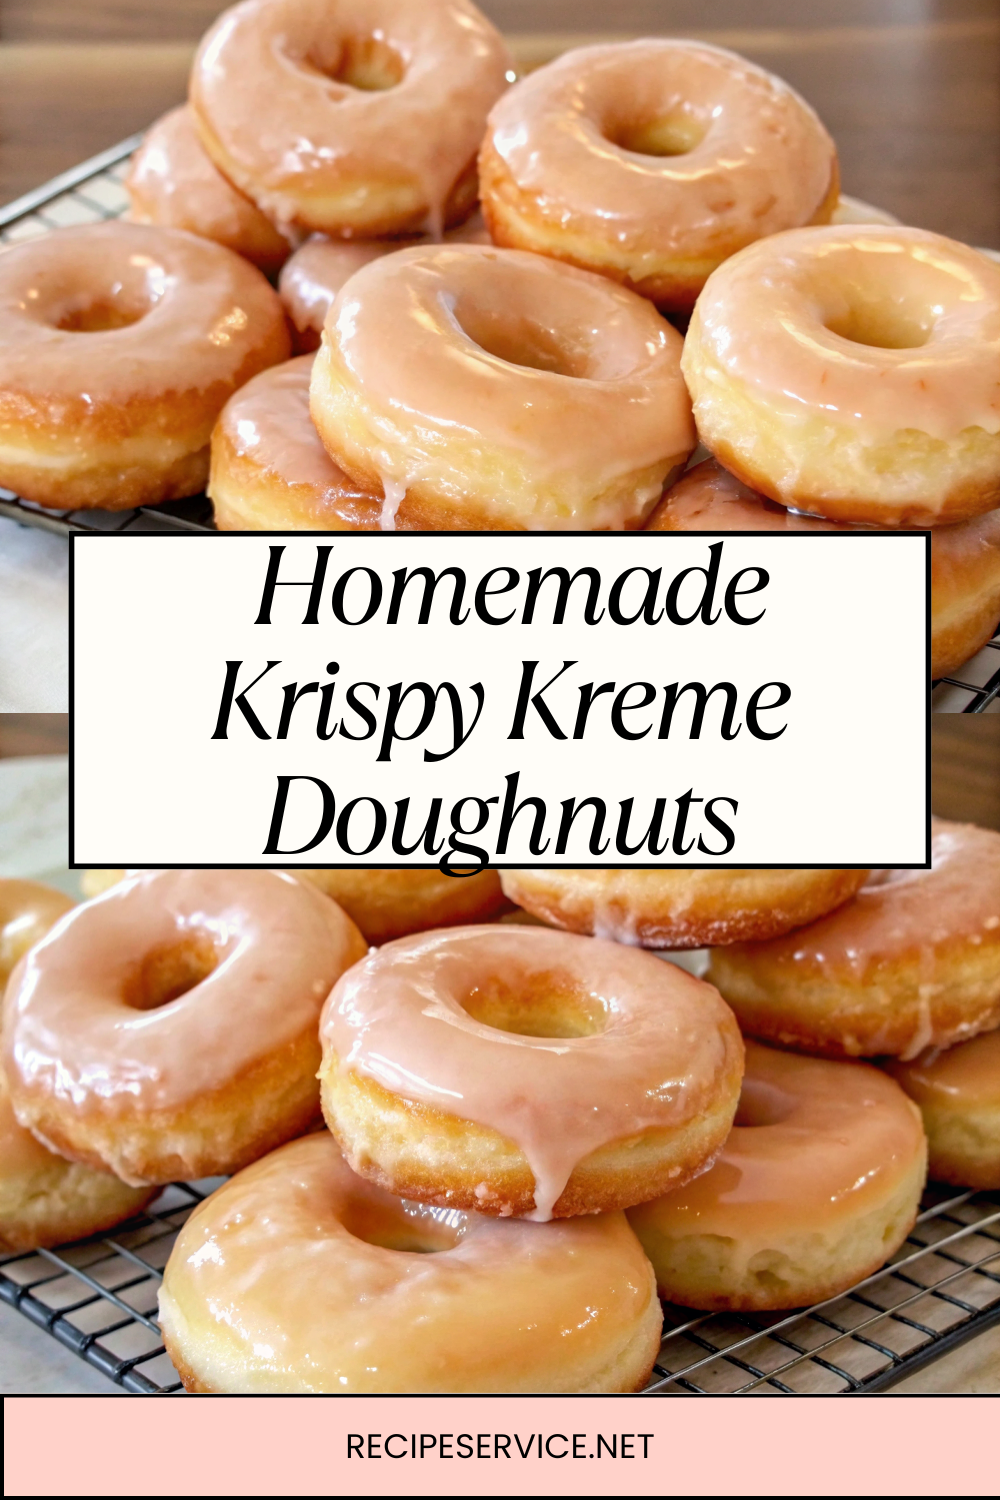
Craving the soft, melt-in-your-mouth magic of Krispy Kreme doughnuts, but want a homemade, pork-free, alcohol-free version? You’re in for a treat! These Homemade Krispy Kremes are pillowy, sweet, and airy, finished with that iconic glossy glaze that gently cracks with every bite.
No pork gelatin. No alcohol-based extracts. Just simple pantry ingredients and a foolproof recipe that brings the bakery to you. Perfect for breakfast, brunch, or an indulgent snack!
🧰 Equipment Needed
- Large mixing bowl
- Stand mixer with dough hook (optional but recommended)
- Rolling pin
- Doughnut cutter or round cutters
- Deep frying pan or Dutch oven
- Cooking thermometer (for oil)
- Wire cooling rack
- Slotted spoon or spider strainer
- Baking sheet lined with paper towels
🛒 Ingredients
🍩 For the Doughnuts
- 2¼ teaspoons active dry yeast (1 packet)
- 2 tablespoons warm water (110°F)
- ¾ cup warm milk (110°F)
- ¼ cup granulated sugar
- ¼ teaspoon salt
- ¼ cup unsalted butter, softened
- 1 large egg
- 2½ cups all-purpose flour (plus extra for dusting)
- Vegetable oil (for frying)
🍯 For the Glaze
- 2 cups powdered sugar
- ¼ cup milk
- 1 teaspoon vanilla extract (alcohol-free if needed)
👩🍳 Directions
Step 1: Activate the Yeast
- In a small bowl, combine warm water and yeast. Let sit for 5 minutes until frothy.
Step 2: Make the Dough
- In a large mixing bowl, whisk together warm milk, sugar, salt, butter, and egg.
- Add in the frothy yeast mixture.
- Gradually add flour, ½ cup at a time, stirring until a sticky dough forms.
- Knead by hand for 5–7 minutes (or with a stand mixer dough hook for 3–5 minutes) until dough is smooth and elastic.
Step 3: First Rise
- Place dough in a greased bowl, cover with a damp towel, and let rise in a warm place for 1–1½ hours, or until doubled in size.
Step 4: Roll & Cut Doughnuts
- Once risen, punch down the dough and turn it out onto a floured surface.
- Roll out to about ½-inch thickness.
- Use a doughnut cutter or two round cutters (one large, one small) to cut out doughnuts and holes.
- Place on a parchment-lined baking sheet.
Step 5: Second Rise
- Cover loosely with plastic wrap or a towel and let rise again for 30–45 minutes, until puffy.
Step 6: Prepare the Glaze
- In a bowl, whisk together powdered sugar, milk, and vanilla extract until smooth.
Step 7: Fry the Doughnuts
- Heat vegetable oil in a deep pan to 350°F (175°C).
- Fry doughnuts in batches, about 1 minute per side, until golden brown.
- Remove with a slotted spoon and drain on paper towels.
Step 8: Glaze the Doughnuts
- While still warm, dip each doughnut face-down into the glaze.
- Place on a wire rack to allow excess glaze to drip and set.
🍽️ Servings & Timing
- Yield: 12 doughnuts + holes
- Prep Time: 20 minutes
- Rising Time: 2 hours
- Cook Time: 10 minutes
- Total Time: 2 hours 30 minutes
🧊 Storage & Reheating
- Room Temperature:
Best enjoyed fresh, but can be stored in an airtight container for up to 2 days. - Freezing:
Freeze unglazed doughnuts for up to 1 month. Reheat and glaze fresh. - Reheating:
Microwave for 10–15 seconds to restore softness.
🥄 Variations
- Chocolate Glazed: Dip in a simple chocolate ganache instead of vanilla glaze.
- Cinnamon Sugar: Toss freshly fried doughnuts in cinnamon sugar.
- Filled Doughnuts: Inject with jam, custard, or cream before glazing.
- Maple Glazed: Swap vanilla for maple extract in the glaze.
- Vegan Version: Use almond milk, vegan butter, and flax egg substitute.
- Gluten-Free: Use a 1:1 gluten-free flour blend (texture will be slightly different).
- Matcha Glaze: Mix in matcha powder for a green tea-flavored glaze.
- Mini Doughnut Holes: Fry doughnut holes for bite-sized treats.
- Baked Version: Bake at 375°F for 10 minutes (texture will be more like a fluffy bread roll).
- Drizzle with Caramel: For an indulgent twist, drizzle caramel sauce after glazing.
❓ 10 FAQs
- Can I bake these instead of frying?
Yes, but baked doughnuts will be more bread-like than the traditional airy fried texture. - Why are my doughnuts dense?
Make sure the yeast is active and you allow enough rising time. - Do I need a doughnut cutter?
No, use a large glass and a bottle cap for cutting. - Can I use bread flour?
You can, but all-purpose flour will keep them lighter and softer. - How do I get the glaze to set shiny?
Dip while warm and let them sit on a wire rack to drip and dry. - Is this the same as Krispy Kreme’s exact recipe?
This is a homemade version inspired by their light, airy doughnut texture. - Can I make the dough the night before?
Yes, let it rise in the fridge overnight for a slow-proof method. - Do I need to double fry for extra crispiness?
Not for Krispy Kreme-style doughnuts; they’re known for their soft, tender texture. - Can I reduce the sugar in the dough?
Slightly, but the glaze brings the main sweetness balance. - Can I make these without a stand mixer?
Absolutely! Hand kneading will take a bit more effort but works fine.
🏁 Conclusion
These Homemade Krispy Kreme Doughnuts are light, fluffy, and dripping with a perfect vanilla glaze that cracks delicately when you take a bite. It’s the ultimate at-home indulgence that proves you don’t need pork gelatin or alcohol to enjoy bakery-quality doughnuts.
Perfect for weekend treats, family gatherings, or anytime you want to recreate that “Hot Now” Krispy Kreme magic in your own kitchen.
Homemade Krispy Kreme Doughnuts – Light, Fluffy & Glazed to Perfection
Ingredients
Equipment
Method
- In a small bowl, combine warm water and yeast. Let sit for 5 minutes until frothy.
- In a large mixing bowl, whisk together warm milk, sugar, salt, butter, and egg.
- Add in the frothy yeast mixture.
- Gradually add flour, ½ cup at a time, stirring until a sticky dough forms.
- Knead by hand for 5–7 minutes (or with a stand mixer dough hook for 3–5 minutes) until dough is smooth and elastic.
- Place dough in a greased bowl, cover with a damp towel, and let rise in a warm place for 1–1½ hours, or until doubled in size.
- Once risen, punch down the dough and turn it out onto a floured surface.
- Roll out to about ½-inch thickness.
- Use a doughnut cutter or two round cutters (one large, one small) to cut out doughnuts and holes.
- Place on a parchment-lined baking sheet.
- Cover loosely with plastic wrap or a towel and let rise again for 30–45 minutes, until puffy.
- Step 6: Prepare the Glaze
- In a bowl, whisk together powdered sugar, milk, and vanilla extract until smooth.
- Heat vegetable oil in a deep pan to 350°F (175°C).
- Fry doughnuts in batches, about 1 minute per side, until golden brown.
- Remove with a slotted spoon and drain on paper towels.
- While still warm, dip each doughnut face-down into the glaze.
- Place on a wire rack to allow excess glaze to drip and set.
Notes
Best enjoyed fresh, but can be stored in an airtight container for up to 2 days. Freezing:
Freeze unglazed doughnuts for up to 1 month. Reheat and glaze fresh. Reheating:
Microwave for 10–15 seconds to restore softness. 🥄 Variations Chocolate Glazed: Dip in a simple chocolate ganache instead of vanilla glaze. Cinnamon Sugar: Toss freshly fried doughnuts in cinnamon sugar. Filled Doughnuts: Inject with jam, custard, or cream before glazing. Maple Glazed: Swap vanilla for maple extract in the glaze. Vegan Version: Use almond milk, vegan butter, and flax egg substitute. Gluten-Free: Use a 1:1 gluten-free flour blend (texture will be slightly different). Matcha Glaze: Mix in matcha powder for a green tea-flavored glaze. Mini Doughnut Holes: Fry doughnut holes for bite-sized treats. Baked Version: Bake at 375°F for 10 minutes (texture will be more like a fluffy bread roll). Drizzle with Caramel: For an indulgent twist, drizzle caramel sauce after glazing. ❓ 10 FAQs Can I bake these instead of frying?
Yes, but baked doughnuts will be more bread-like than the traditional airy fried texture. Why are my doughnuts dense?
Make sure the yeast is active and you allow enough rising time. Do I need a doughnut cutter?
No, use a large glass and a bottle cap for cutting. Can I use bread flour?
You can, but all-purpose flour will keep them lighter and softer. How do I get the glaze to set shiny?
Dip while warm and let them sit on a wire rack to drip and dry. Is this the same as Krispy Kreme’s exact recipe?
This is a homemade version inspired by their light, airy doughnut texture. Can I make the dough the night before?
Yes, let it rise in the fridge overnight for a slow-proof method. Do I need to double fry for extra crispiness?
Not for Krispy Kreme-style doughnuts; they’re known for their soft, tender texture. Can I reduce the sugar in the dough?
Slightly, but the glaze brings the main sweetness balance. Can I make these without a stand mixer?
Absolutely! Hand kneading will take a bit more effort but works fine. 🏁 Conclusion These Homemade Krispy Kreme Doughnuts are light, fluffy, and dripping with a perfect vanilla glaze that cracks delicately when you take a bite. It’s the ultimate at-home indulgence that proves you don’t need pork gelatin or alcohol to enjoy bakery-quality doughnuts. Perfect for weekend treats, family gatherings, or anytime you want to recreate that “Hot Now” Krispy Kreme magic in your own kitchen.


