🎉 Introduction
Get ready to wrap up your Halloween party with these adorably spooky Mummy Mozzarella Sticks! 🕸️🎃
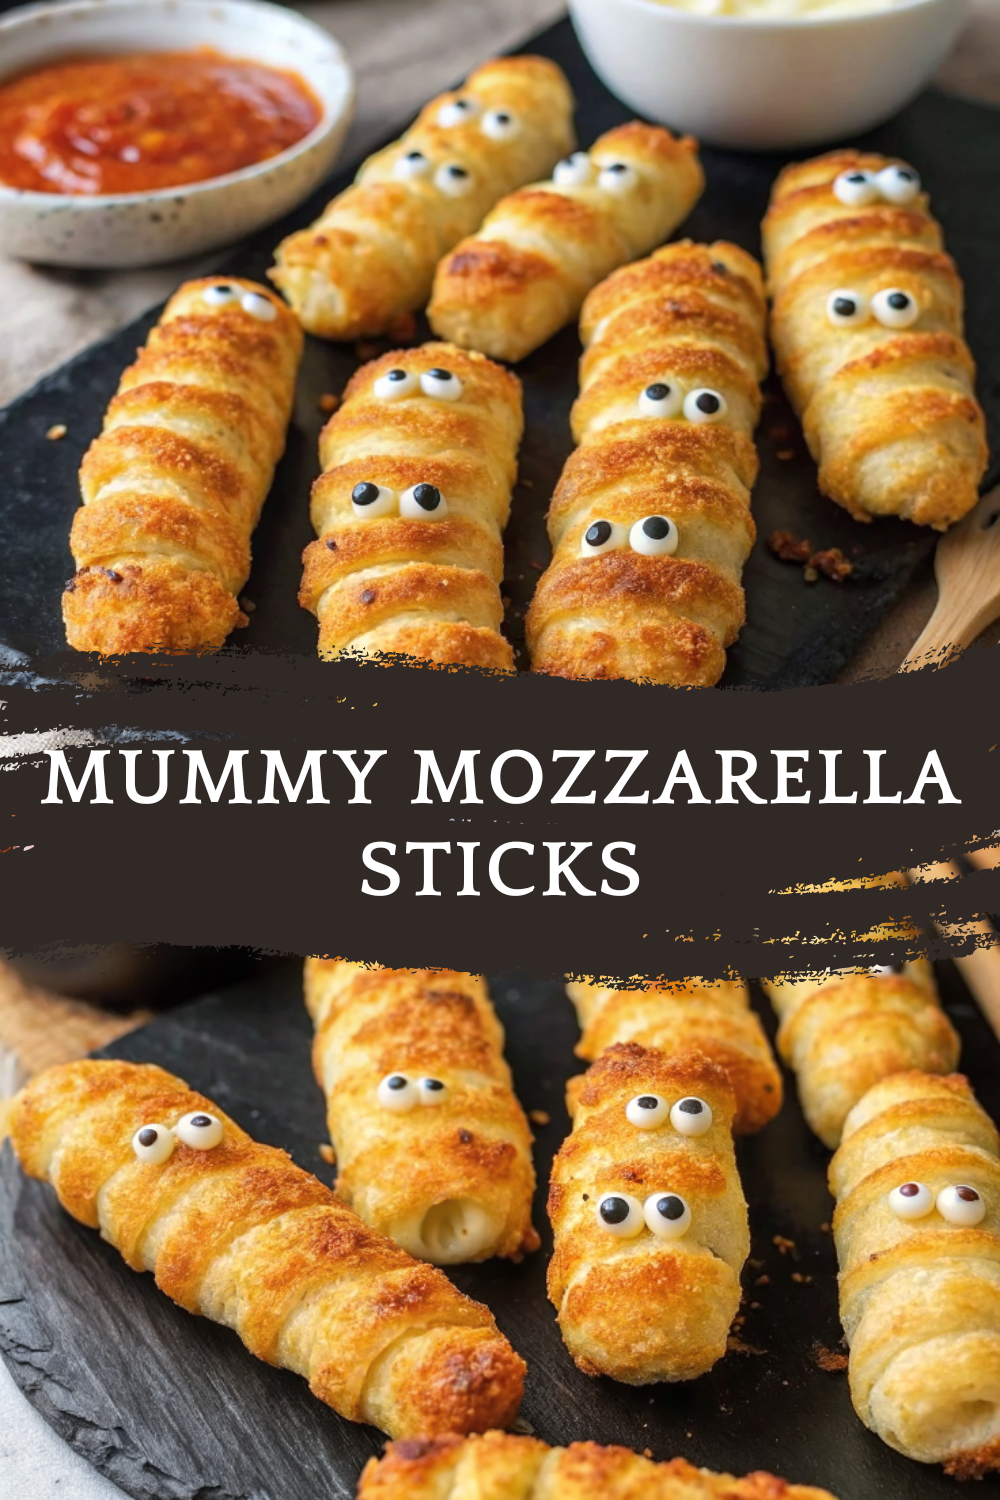
These bite-sized Halloween appetizers are the perfect combination of melty mozzarella, flaky crescent roll pastry, and a whole lot of fun. Each cheesy stick is wrapped up like a tiny mummy — complete with googly candy eyes and a golden-brown finish.
This recipe is quick, easy, and kid-approved, making it ideal for parties, movie nights, or spooky-themed dinners. Whether you serve them as snacks or appetizers, these mummies will disappear faster than a ghost in the night! 👻
🧰 Equipment Needed
To make your spooky little mummies, you’ll need:
- Baking sheet
- Parchment paper or silicone baking mat
- Sharp knife or pizza cutter
- Pastry brush (optional)
- Cooling rack
- Small bowl for egg wash (optional)
🛒 Ingredients
Here’s what you’ll need to make about 8 Mummy Mozzarella Sticks:
Breads & Pastries
- 2 (8 oz) tubes refrigerated crescent roll dough
Dairy
- 8 mozzarella string cheese sticks
Decorations
- 16 candy eyes (2 for each mummy)
👩🍳 Directions
Step 1: Prepare Your Work Area
- Preheat oven to 375°F (190°C).
- Line a baking sheet with parchment paper.
- Unwrap the mozzarella sticks and pat them dry (this helps prevent sogginess).
Step 2: Roll Out the Dough
- Unroll the crescent roll dough and separate it into 4 rectangles (each made up of two triangles).
- Gently press the seams together to seal.
- Using a knife or pizza cutter, cut each rectangle into thin strips — about ¼ inch wide.
Step 3: Wrap the Mummies
- Take one mozzarella stick and wrap 2–3 dough strips around it, crisscrossing to create a “mummy bandage” look.
- Leave a small gap near the top for the “face.”
- Place each wrapped stick on the prepared baking sheet.
Step 4: Bake Until Golden
- Optional: Brush lightly with melted butter or olive oil for extra crispiness.
- Bake for 10–12 minutes, or until the dough turns golden brown and puffed.
- Remove from the oven and let cool slightly — they’ll be hot and oozy inside! 🧀
Step 5: Add the Eyes
- Once cooled slightly (but still warm), gently press two candy eyes into each mummy’s “face” area.
- Serve immediately for the ultimate gooey, cheesy pull!
These little mummies are best served warm, paired with your favorite dipping sauces.
🍽️ Servings & Timing
- Servings: 8
- Prep Time: 10 minutes
- Cook Time: 12 minutes
- Total Time: 22 minutes
Perfect for Halloween parties, kids’ lunches, or spooky-themed appetizer platters.
🧊 Storage & Reheating
Storage:
- Store leftovers (if any survive!) in an airtight container in the refrigerator for up to 2 days.
Reheating:
- Reheat in the oven or air fryer at 350°F (175°C) for 4–5 minutes until crispy again.
- Avoid microwaving — it makes the dough soggy.
🥄 Variations
- Spicy Mummies: Sprinkle chili flakes or paprika on the dough before baking.
- Garlic Herb Version: Brush dough with garlic butter and a sprinkle of Italian seasoning.
- Pizza Mummies: Add a thin slice of pepperoni under the dough before wrapping.
- Vegan Option: Use vegan cheese sticks and plant-based puff pastry.
- Monster Mummies: Use different colored dough strips (like green-tinted with spinach powder).
- Air Fryer Mummies: Air fry at 375°F (190°C) for 6–7 minutes until golden.
Each version brings its own delicious personality to the table — spooky, tasty, and oh-so-fun! 👻
❓ 10 FAQs
- Can I make these ahead of time?
Yes! Assemble and refrigerate unbaked mummies for up to 4 hours before baking. - Can I freeze them?
Yes — freeze after baking, then reheat in an oven or air fryer until crispy. - Can I use puff pastry instead of crescent dough?
Absolutely! Puff pastry makes them extra flaky and buttery. - Can I use regular cheese instead of string cheese?
It’s best to stick with string cheese — it holds its shape while melting. - Can I make them without candy eyes?
Yes — use small pieces of black olive or peppercorns instead. - What sauce pairs best with these?
Marinara, ranch, or spicy sriracha ketchup work great. - How do I keep the cheese from leaking out?
Make sure the dough overlaps slightly and fully seals the ends. - Can kids help with this recipe?
Definitely! Wrapping the mummies is a fun activity for little hands. - Can I make mini versions?
Yes! Cut cheese sticks in half and use thinner dough strips. - Do I have to preheat the oven?
Yes — preheating ensures even baking and that perfect golden color.
🏁 Conclusion
These Mummy Mozzarella Sticks are cheesy, flaky, and frightfully fun! 🧀💀
With their golden bandages, gooey centers, and adorable candy eyes, they’re guaranteed to be the star of your Halloween spread.
Not only are they easy to make with just a few ingredients, but they’re also the kind of snack that makes kids giggle and adults go back for seconds. Whether you’re hosting a spooky party or a cozy movie night, these mummies are the perfect combination of cute and creepy.
So grab your dough, unwrap your cheese, and get ready to wrap up some delicious fun!
Mummy Mozzarella Sticks – Spooky, Cheesy & Frightfully Fun Halloween Snack!
Ingredients
Equipment
Method
- Preheat oven to 375°F (190°C).
- Line a baking sheet with parchment paper.
- Unwrap the mozzarella sticks and pat them dry (this helps prevent sogginess).
- Unroll the crescent roll dough and separate it into 4 rectangles (each made up of two triangles).
- Gently press the seams together to seal.
- Using a knife or pizza cutter, cut each rectangle into thin strips — about ¼ inch wide.
- Take one mozzarella stick and wrap 2–3 dough strips around it, crisscrossing to create a “mummy bandage” look.
- Leave a small gap near the top for the “face.”
- Place each wrapped stick on the prepared baking sheet.
- Optional: Brush lightly with melted butter or olive oil for extra crispiness.
- Bake for 10–12 minutes, or until the dough turns golden brown and puffed.
- Remove from the oven and let cool slightly — they’ll be hot and oozy inside! 🧀
- Once cooled slightly (but still warm), gently press two candy eyes into each mummy’s “face” area.
- Serve immediately for the ultimate gooey, cheesy pull!
- These little mummies are best served warm, paired with your favorite dipping sauces.
Notes
Yes! Assemble and refrigerate unbaked mummies for up to 4 hours before baking. Can I freeze them?
Yes — freeze after baking, then reheat in an oven or air fryer until crispy. Can I use puff pastry instead of crescent dough?
Absolutely! Puff pastry makes them extra flaky and buttery. Can I use regular cheese instead of string cheese?
It’s best to stick with string cheese — it holds its shape while melting. Can I make them without candy eyes?
Yes — use small pieces of black olive or peppercorns instead. What sauce pairs best with these?
Marinara, ranch, or spicy sriracha ketchup work great. How do I keep the cheese from leaking out?
Make sure the dough overlaps slightly and fully seals the ends. Can kids help with this recipe?
Definitely! Wrapping the mummies is a fun activity for little hands. Can I make mini versions?
Yes! Cut cheese sticks in half and use thinner dough strips. Do I have to preheat the oven?
Yes — preheating ensures even baking and that perfect golden color. 🏁 Conclusion These Mummy Mozzarella Sticks are cheesy, flaky, and frightfully fun! 🧀💀
With their golden bandages, gooey centers, and adorable candy eyes, they’re guaranteed to be the star of your Halloween spread. Not only are they easy to make with just a few ingredients, but they’re also the kind of snack that makes kids giggle and adults go back for seconds. Whether you’re hosting a spooky party or a cozy movie night, these mummies are the perfect combination of cute and creepy. So grab your dough, unwrap your cheese, and get ready to wrap up some delicious fun!


