4 Ingredients, Zero Kneading, 100% Homemade Artisan Magic
🎉 Introduction
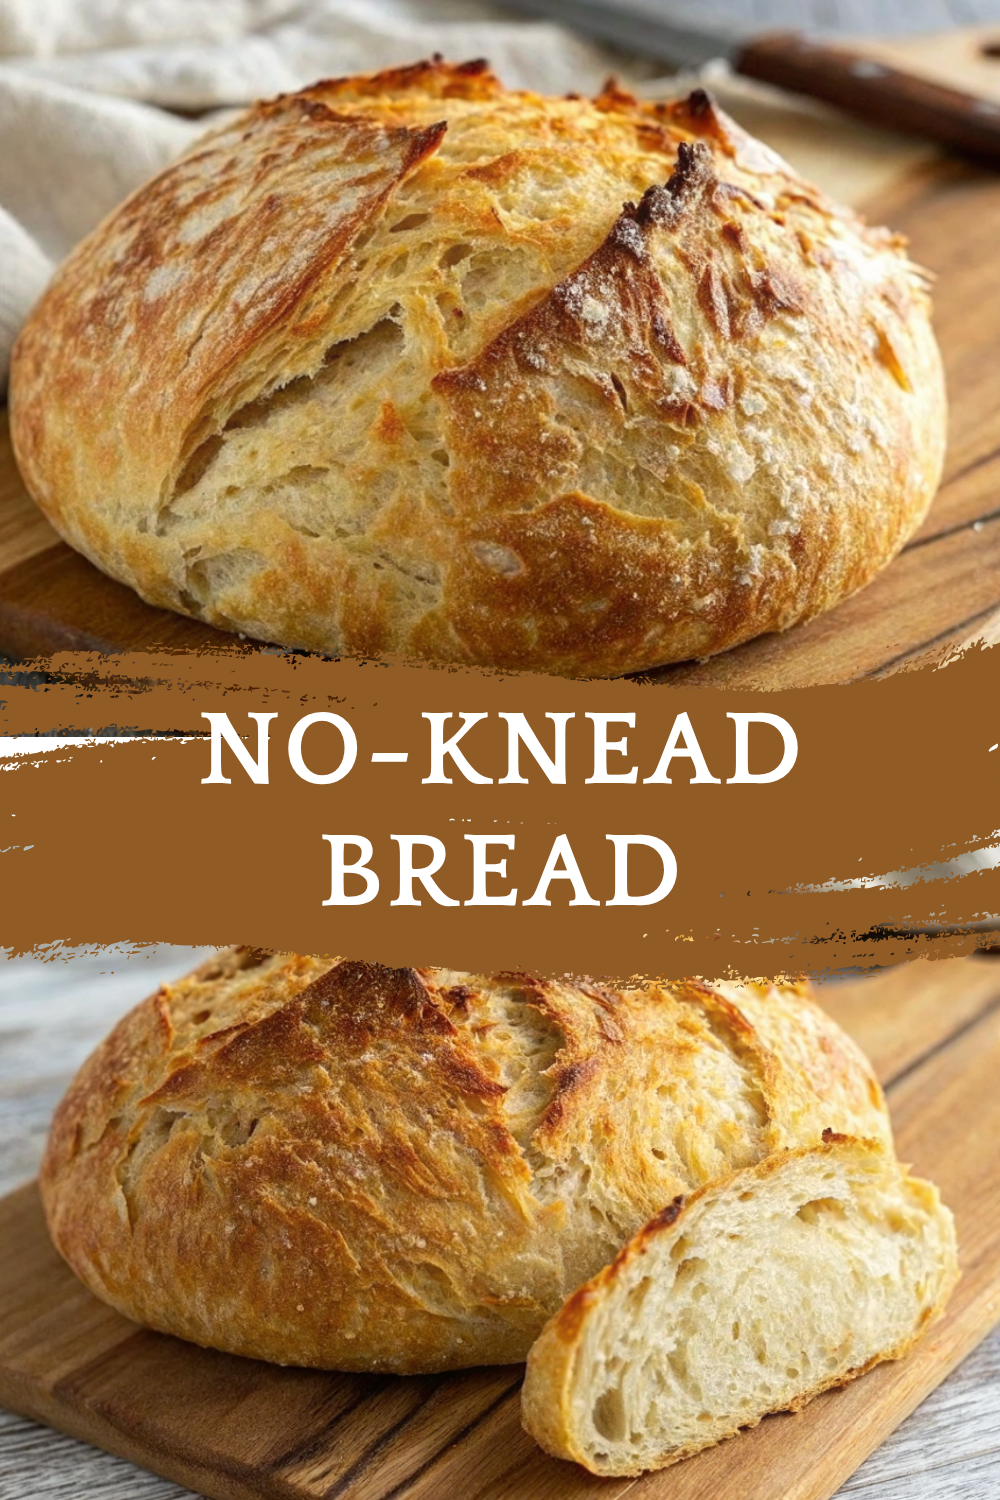
Craving crusty artisan-style bread without the hassle of kneading, rising timers, or stand mixers? Say hello to your new favorite baking ritual: No-Knead Bread. With just 4 pantry staples and a hands-off method, this loaf delivers bakery-quality results — golden crust, airy interior, and deep flavor — with barely any effort.
Whether you’re a total beginner or an expert looking for a no-fuss loaf, this bread is your secret weapon. No complicated steps. No precise timing. No dough hooks. Just mix, wait, and bake.
Let’s get into the easiest bread recipe ever — one that’s good enough for everyday toast or show-stopping enough for a weekend brunch board.
🧰 Equipment Needed
This recipe needs just the basics:
- Large mixing bowl
- Wooden spoon or spatula
- Measuring cups & spoons
- Parchment paper
- Dutch oven or oven-safe lidded pot (cast iron preferred)
- Sharp knife or bread lame
- Kitchen towel or plastic wrap
🛒 Ingredients
🧂 Pantry Items and Spices:
- 3 cups all-purpose flour
- ½ tsp instant yeast
- 1¼ tsp salt
💧 Liquids:
- 1½ cups water (room temperature)
That’s it! Four simple ingredients come together to create something magical.
👩🍳 Directions
Step 1: Mix the Dough
- In a large bowl, whisk together flour, salt, and instant yeast.
- Add water and stir until a sticky, shaggy dough forms.
- Cover the bowl with plastic wrap or a clean towel.
- Let rest at room temperature for 12–18 hours.
The dough will bubble and rise slowly — this long fermentation builds incredible flavor and texture.
Step 2: Shape the Dough
- Lightly flour your counter or a large board.
- Turn the dough out and gently fold it over itself a few times.
- Form into a rough ball.
- Place it seam-side down on a piece of parchment paper.
Step 3: Second Rise
- Cover loosely and let rest for 30–60 minutes, until puffed.
- While dough rises, place a Dutch oven (with lid) into your oven and preheat to 450°F (230°C) for at least 30 minutes.
Step 4: Bake
- Remove the hot Dutch oven carefully.
- Use parchment to lower the dough into the pot.
- Score the top with a sharp blade or knife (a simple “X” works great).
- Cover and bake for 30 minutes.
- Remove the lid and bake 10–15 minutes more until the crust is golden brown and crispy.
Your loaf should sound hollow when tapped and have a deep golden shell.
Step 5: Cool Before Slicing
- Remove the bread and cool on a wire rack for at least 30 minutes.
- Resist cutting it early — it finishes setting during this rest.
🍽️ Servings & Timing
- Servings: 1 artisan loaf (about 10–12 slices)
- Prep Time: 5 minutes
- First Rise: 12–18 hours
- Second Rise: 30–60 minutes
- Bake Time: 40–45 minutes
- Total Time: ~13–20 hours (mostly hands-off)
🧊 Storage & Reheating
Room Temperature:
- Store wrapped in a clean towel or paper bag for up to 3 days.
- Avoid plastic bags — they soften the crust.
Freezer:
- Freeze the loaf whole or sliced in a zip-top bag for up to 2 months.
- Toast slices straight from the freezer or warm the full loaf at 325°F for 10–12 minutes.
🥄 Variations
- Herbed Bread: Add 1 tsp dried rosemary, thyme, or Italian seasoning to the dough.
- Cheesy Crust: Fold in ½ cup shredded parmesan or cheddar before shaping.
- Whole Wheat Version: Replace 1 cup of flour with whole wheat flour.
- Seeded Top: Sprinkle sesame, flax, or sunflower seeds before baking.
- Garlic Infusion: Add 1 tsp garlic powder or roasted garlic cloves to the dough for an aromatic twist.
❓ 10 FAQs
- Can I use active dry yeast instead of instant?
Yes! Use the same amount, but bloom it in a few tablespoons of warm water before adding to flour. - What’s the secret to the crispy crust?
Steam + high heat. Baking in a preheated Dutch oven traps moisture, giving you that perfect artisan crust. - What if I don’t have a Dutch oven?
You can use any oven-safe pot with a lid, or bake on a pizza stone with a pan of hot water in the oven for steam. - Is this bread sour?
Not quite, but the long fermentation gives it a mild tang and deep flavor — similar to rustic bakery loaves. - Can I make it faster?
Yes. Increase yeast to 1 tsp and let rise 3–4 hours. You’ll lose a bit of flavor depth but still get a great loaf. - Can I use bread flour?
Yes! It adds more chew and structure. Feel free to swap 1:1 for a slightly more elastic crumb. - Why is my bread gummy inside?
It may not be fully baked — aim for an internal temperature of 200–210°F. - Can I make mini loaves?
Absolutely. Divide dough into 2 portions and reduce bake time by 5–10 minutes. - What if my dough is too sticky to handle?
That’s normal! Just flour your hands and surface — don’t add too much flour to the dough itself. - Why does my crust get soft the next day?
Moisture escapes into the crust. Re-crisp in the oven for 5–8 minutes at 350°F.
🏁 Conclusion
This No-Knead Bread is proof that great bread doesn’t need to be complicated. With 4 simple ingredients and a little patience, you’ll create a loaf that looks like it came from an artisan bakery. Crisp crust. Chewy crumb. Gorgeous oven spring. And no stress.
Perfect for busy weeknights, weekend brunches, or simply to impress your guests with “I made this myself” magic — this loaf belongs in your regular rotation.
So skip the store-bought and let time (not effort) do the work. You’ll never go back.
No-Knead Bread: Bread Easy Recipes for Effortless Baking
Ingredients
Equipment
Method
- In a large bowl, whisk together flour, salt, and instant yeast.
- Add water and stir until a sticky, shaggy dough forms.
- Cover the bowl with plastic wrap or a clean towel.
- Let rest at room temperature for 12–18 hours.
- The dough will bubble and rise slowly — this long fermentation builds incredible flavor and texture.
- Lightly flour your counter or a large board.
- Turn the dough out and gently fold it over itself a few times.
- Form into a rough ball.
- Place it seam-side down on a piece of parchment paper.
- Cover loosely and let rest for 30–60 minutes, until puffed.
- While dough rises, place a Dutch oven (with lid) into your oven and preheat to 450°F (230°C) for at least 30 minutes.
- Remove the hot Dutch oven carefully.
- Use parchment to lower the dough into the pot.
- Score the top with a sharp blade or knife (a simple “X” works great).
- Cover and bake for 30 minutes.
- Remove the lid and bake 10–15 minutes more until the crust is golden brown and crispy.
- Your loaf should sound hollow when tapped and have a deep golden shell.
- Remove the bread and cool on a wire rack for at least 30 minutes.
- Resist cutting it early — it finishes setting during this rest.
Notes
Yes! Use the same amount, but bloom it in a few tablespoons of warm water before adding to flour. What’s the secret to the crispy crust?
Steam + high heat. Baking in a preheated Dutch oven traps moisture, giving you that perfect artisan crust. What if I don’t have a Dutch oven?
You can use any oven-safe pot with a lid, or bake on a pizza stone with a pan of hot water in the oven for steam. Is this bread sour?
Not quite, but the long fermentation gives it a mild tang and deep flavor — similar to rustic bakery loaves. Can I make it faster?
Yes. Increase yeast to 1 tsp and let rise 3–4 hours. You’ll lose a bit of flavor depth but still get a great loaf. Can I use bread flour?
Yes! It adds more chew and structure. Feel free to swap 1:1 for a slightly more elastic crumb. Why is my bread gummy inside?
It may not be fully baked — aim for an internal temperature of 200–210°F. Can I make mini loaves?
Absolutely. Divide dough into 2 portions and reduce bake time by 5–10 minutes. What if my dough is too sticky to handle?
That’s normal! Just flour your hands and surface — don’t add too much flour to the dough itself. Why does my crust get soft the next day?
Moisture escapes into the crust. Re-crisp in the oven for 5–8 minutes at 350°F. 🏁 Conclusion This No-Knead Bread is proof that great bread doesn’t need to be complicated. With 4 simple ingredients and a little patience, you’ll create a loaf that looks like it came from an artisan bakery. Crisp crust. Chewy crumb. Gorgeous oven spring. And no stress. Perfect for busy weeknights, weekend brunches, or simply to impress your guests with “I made this myself” magic — this loaf belongs in your regular rotation. So skip the store-bought and let time (not effort) do the work. You’ll never go back.


