🎉 Introduction
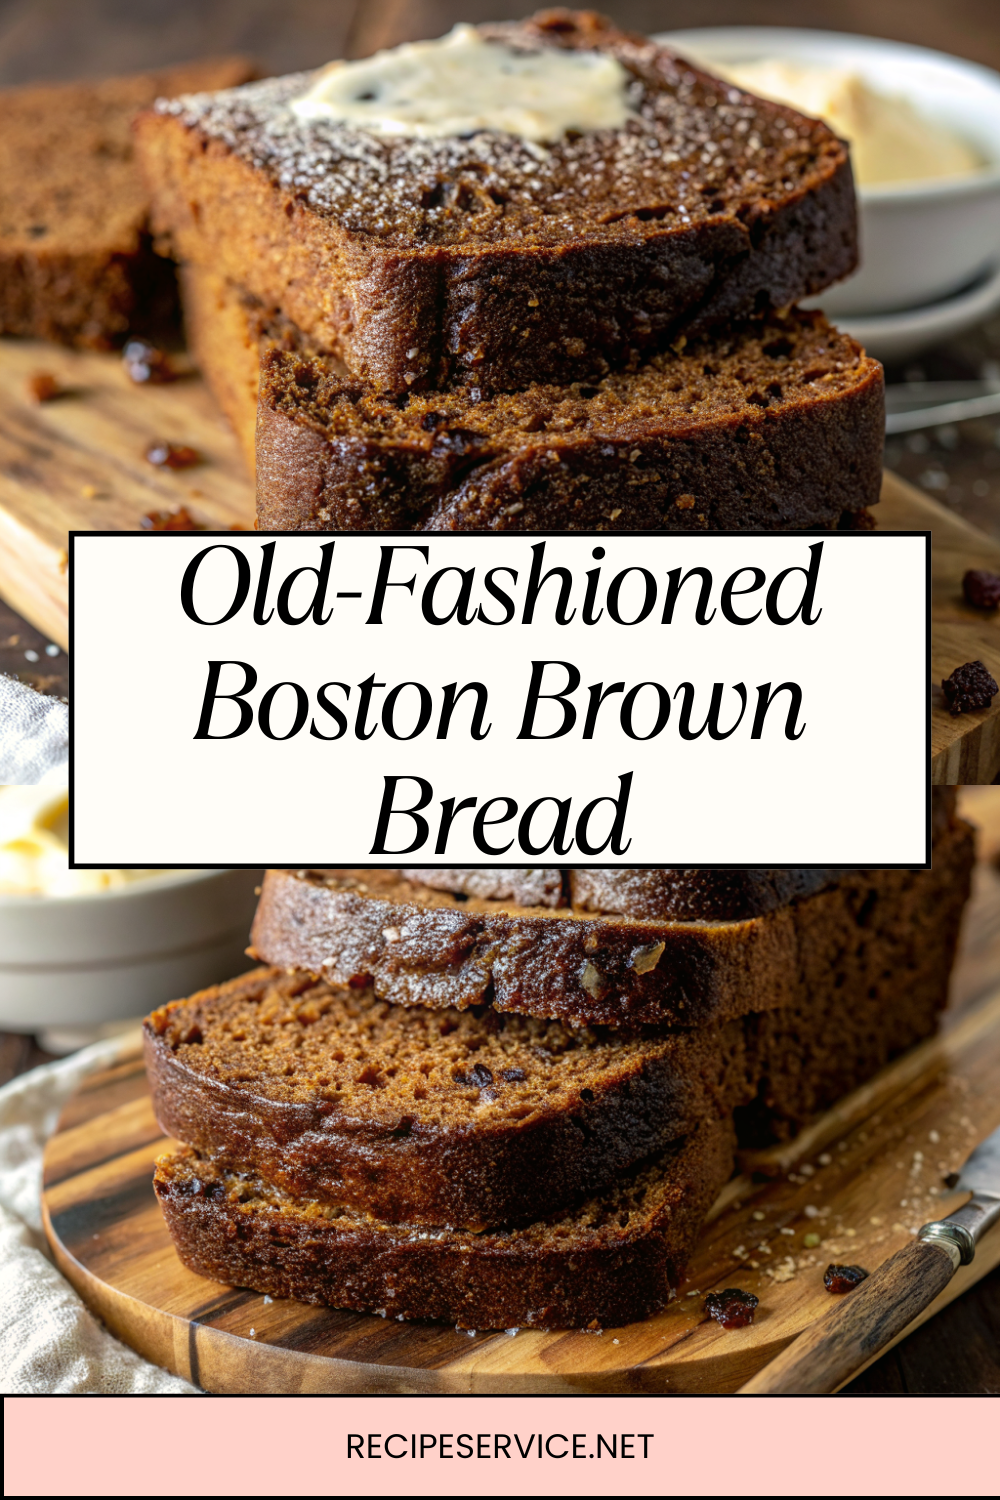
There’s something deeply comforting about old-fashioned recipes that have stood the test of time, and Boston Brown Bread is a prime example. This steamed loaf of rich, molasses-sweetened bread, studded with raisins and packed with wholesome grains, has been a New England staple for centuries.
Traditionally served with baked beans or a slather of cream cheese, this bread is soft, slightly dense, and rich in earthy flavors from whole wheat, cornmeal, and rye flour. No pork, no alcohol, and no fancy gadgets — just simple, honest ingredients steamed to perfection.
🧰 Equipment Needed
- Large mixing bowl
- Whisk & spatula
- 2 empty 1-lb coffee cans or a large loaf pan
- Large pot with a lid (for steaming)
- Aluminum foil
- Twine or rubber bands (if using cans)
- Steamer rack or trivet (optional, but helpful)
🛒 Ingredients
🌾 Dry Ingredients
- 1 cup whole wheat flour
- 1 cup cornmeal
- 1 cup rye flour
- 1 teaspoon baking soda
- 1 teaspoon salt
- ½ teaspoon ground cinnamon
- ½ teaspoon ground allspice
🍯 Wet Ingredients
- ½ cup molasses (unsulphured)
- 1½ cups buttermilk
🍇 Add-Ins
- 1 cup raisins
👩🍳 Directions
Step 1: Prepare Steaming Setup
- If using coffee cans, grease the insides well with oil or butter.
- If using a loaf pan, ensure it fits inside your large pot with the lid closed.
- Place a trivet or inverted ramekin in the pot to elevate the bread above water level.
Step 2: Mix Dry Ingredients
- In a large bowl, whisk together whole wheat flour, cornmeal, rye flour, baking soda, salt, cinnamon, and allspice until evenly combined.
Step 3: Add Wet Ingredients
- Stir in the molasses and buttermilk until a thick batter forms.
- Gently fold in the raisins.
Step 4: Fill the Cans or Pan
- Pour the batter into the prepared cans or loaf pan, filling only about 2/3 full to allow for rising.
- Cover tightly with greased aluminum foil, securing with twine or a rubber band.
Step 5: Steam the Bread
- Place the cans or pan on the trivet inside the large pot.
- Add boiling water to the pot, filling until it reaches halfway up the sides of the cans/pan.
- Cover the pot with a lid and steam over low-medium heat for 2 hours, checking occasionally to add more hot water as needed.
Step 6: Cool & Serve
- Carefully remove the cans/pan from the pot and let cool for 10–15 minutes.
- Remove the foil and slide a knife around the edges to loosen.
- Invert and gently remove the bread. Slice and serve warm or at room temperature.
🍽️ Servings & Timing
- Servings: 8–10 slices
- Prep Time: 15 minutes
- Cook Time: 2 hours (steaming)
- Total Time: 2 hours 15 minutes
🧊 Storage & Reheating
- Room Temperature:
Store in an airtight container for up to 3 days. - Refrigerator:
Keeps fresh for up to 1 week. - Freezing:
Wrap tightly and freeze for up to 3 months. Thaw at room temperature. - Reheating:
Toast slices or warm in a microwave for a soft, fresh-from-the-steamer feel.
🥄 Variations
- Nutty Twist: Add ½ cup chopped walnuts or pecans.
- Dried Fruit Mix: Swap raisins for chopped dates, dried cranberries, or figs.
- No Rye Version: Substitute rye flour with more whole wheat if preferred.
- Vegan Option: Use plant-based buttermilk (almond milk + 1 tbsp vinegar).
- Spiced Up: Increase cinnamon and add a pinch of cloves for a stronger spice profile.
- Mini Breads: Use smaller cans for mini loaves — reduce steaming time to 1.5 hours.
- Gluten-Free: Use a gluten-free flour blend in place of wheat and rye (texture will differ).
- Sweet Spread: Serve with honey butter or cinnamon cream cheese.
- Savory Pairing: Perfect alongside vegetarian baked beans or hearty soups.
❓ 10 FAQs
- Why is Boston Brown Bread steamed?
Steaming gives it a moist, dense crumb that’s characteristic of traditional brown bread. - Do I need special pans?
No! Coffee cans or any heatproof container with a tight foil seal works. - Can I bake this instead of steaming?
Yes, bake at 325°F (165°C) for about 60–70 minutes, but it won’t have the same texture. - Can I make this ahead of time?
Absolutely! It stores well and the flavor deepens after a day. - Is molasses necessary?
Yes, it’s essential for flavor. Use unsulphured molasses for best taste. - What’s the best way to serve this bread?
Warm with butter, cream cheese, or alongside baked beans. - Can I use light molasses?
Yes, but dark molasses gives a richer flavor. - Is this recipe sweet?
It has a mild sweetness balanced by earthy grains and spices. - Can I skip the raisins?
Yes, but they add a lovely burst of sweetness and texture. - What makes this recipe “old-fashioned”?
The method (steaming in cans) and ingredients (molasses, rye, cornmeal) are classic to New England’s culinary history.
🏁 Conclusion
This Old-Fashioned Boston Brown Bread is a celebration of simple, hearty, and wholesome flavors. With its rich molasses aroma, chewy texture, and nostalgic charm, it’s a recipe that connects generations. Perfect for a cozy brunch, a side with baked beans, or a rustic dessert with a drizzle of honey.
Old-Fashioned Boston Brown Bread – A Classic Steamed Bread with Deep Molasses Flavor
Ingredients
Equipment
Method
- If using coffee cans, grease the insides well with oil or butter.
- If using a loaf pan, ensure it fits inside your large pot with the lid closed.
- Place a trivet or inverted ramekin in the pot to elevate the bread above water level.
- In a large bowl, whisk together whole wheat flour, cornmeal, rye flour, baking soda, salt, cinnamon, and allspice until evenly combined.
- Stir in the molasses and buttermilk until a thick batter forms.
- Gently fold in the raisins.
- Pour the batter into the prepared cans or loaf pan, filling only about 2/3 full to allow for rising.
- Cover tightly with greased aluminum foil, securing with twine or a rubber band.
- Place the cans or pan on the trivet inside the large pot.
- Add boiling water to the pot, filling until it reaches halfway up the sides of the cans/pan.
- Cover the pot with a lid and steam over low-medium heat for 2 hours, checking occasionally to add more hot water as needed.
- Carefully remove the cans/pan from the pot and let cool for 10–15 minutes.
- Remove the foil and slide a knife around the edges to loosen.
- Invert and gently remove the bread. Slice and serve warm or at room temperature.
Notes
Store in an airtight container for up to 3 days. Refrigerator:
Keeps fresh for up to 1 week. Freezing:
Wrap tightly and freeze for up to 3 months. Thaw at room temperature. Reheating:
Toast slices or warm in a microwave for a soft, fresh-from-the-steamer feel. 🥄 Variations Nutty Twist: Add ½ cup chopped walnuts or pecans. Dried Fruit Mix: Swap raisins for chopped dates, dried cranberries, or figs. No Rye Version: Substitute rye flour with more whole wheat if preferred. Vegan Option: Use plant-based buttermilk (almond milk + 1 tbsp vinegar). Spiced Up: Increase cinnamon and add a pinch of cloves for a stronger spice profile. Mini Breads: Use smaller cans for mini loaves — reduce steaming time to 1.5 hours. Gluten-Free: Use a gluten-free flour blend in place of wheat and rye (texture will differ). Sweet Spread: Serve with honey butter or cinnamon cream cheese. Savory Pairing: Perfect alongside vegetarian baked beans or hearty soups. ❓ 10 FAQs Why is Boston Brown Bread steamed?
Steaming gives it a moist, dense crumb that’s characteristic of traditional brown bread. Do I need special pans?
No! Coffee cans or any heatproof container with a tight foil seal works. Can I bake this instead of steaming?
Yes, bake at 325°F (165°C) for about 60–70 minutes, but it won’t have the same texture. Can I make this ahead of time?
Absolutely! It stores well and the flavor deepens after a day. Is molasses necessary?
Yes, it’s essential for flavor. Use unsulphured molasses for best taste. What’s the best way to serve this bread?
Warm with butter, cream cheese, or alongside baked beans. Can I use light molasses?
Yes, but dark molasses gives a richer flavor. Is this recipe sweet?
It has a mild sweetness balanced by earthy grains and spices. Can I skip the raisins?
Yes, but they add a lovely burst of sweetness and texture. What makes this recipe “old-fashioned”?
The method (steaming in cans) and ingredients (molasses, rye, cornmeal) are classic to New England’s culinary history. 🏁 Conclusion This Old-Fashioned Boston Brown Bread is a celebration of simple, hearty, and wholesome flavors. With its rich molasses aroma, chewy texture, and nostalgic charm, it’s a recipe that connects generations. Perfect for a cozy brunch, a side with baked beans, or a rustic dessert with a drizzle of honey.


