🎉 Introduction
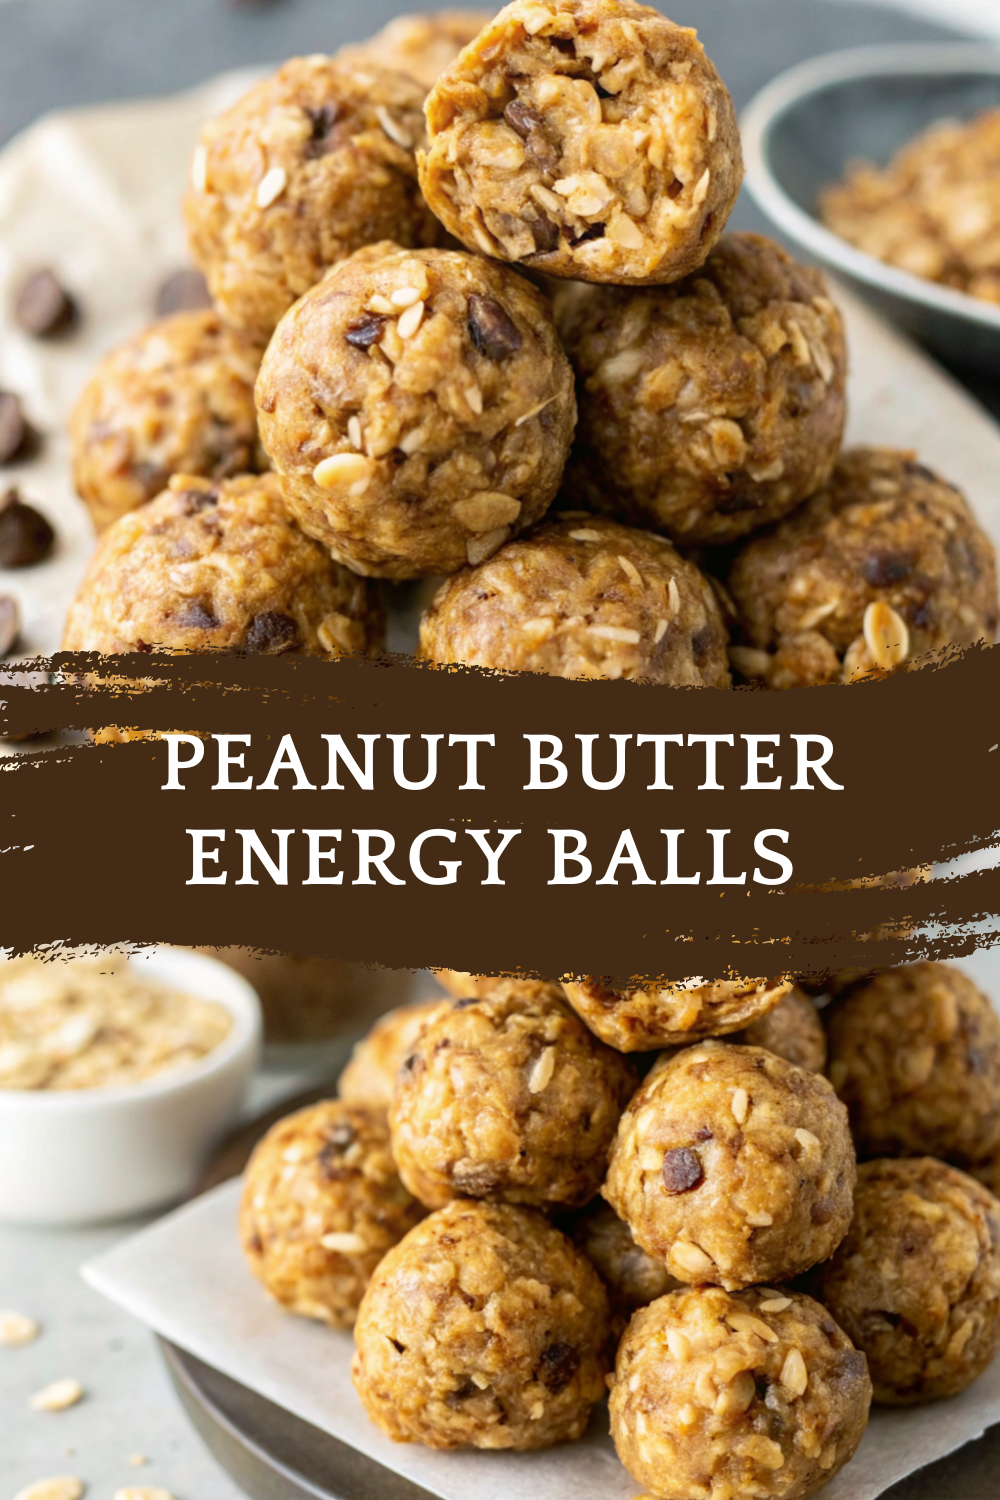
When you need a quick snack that’s nourishing, satisfying, and incredibly easy to make, Peanut Butter Energy Balls are the answer. These no-bake bites are packed with wholesome ingredients that provide lasting energy, making them perfect for busy mornings, post-workout fuel, or afternoon cravings.
What makes these peanut butter energy balls so popular is their simplicity. No oven, no complicated steps, and no refined ingredients—just mix, roll, and chill. They’re naturally sweet, rich in flavor, and loved by both kids and adults. Whether you’re meal prepping snacks for the week or creating high-performing healthy recipe content, these energy balls are a reliable favorite.
This recipe follows your exact standards: clear step-by-step directions, SEO-friendly structure, bullet points, italicized keywords, and a Pinterest-ready description—without alcohol, pork, or links.
🧰 Equipment Needed
- Large mixing bowl
- Spoon or spatula
- Measuring cups
- Measuring spoons
- Small cookie scoop or spoon
- Baking sheet or plate
- Parchment paper
🛒 Ingredients
Core Ingredients
- 1 cup peanut butter (natural, creamy or crunchy)
- ½ cup rolled oats
- ⅓ cup honey or maple syrup
- 1 teaspoon vanilla extract
Optional Add-Ins
- ¼ cup chocolate chips
- 1 tablespoon chia seeds or ground flaxseed
- Pinch of salt
These ingredients combine to create nutritious energy bites that are soft, chewy, and perfectly balanced.
👩🍳 Directions
Step 1: Mix the Base
- In a large mixing bowl, add the peanut butter, honey or maple syrup, and vanilla extract.
- Stir until smooth and fully combined.
Step 2: Add the Oats
- Add the rolled oats to the bowl.
- Mix well until the oats are evenly coated and the mixture thickens.
Step 3: Fold in Add-Ins
- Gently fold in chocolate chips, seeds, and a pinch of salt if using.
- Stir just until evenly distributed.
Step 4: Chill the Mixture
- Place the bowl in the refrigerator for 15–20 minutes.
- This makes the mixture easier to shape.
Step 5: Shape the Energy Balls
- Scoop about 1 tablespoon of the mixture at a time.
- Roll into smooth balls using your hands.
- Place on a parchment-lined plate or tray.
Step 6: Final Chill
- Refrigerate the energy balls for at least 30 minutes before serving.
- This helps them firm up and hold their shape.
🍽️ Servings & Timing
- Servings: 14–16 energy balls
- Prep Time: 10 minutes
- Chill Time: 30–45 minutes
- Total Time: About 45 minutes
An ideal no-bake snack for quick prep and easy storage.
🧊 Storage & Reheating
- Store energy balls in an airtight container in the refrigerator for up to 7 days.
- Freeze for up to 2 months for longer storage.
- No reheating needed—enjoy straight from the fridge or freezer.
🥄 Variations
- Protein Boost: Add a scoop of vanilla protein powder.
- Nut-Free Option: Use sunflower seed butter instead of peanut butter.
- Extra Chocolate: Add cocoa powder or extra chocolate chips.
- Low Sugar: Reduce sweetener slightly and add more oats.
- Coconut Flavor: Mix in shredded coconut.
These variations keep peanut butter energy balls flexible and exciting.
❓ 10 FAQs
- Are energy balls healthy?
Yes, they’re made with whole ingredients and natural sweetness. - Do they need baking?
No, they are completely no-bake. - Can kids eat these?
Absolutely—they’re soft, sweet, and nutritious. - Can I make them vegan?
Yes, use maple syrup instead of honey. - Are these good for meal prep?
Yes, they store very well. - Can I use quick oats?
Yes, though rolled oats give better texture. - Why chill before rolling?
It helps the mixture firm up. - Can I double the recipe?
Yes, it scales easily. - Are these gluten-free?
Yes, if you use certified gluten-free oats. - When is the best time to eat them?
Great for breakfast, snacks, or post-workout fuel.
🏁 Conclusion
These Peanut Butter Energy Balls are the ultimate grab-and-go snack—simple, nourishing, and incredibly satisfying. With no baking required and endless customization options, they’re perfect for healthy snacking, meal prep, or content creation. Once you make them, they’re sure to become a staple in your kitchen.
Peanut Butter Energy Balls – No-Bake, Healthy, and Perfect for On-the-Go
Ingredients
Equipment
Method
- In a large mixing bowl, add the peanut butter, honey or maple syrup, and vanilla extract.
- Stir until smooth and fully combined.
- Add the rolled oats to the bowl.
- Mix well until the oats are evenly coated and the mixture thickens.
- Gently fold in chocolate chips, seeds, and a pinch of salt if using.
- Stir just until evenly distributed.
- Place the bowl in the refrigerator for 15–20 minutes.
- This makes the mixture easier to shape.
- Scoop about 1 tablespoon of the mixture at a time.
- Roll into smooth balls using your hands.
- Place on a parchment-lined plate or tray.
- Refrigerate the energy balls for at least 30 minutes before serving.
- This helps them firm up and hold their shape.
Notes
Yes, they’re made with whole ingredients and natural sweetness. Do they need baking?
No, they are completely no-bake. Can kids eat these?
Absolutely—they’re soft, sweet, and nutritious. Can I make them vegan?
Yes, use maple syrup instead of honey. Are these good for meal prep?
Yes, they store very well. Can I use quick oats?
Yes, though rolled oats give better texture. Why chill before rolling?
It helps the mixture firm up. Can I double the recipe?
Yes, it scales easily. Are these gluten-free?
Yes, if you use certified gluten-free oats. When is the best time to eat them?
Great for breakfast, snacks, or post-workout fuel. 🏁 Conclusion
These Peanut Butter Energy Balls are the ultimate grab-and-go snack—simple, nourishing, and incredibly satisfying. With no baking required and endless customization options, they’re perfect for healthy snacking, meal prep, or content creation. Once you make them, they’re sure to become a staple in your kitchen.


