🎉 Introduction
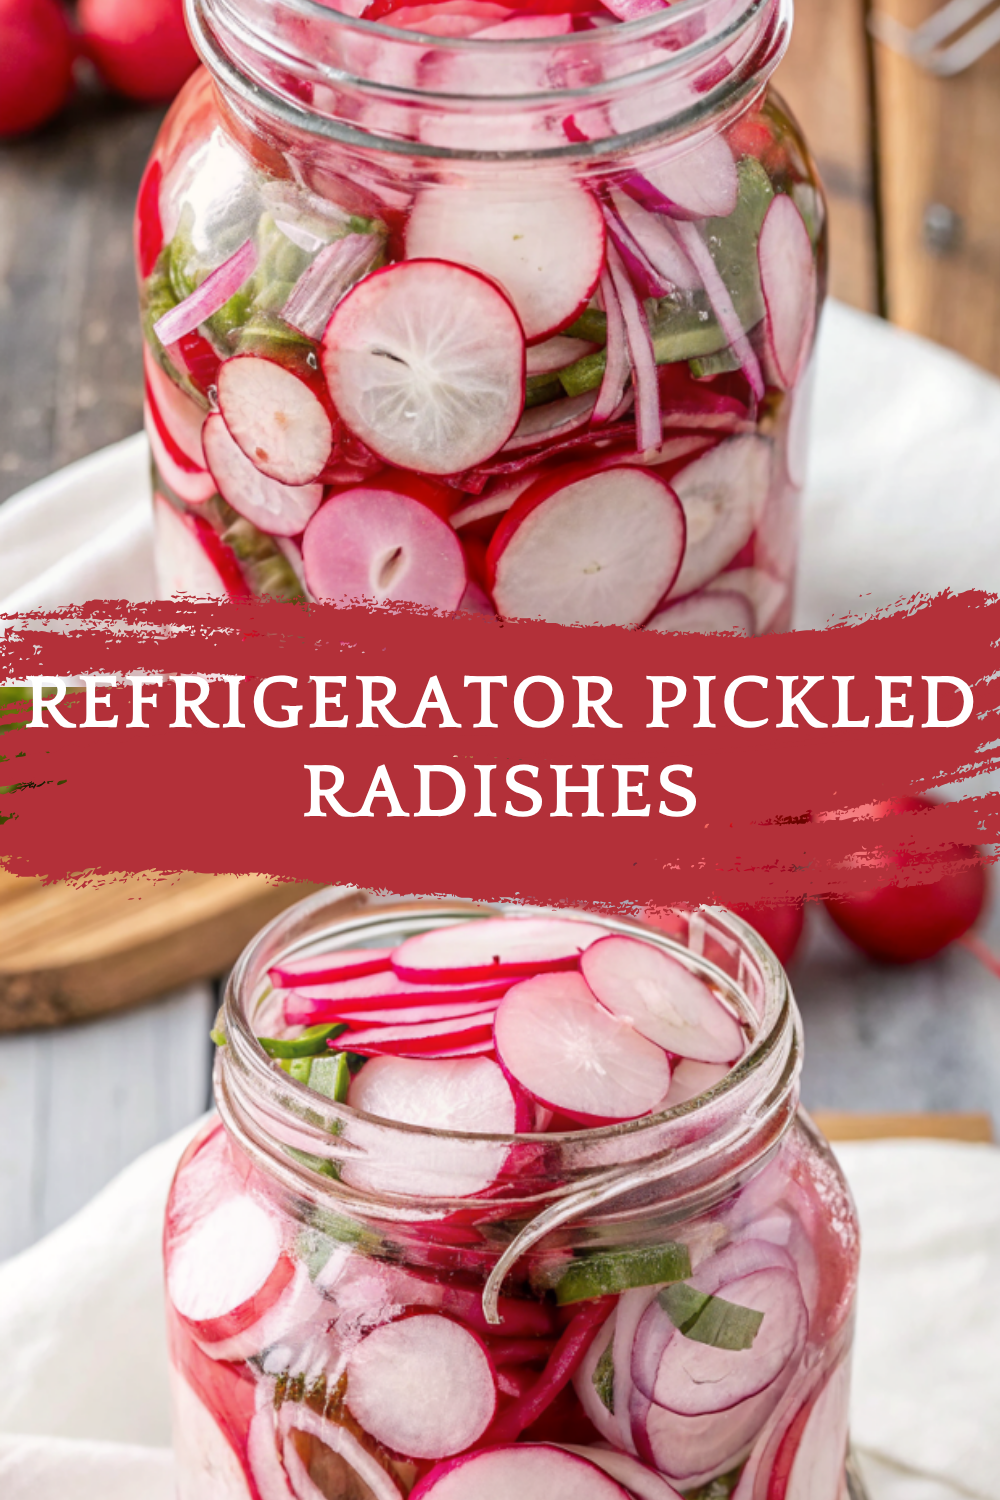
If you’re looking to add a pop of color, crunch, and zing to your meals, these Refrigerator Pickled Radishes are just the thing! Quick to prepare and irresistibly crisp, they’re an easy way to transform humble radishes into a flavorful topping you’ll want to put on everything—from tacos to salads, grain bowls, and more.
Unlike traditional pickling, this no-fuss method skips the canning and delivers instant flavor gratification. These pretty pink rounds get their bold tang from a simple vinegar brine and are ready to enjoy in just an hour—though the longer they sit, the better they taste!
🧰 Equipment Needed
- Cutting board
- Sharp knife or mandoline
- Measuring cups and spoons
- Medium saucepan
- Whisk
- 1 pint-size glass jar with lid
- Tongs or slotted spoon
🛒 Ingredients
- 1 bunch radishes (about 10–12 medium), thinly sliced
- ¾ cup white vinegar (or apple cider vinegar)
- ¾ cup water
- 1½ tsp kosher salt
- 1 tbsp granulated sugar
- Optional flavor additions:
- 1 garlic clove, smashed
- ½ tsp mustard seeds
- ½ tsp peppercorns
- Pinch of red pepper flakes
- Fresh dill or cilantro sprigs
👩🍳 Directions
Step 1. Slice the Radishes
- Trim and wash 1 bunch of radishes.
- Thinly slice into rounds using a sharp knife or mandoline.
- Pack slices tightly into a clean pint-size jar.
Step 2. Make the Pickling Brine
- In a medium saucepan, combine:
- ¾ cup vinegar
- ¾ cup water
- 1 tbsp sugar
- 1½ tsp salt
- Any desired optional spices (garlic, mustard seed, etc.)
- Bring to a gentle boil, whisking until sugar and salt dissolve.
Step 3. Pour Brine Over Radishes
- Carefully pour the hot brine over radishes in the jar, ensuring all are submerged.
- Tap the jar gently to remove air bubbles.
- Let cool to room temperature.
Step 4. Chill & Enjoy
- Seal the jar with a lid.
- Refrigerate for at least 1 hour before using—flavor improves after 24 hours.
- Use within 2–3 weeks for best crunch and taste.
🍽️ Servings & Timing
- Yield: 1 pint jar (~8 servings)
- Prep time: 10 minutes
- Cook time: 5 minutes
- Pickling time: 1 hour minimum
- Total time: ~1 hour 15 minutes
🧊 Storage & Reheating
- Refrigerator: Keep pickled radishes sealed in fridge for up to 3 weeks.
- Freezer: Not recommended—freezing ruins texture.
- Reheating: Not applicable—these are served cold or at room temperature.
🥄 Variations
- Spicy Pickled Radishes: Add jalapeño slices or extra red pepper flakes.
- Sweet & Sour: Increase sugar to 2 tbsp for a more pronounced sweetness.
- Lime & Cilantro: Swap vinegar for lime juice and add fresh cilantro for a zesty twist.
- Asian-Inspired: Use rice vinegar, a dash of sesame oil, and ginger slices.
- Beet-Boosted Color: Add a few beet slices for deeper pink hue and earthy notes.
❓ 10 FAQs
1. Can I use other types of vinegar?
Yes—apple cider, white wine, and rice vinegar all work great.
2. Do I have to boil the brine?
Yes—this helps dissolve sugar/salt and slightly soften the radishes.
3. Are pickled radishes spicy?
Not by default—but they can be! Add red pepper flakes or jalapeños for heat.
4. Do I need to sterilize the jar?
No sterilizing needed for refrigerator pickles—just a clean jar.
5. Can I reuse the brine?
It’s best not to reuse brine to preserve freshness and flavor.
6. Will the radishes lose their crunch?
They’ll soften slightly over time, but stay crisp for about 2 weeks.
7. Can I pickle other vegetables with the radishes?
Yes—try carrots, red onions, or turnips sliced similarly.
8. Are these gluten-free?
Yes—just be sure your vinegar is gluten-free.
9. Do I need to peel radishes?
No—just trim and wash. The skin adds color and crunch.
10. Can I make a larger batch?
Absolutely—just scale up ingredients and use larger jars.
🏁 Conclusion
These Refrigerator Pickled Radishes are the secret weapon for instantly upgrading your meals. They’re fast, flavorful, and full of tangy crunch. Whether you’re topping tacos, layering onto sandwiches, or brightening up a salad, these pink gems add the perfect bite of acidity and freshness. Plus, they’re easy enough for anyone to make—no fancy tools or canning required!
Refrigerator Pickled Radishes – Quick, Tangy & Perfectly Crunchy in 1 Hour
Ingredients
Equipment
Method
- Trim and wash 1 bunch of radishes.
- Thinly slice into rounds using a sharp knife or mandoline.
- Pack slices tightly into a clean pint-size jar.
- In a medium saucepan, combine:
- ¾ cup vinegar
- ¾ cup water
- 1 tbsp sugar
- 1½ tsp salt
- Any desired optional spices (garlic, mustard seed, etc.)
- Bring to a gentle boil, whisking until sugar and salt dissolve.
- Carefully pour the hot brine over radishes in the jar, ensuring all are submerged.
- Tap the jar gently to remove air bubbles.
- Let cool to room temperature.
- Seal the jar with a lid.
- Refrigerate for at least 1 hour before using—flavor improves after 24 hours.
- Use within 2–3 weeks for best crunch and taste.
Notes
Refrigerator: Keep pickled radishes sealed in fridge for up to 3 weeks. Freezer: Not recommended—freezing ruins texture. Reheating: Not applicable—these are served cold or at room temperature. 🥄 Variations
Spicy Pickled Radishes: Add jalapeño slices or extra red pepper flakes. Sweet & Sour: Increase sugar to 2 tbsp for a more pronounced sweetness. Lime & Cilantro: Swap vinegar for lime juice and add fresh cilantro for a zesty twist. Asian-Inspired: Use rice vinegar, a dash of sesame oil, and ginger slices. Beet-Boosted Color: Add a few beet slices for deeper pink hue and earthy notes. ❓ 10 FAQs
1. Can I use other types of vinegar?
Yes—apple cider, white wine, and rice vinegar all work great. 2. Do I have to boil the brine?
Yes—this helps dissolve sugar/salt and slightly soften the radishes. 3. Are pickled radishes spicy?
Not by default—but they can be! Add red pepper flakes or jalapeños for heat. 4. Do I need to sterilize the jar?
No sterilizing needed for refrigerator pickles—just a clean jar. 5. Can I reuse the brine?
It’s best not to reuse brine to preserve freshness and flavor. 6. Will the radishes lose their crunch?
They’ll soften slightly over time, but stay crisp for about 2 weeks. 7. Can I pickle other vegetables with the radishes?
Yes—try carrots, red onions, or turnips sliced similarly. 8. Are these gluten-free?
Yes—just be sure your vinegar is gluten-free. 9. Do I need to peel radishes?
No—just trim and wash. The skin adds color and crunch. 10. Can I make a larger batch?
Absolutely—just scale up ingredients and use larger jars. 🏁 Conclusion
These Refrigerator Pickled Radishes are the secret weapon for instantly upgrading your meals. They’re fast, flavorful, and full of tangy crunch. Whether you’re topping tacos, layering onto sandwiches, or brightening up a salad, these pink gems add the perfect bite of acidity and freshness. Plus, they’re easy enough for anyone to make—no fancy tools or canning required!


