Ingredients
Equipment
Method
Step 1: Prep Your Pan
- Lightly grease an 8x8-inch pan and line with parchment paper.
- In a small bowl, whisk together powdered sugar and cornstarch.
- Dust the pan generously with the mixture, tapping to coat all sides.
Step 2: Bloom the Gelatin
- In the bowl of a stand mixer, add ½ cup cold water and sprinkle in gelatin.
- Let sit for 5–10 minutes to bloom while you prepare the syrup.
Step 3: Make the Sugar Syrup
- In a medium saucepan, combine:
- 2 cups granulated sugar
- ½ cup corn syrup
- ¼ cup water
- ¼ tsp salt
- Clip on a candy thermometer and cook over medium heat until it reaches 240°F (115°C) (soft ball stage). Do not stir during this process.
Step 4: Whip the Marshmallow Base
- Once the syrup reaches temp, carefully pour it into the gelatin bowl (with the mixer on low).
- Increase speed to high and whip for 10–12 minutes, or until thick, glossy, and tripled in volume.
- Add cotton candy flavoring and food coloring in the last 30 seconds of whipping.
Step 5: Spread & Set
- Quickly transfer marshmallow mixture into prepared pan.
- Smooth the top with a greased spatula.
- Dust the top with more of the powdered sugar/cornstarch mixture.
- Let sit uncovered at room temperature for at least 6 hours, preferably overnight.
Step 6: Cut & Dust
- Once set, lift marshmallow slab from the pan.
- Cut into squares with a sharp knife dusted with cornstarch mixture (or use kitchen scissors).
- Toss cut marshmallows in the remaining powdered sugar/cornstarch mixture to coat all sides.
Notes
🔁 Variations
1. Unicorn Swirl
Divide the mixture in half and color each batch a different pastel color. Swirl gently before setting. 2. Cotton Candy Coated
Roll finished marshmallows in actual spun cotton candy for a carnival-style upgrade. 3. Funfetti Marshmallows
Fold in rainbow sprinkles just before spreading into the pan. 4. Mini Marshmallows
Pipe the mixture into long ropes, chill, and cut into tiny pieces — perfect for hot cocoa! 5. Dipped in White Chocolate
Dip finished marshmallows in melted white chocolate and sprinkle with sanding sugar. 🧊 Storage & Shelf Life
Room Temp:
Store in an airtight container at room temperature for up to 2 weeks. Keep away from heat or moisture to prevent melting or stickiness. Freezer:
Not recommended — freezing alters marshmallow texture. ❓ 10 Frequently Asked Questions (FAQs)
1. Can I use a hand mixer instead of a stand mixer?
Yes, but it’ll take longer and require more arm power — marshmallows need at least 10 minutes of whipping. 2. Can I make these without a candy thermometer?
You can, but it's risky. Use the soft-ball test by dropping syrup into cold water — it should form a soft, pliable ball. 3. What if I don’t have cotton candy flavoring?
You can use vanilla or a fruity extract like strawberry or raspberry, though it won’t taste like classic cotton candy. 4. Why did my marshmallows turn grainy?
Your syrup may have crystallized. Avoid stirring and ensure the sugar is fully dissolved. 5. Can I use liquid food coloring instead of gel?
Yes, but gel food coloring gives brighter color with less moisture, which is ideal. 6. Can I double the recipe?
Yes — use a 9x13-inch pan instead of an 8x8. 7. Do these work in hot cocoa?
Absolutely! They melt beautifully and add a pop of color and flavor. 8. Are these gluten-free?
Yes — as long as your flavoring and coloring are certified gluten-free. 9. Can I mold them into shapes?
Use cookie cutters to make hearts, stars, or themed shapes once they’re set. 10. Why are my marshmallows sticky?
You might not have dusted them thoroughly with powdered sugar + cornstarch. Don’t skip that step! ✅ Conclusion
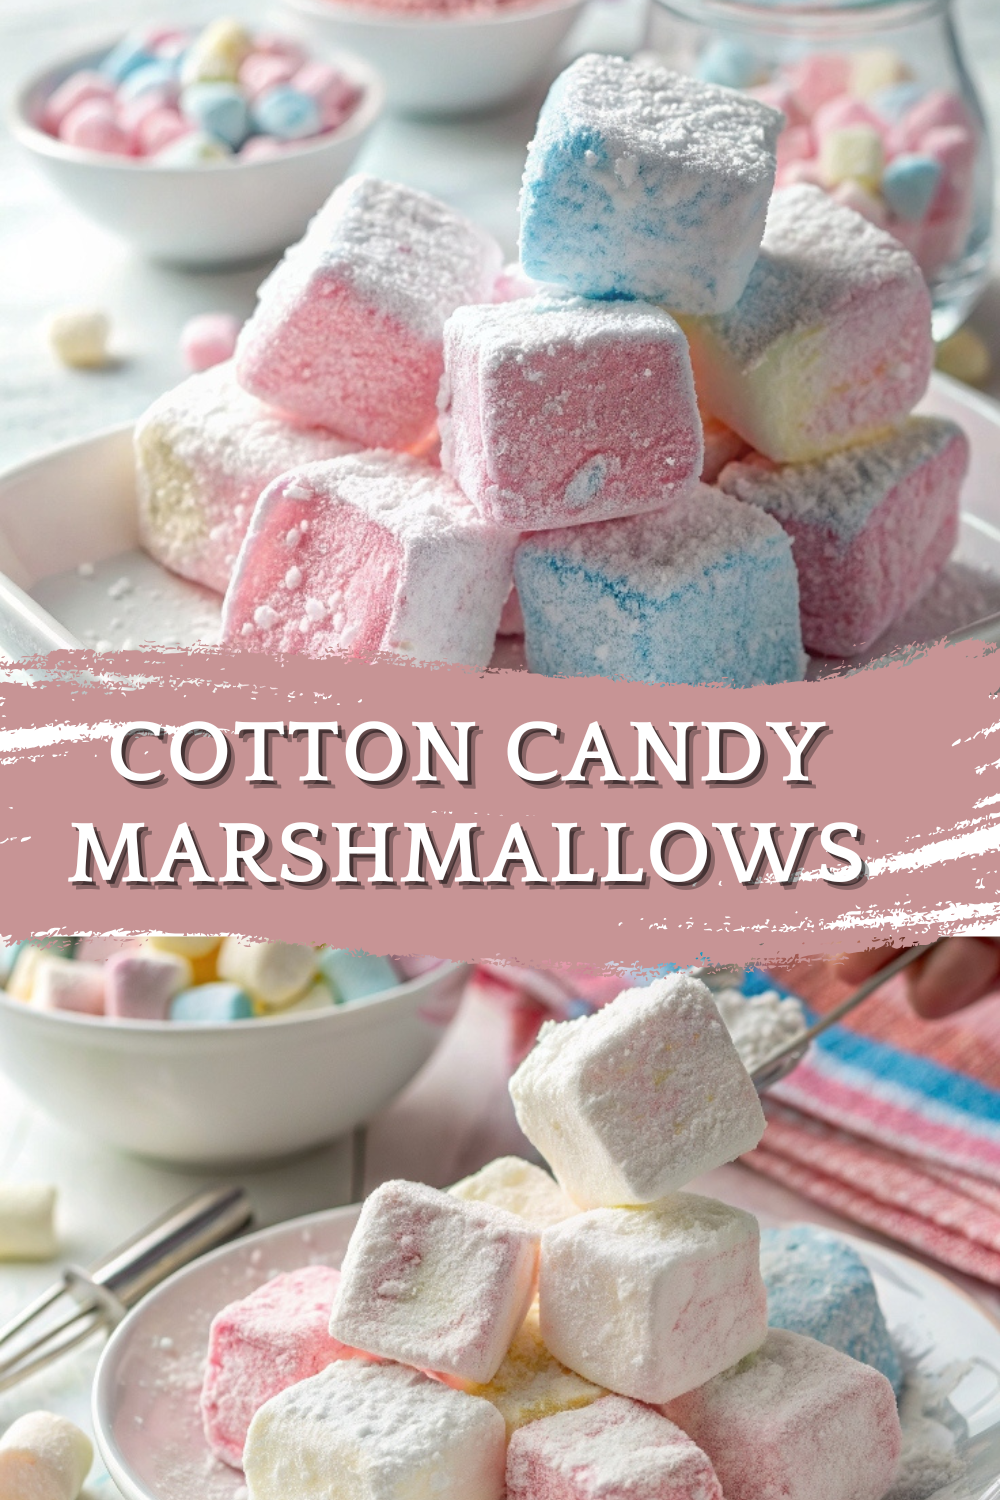
These Cotton Candy Marshmallows are soft, bouncy, and full of whimsy. Perfect for parties, holidays, gifting, or indulging in a bit of nostalgia, they’re a must-try DIY sweet. 💖☁️ Once you make your own marshmallows, you'll never go back — and these cotton candy beauties are guaranteed to put smiles on faces of all ages. Want more colorful creations? Galaxy Swirl Bark Rainbow Cupcakes Homemade Funfetti Marshmallows Go ahead — channel your inner candy maker and create a little cloud of joy!
1. Unicorn Swirl
Divide the mixture in half and color each batch a different pastel color. Swirl gently before setting. 2. Cotton Candy Coated
Roll finished marshmallows in actual spun cotton candy for a carnival-style upgrade. 3. Funfetti Marshmallows
Fold in rainbow sprinkles just before spreading into the pan. 4. Mini Marshmallows
Pipe the mixture into long ropes, chill, and cut into tiny pieces — perfect for hot cocoa! 5. Dipped in White Chocolate
Dip finished marshmallows in melted white chocolate and sprinkle with sanding sugar. 🧊 Storage & Shelf Life
Room Temp:
Store in an airtight container at room temperature for up to 2 weeks. Keep away from heat or moisture to prevent melting or stickiness. Freezer:
Not recommended — freezing alters marshmallow texture. ❓ 10 Frequently Asked Questions (FAQs)
1. Can I use a hand mixer instead of a stand mixer?
Yes, but it’ll take longer and require more arm power — marshmallows need at least 10 minutes of whipping. 2. Can I make these without a candy thermometer?
You can, but it's risky. Use the soft-ball test by dropping syrup into cold water — it should form a soft, pliable ball. 3. What if I don’t have cotton candy flavoring?
You can use vanilla or a fruity extract like strawberry or raspberry, though it won’t taste like classic cotton candy. 4. Why did my marshmallows turn grainy?
Your syrup may have crystallized. Avoid stirring and ensure the sugar is fully dissolved. 5. Can I use liquid food coloring instead of gel?
Yes, but gel food coloring gives brighter color with less moisture, which is ideal. 6. Can I double the recipe?
Yes — use a 9x13-inch pan instead of an 8x8. 7. Do these work in hot cocoa?
Absolutely! They melt beautifully and add a pop of color and flavor. 8. Are these gluten-free?
Yes — as long as your flavoring and coloring are certified gluten-free. 9. Can I mold them into shapes?
Use cookie cutters to make hearts, stars, or themed shapes once they’re set. 10. Why are my marshmallows sticky?
You might not have dusted them thoroughly with powdered sugar + cornstarch. Don’t skip that step! ✅ Conclusion
These Cotton Candy Marshmallows are soft, bouncy, and full of whimsy. Perfect for parties, holidays, gifting, or indulging in a bit of nostalgia, they’re a must-try DIY sweet. 💖☁️ Once you make your own marshmallows, you'll never go back — and these cotton candy beauties are guaranteed to put smiles on faces of all ages. Want more colorful creations? Galaxy Swirl Bark Rainbow Cupcakes Homemade Funfetti Marshmallows Go ahead — channel your inner candy maker and create a little cloud of joy!