Ingredients
Equipment
Method
Step 1: Prepare the Chicken
- Slice chicken breasts in half to make 2 thinner cutlets, or pound them to even thickness.
- Pat dry and season both sides with salt, pepper, and garlic powder.
Step 2: Dredge the Chicken
- Set up a dredging station:
- Bowl 1: Flour
- Bowl 2: Beaten egg
- Bowl 3: Panko breadcrumbs
- Coat each chicken piece in flour (shake off excess).
- Dip in egg.
- Coat thoroughly in panko breadcrumbs, pressing to adhere.
🥢 Panko makes it extra crispy — don’t substitute with regular breadcrumbs!
Step 3: Fry to Crispy Perfection
- Heat 1 cup vegetable oil in a skillet over medium heat.
- Once hot (around 350°F or shimmering), add chicken cutlets.
- Fry 2–3 minutes per side until golden brown and cooked through.
- Remove and place on paper towels to drain.
🔥 Avoid overcrowding the pan — fry in batches if needed.
Step 4: Make the Seasoned Rice
- While chicken rests, toss warm cooked rice with:
- 1 tbsp rice vinegar
- 1 tsp sesame oil
- Sprinkle of furikake (optional)
- Mix well and cool slightly before packing.
Step 5: Prep Veggies
- Lightly steam broccoli until just tender (about 3–4 mins).
- Shred red cabbage and sprinkle both with sesame seeds.
🥬 You can also add pickled ginger, edamame, or carrots for variety.
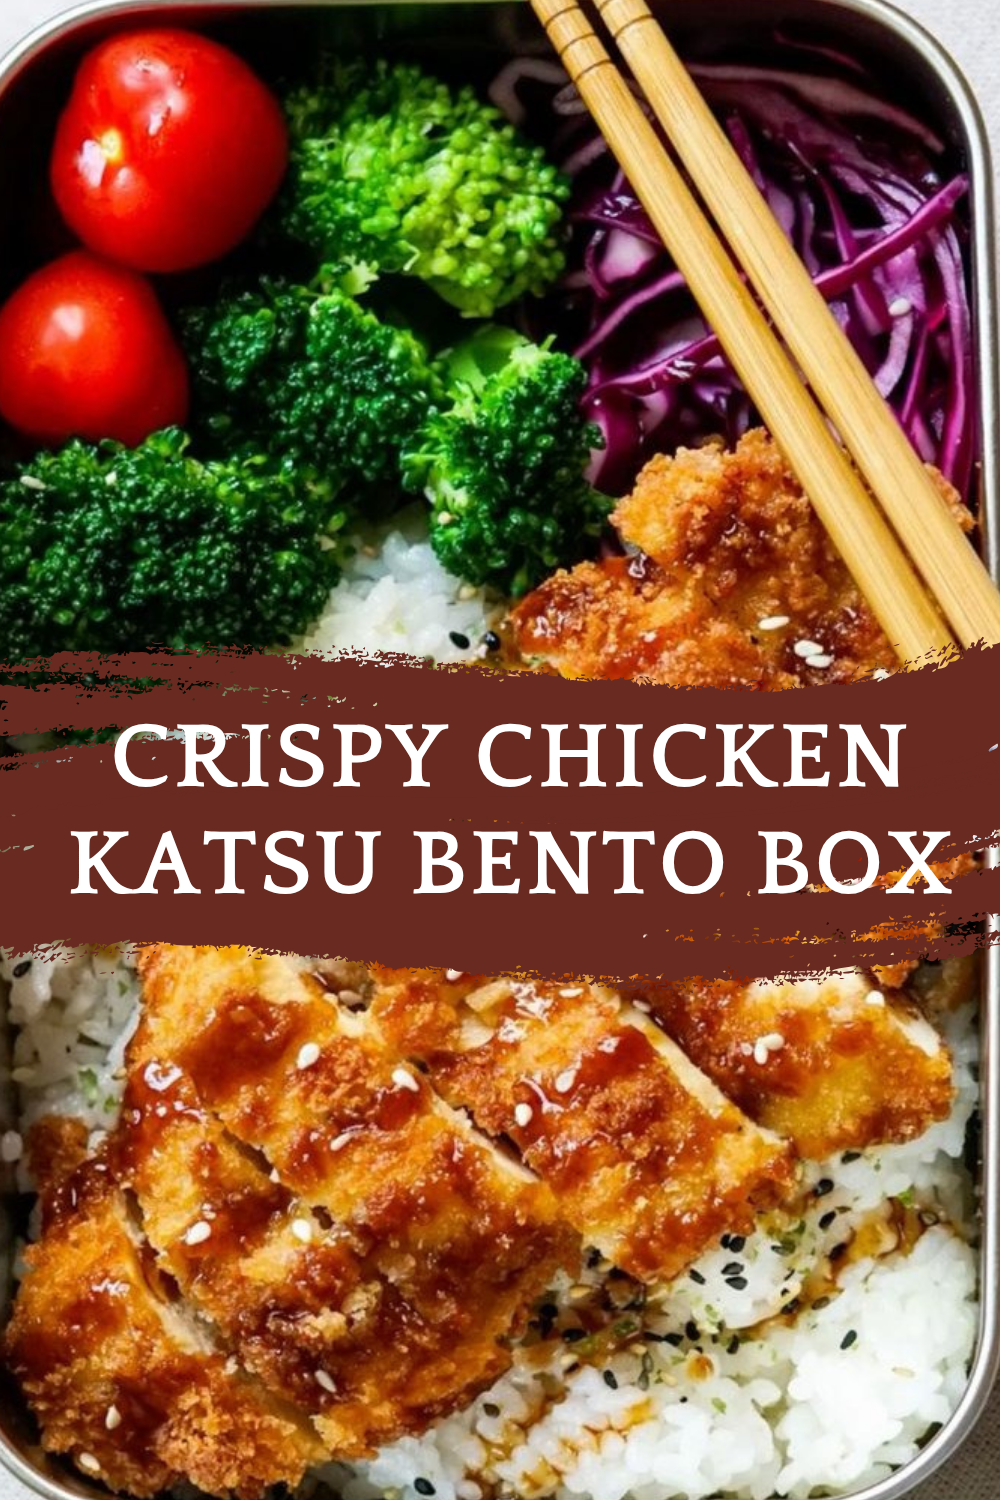
Step 6: Assemble the Bento Box
- In a bento or lunch container:
- Add a portion of seasoned rice
- Place sliced chicken katsu on top or beside
- Add steamed broccoli and cabbage in compartments
- Drizzle or pack tonkatsu sauce on the side
🍱 Add sliced boiled egg, pickled veggies, or fruit for extra flair!
Notes
🧊 Storage & Reheating
Storage
Store fully assembled bento in the fridge for up to 3 days Keep sauce in a separate container to prevent sogginess Reheating
Best enjoyed cold or room temp For hot lunches, reheat chicken in air fryer or oven to restore crispness ❄️ Do not microwave with the sauce already on — it’ll make the crust soggy! 🥄 Variations 🐷 Pork Katsu – Swap chicken for thin pork cutlets 🍚 Onigiri Bento – Add rice balls instead of a bed of rice 🥬 Vegetarian Version – Use tofu or eggplant in place of chicken 🌶️ Spicy Katsu – Add a drizzle of sriracha or spicy mayo 🍋 Lemon Katsu – Add a squeeze of fresh lemon before serving for zing ❓ 10 FAQs 1. Can I bake or air fry the chicken instead of frying?
Yes! Bake at 400°F (200°C) for 20–25 minutes or air fry at 390°F for 12–14 minutes. 2. What is tonkatsu sauce made of?
Typically a blend of soy sauce, ketchup, sugar, and Worcestershire — you can DIY it too! 3. Can I make the chicken ahead of time?
Absolutely — it stays crispy when reheated in an oven or air fryer. 4. What rice should I use?
Short-grain sushi rice is best, but jasmine or white rice works too. 5. Is this meal freezer-friendly?
The cooked chicken katsu can be frozen, but not the full bento. 6. What vegetables go well in bento?
Steamed broccoli, snap peas, pickled radish, carrots, and baby tomatoes all work well. 7. Can I use chicken thighs instead?
Yes! Boneless skinless thighs are juicy and flavorful. 8. What’s the best way to keep katsu crispy in lunch boxes?
Cool completely before packing and store sauce separately. 9. Is this kid-friendly?
Definitely — skip the chili sauce and serve with ketchup if needed. 10. How long can a bento box sit at room temp?
Max 2 hours. Use ice packs if storing longer or refrigerate. 🏁 Conclusion There’s nothing like the satisfying crunch of Chicken Katsu paired with fluffy rice, bright veggies, and bold umami sauce. This Crispy Chicken Katsu Bento Box is simple to prepare, great for make-ahead lunches, and endlessly customizable. Say goodbye to boring sandwiches and hello to a Japanese-inspired lunch you’ll look forward to all day long. Whether it’s for work, school, or weekend adventures — this bento is always a good idea.