Ingredients
Method
Step 1: Prepare the Filling
- In a bowl, combine peach slices, brown sugar, granulated sugar, lemon juice, cinnamon, and cornstarch.
- Toss gently to coat and let sit for 10 minutes while juices develop.
Step 2: Preheat and Prep
- Preheat oven to 375°F (190°C).
- Line a baking sheet with parchment paper.
Step 3: Shape the Tartlets
- Roll out the puff pastry and cut into 4-inch rounds or squares.
- Place pastry pieces on the prepared baking sheet.
- Spoon a few peach slices into the center of each round, leaving a ½-inch border.
Step 4: Seal and Glaze
- Fold edges slightly inward or crimp with a fork for rustic edges.
- In a small bowl, whisk egg and milk to create an egg wash.
- Brush the pastry edges with egg wash for a golden finish.
Step 5: Bake
- Bake for 20–25 minutes, or until the pastry is golden brown and the peaches are bubbling.
Step 6: Cool & Serve
- Cool tartlets on a wire rack for 10 minutes.
- Serve warm or at room temperature.
Notes
🍽️ Serving Suggestions
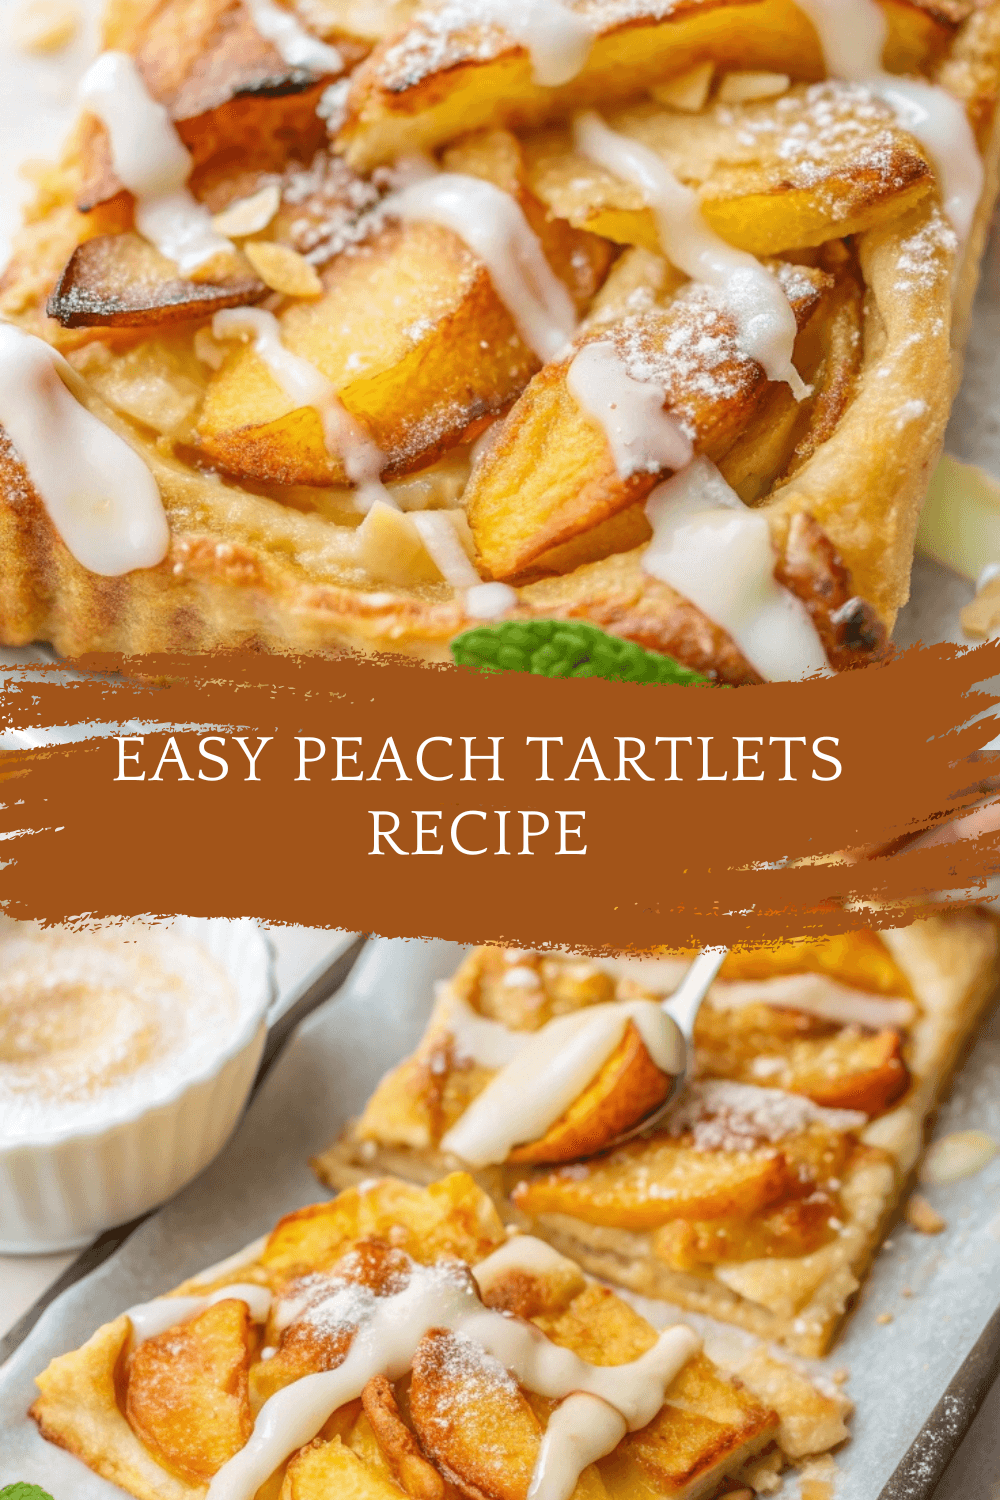
Serve warm with a scoop of vanilla ice cream or whipped cream. Dust with powdered sugar for a bakery-style finish. Garnish with mint leaves or a peach slice for presentation. Pair with iced tea, lemonade, or sparkling wine. 🔄 Variations
Mini Peach Pie: Use mini muffin tins and pie crust to create bite-sized versions. Peach and Berry: Add raspberries or blueberries for a tangy twist. Cream Cheese Layer: Spread a thin layer of sweetened cream cheese before adding peaches. Gluten-Free: Use a gluten-free pastry crust. 🧊 Storage & Reheating
Storage:
Store tartlets in an airtight container at room temperature for 1 day, or in the fridge for up to 3 days. Reheating:
Reheat in a 300°F oven for 5–7 minutes to restore crispness. Microwave individual tartlets for 10–15 seconds for a softer texture. ❓ 10 Frequently Asked Questions
1. Can I use canned or frozen peaches?
Yes! Just be sure to drain well and pat dry to prevent sogginess. 2. Can I use homemade crust?
Absolutely — a flaky butter crust works beautifully. 3. Can I make them in advance?
Yes, bake and cool, then store in the fridge. Reheat before serving. 4. What other fruits can I use?
Try apples, pears, plums, or berries with the same base recipe. 5. How do I prevent the tartlets from getting soggy?
Sprinkle a little cornstarch or almond flour on the crust before adding filling. 6. Can I make these vegan?
Use vegan puff pastry and skip the egg wash or use plant-based milk. 7. Can I make a larger tart instead?
Yes! Use the same filling in a tart pan with one whole pastry sheet. 8. Do I need to peel the peaches?
It’s optional. Peeling creates a smoother texture, but unpeeled peaches work fine. 9. Can I add a glaze?
Yes! Brush with apricot jam or peach preserves after baking for shine. 10. Are these freezer-friendly?
You can freeze baked tartlets and reheat in the oven for 10 minutes before serving. 💡 Pro Tips
Use ripe but firm peaches for best flavor and texture. Don’t overload with filling — too much juice = soggy crust. Bake on parchment paper to avoid sticking and easy cleanup. Let tartlets cool slightly before serving — the filling sets better. For added flair, sprinkle with turbinado sugar before baking. 🏁 Conclusion
These Easy Peach Tartlets are a celebration of summer's sweetest fruit, wrapped in golden pastry and perfect for every occasion. They’re quick to make, gorgeous to serve, and even better to eat. 🥧✨ Whether you’re impressing guests at a brunch or just treating yourself to something homemade and peachy, this recipe delivers freshness, comfort, and pure joy in every bite. 🍑