Ingredients
Equipment
Method
Step 1. Make the Quick Danish Dough
- In a large bowl, whisk together 2 cups flour, 2 tbsp sugar, and ½ tsp salt.
- Add 1 cup cold cubed butter. Cut into the flour using a pastry cutter or fork until pea-sized crumbs form.
- Stir in ½ cup sour cream, 1 egg yolk, and 2 tbsp cold water until dough starts to come together.
- Shape into a rough rectangle, wrap in plastic, and chill 1 hour.
Step 2. Roll and Fold Dough
- On a floured surface, roll dough into a 10x15-inch rectangle.
- Fold dough in thirds like a letter. Rotate dough 90 degrees, then roll out again to 10x15 inches.
- Repeat folding and rolling 2 more times (3 folds total), chilling dough 15 minutes between each fold if it becomes too soft.
- Wrap and chill dough for at least 30 minutes before shaping.
Step 3. Make the Cream Cheese Filling
- In a small bowl, mix until smooth:
- 4 oz cream cheese
- 3 tbsp sugar
- ½ tsp vanilla extract
Step 4. Shape the Danishes
- Roll chilled dough into a 12x12-inch square, about ¼-inch thick.
- Cut into 9 squares (4x4 inches each).
- Create shapes:
- Pinwheel – Cut slits from each corner toward center; fold every other point inward.
- Envelope – Fold corners to center, pressing gently.
- Basket – Fold edges to make a border.
- Place on a parchment-lined baking sheet.
Step 5. Fill the Danishes
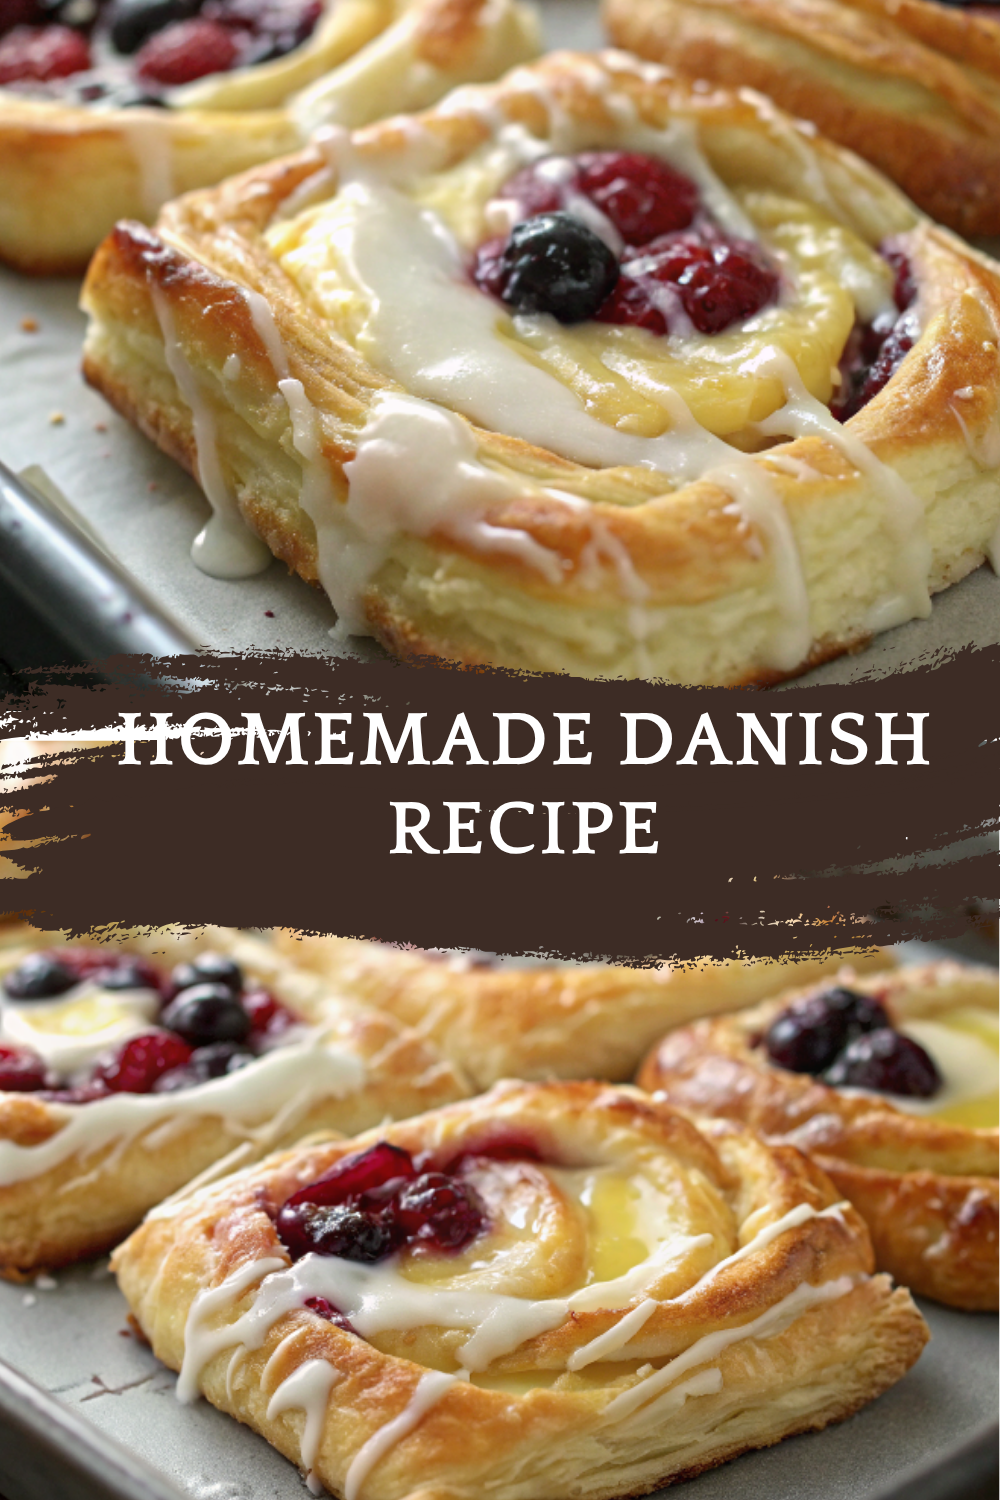
- Spoon 1–2 tsp cream cheese filling or fruit preserves in the center of each shape.
- Optional: Top with fresh berries.
Step 6. Egg Wash and Bake
- Whisk 1 egg with 1 tbsp milk.
- Brush pastries lightly with egg wash.
- Chill pastries in fridge 15 minutes while oven preheats to 400°F (200°C).
- Bake 15–18 minutes, until puffed and golden brown.
Step 7. Make the Glaze
- Whisk together ½ cup powdered sugar with 1–2 tbsp milk until smooth.
- Add ½ tsp vanilla extract if desired.
Step 8. Glaze and Serve
- Let pastries cool 5 minutes on baking sheet.
- Drizzle glaze over warm or cooled Danishes.
- Serve fresh!
Notes
🧊 Storage & Reheating
Room temperature: Store in airtight container for up to 1 day. Refrigerator: Store up to 4 days; reheat in oven at 300°F for 5 minutes. Freezer: Freeze baked pastries up to 2 months; reheat in oven before serving. 🥄 Variations
Almond Danish: Spread with almond paste and top with sliced almonds. Apple Danish: Use spiced apple slices and caramel drizzle. Chocolate Danish: Add chocolate chips or Nutella to center. Savory Danish: Fill with cream cheese and herbs or cooked bacon. Mini Danishes: Cut dough into 2-inch squares for bite-sized treats. ❓ 10 FAQs
1. Can I use puff pastry instead of homemade dough?
Yes—store-bought puff pastry makes a great shortcut. 2. Why is my dough tough?
Overworking dough or not using cold ingredients can make it tough. 3. Can I make the dough ahead?
Absolutely—store in fridge up to 2 days or freeze up to 1 month. 4. Do I have to do the folding steps?
Yes—folding creates flaky layers that make Danishes light and crisp. 5. How do I keep fillings from leaking?
Don’t overfill and chill shaped Danishes before baking. 6. Can I make these gluten-free?
Yes—use a gluten-free 1:1 flour blend, but texture will differ. 7. Can I double the recipe?
Yes—make two batches or divide dough into multiple discs. 8. Can I skip the glaze?
Definitely—the pastries are delicious without it or you can dust with powdered sugar. 9. How do I get golden brown pastries?
Don’t skip egg wash—it adds shine and color. 10. What’s the best way to shape Danishes?
Experiment with pinwheels, envelopes, and braids; each looks beautiful! 🏁 Conclusion
This Homemade Danish Recipe brings bakery-quality pastries to your kitchen with buttery, flaky layers and endless possibilities for sweet or savory fillings. Easy to customize, impressive to serve, and unbelievably delicious, these Danishes will quickly become your favorite weekend baking project.