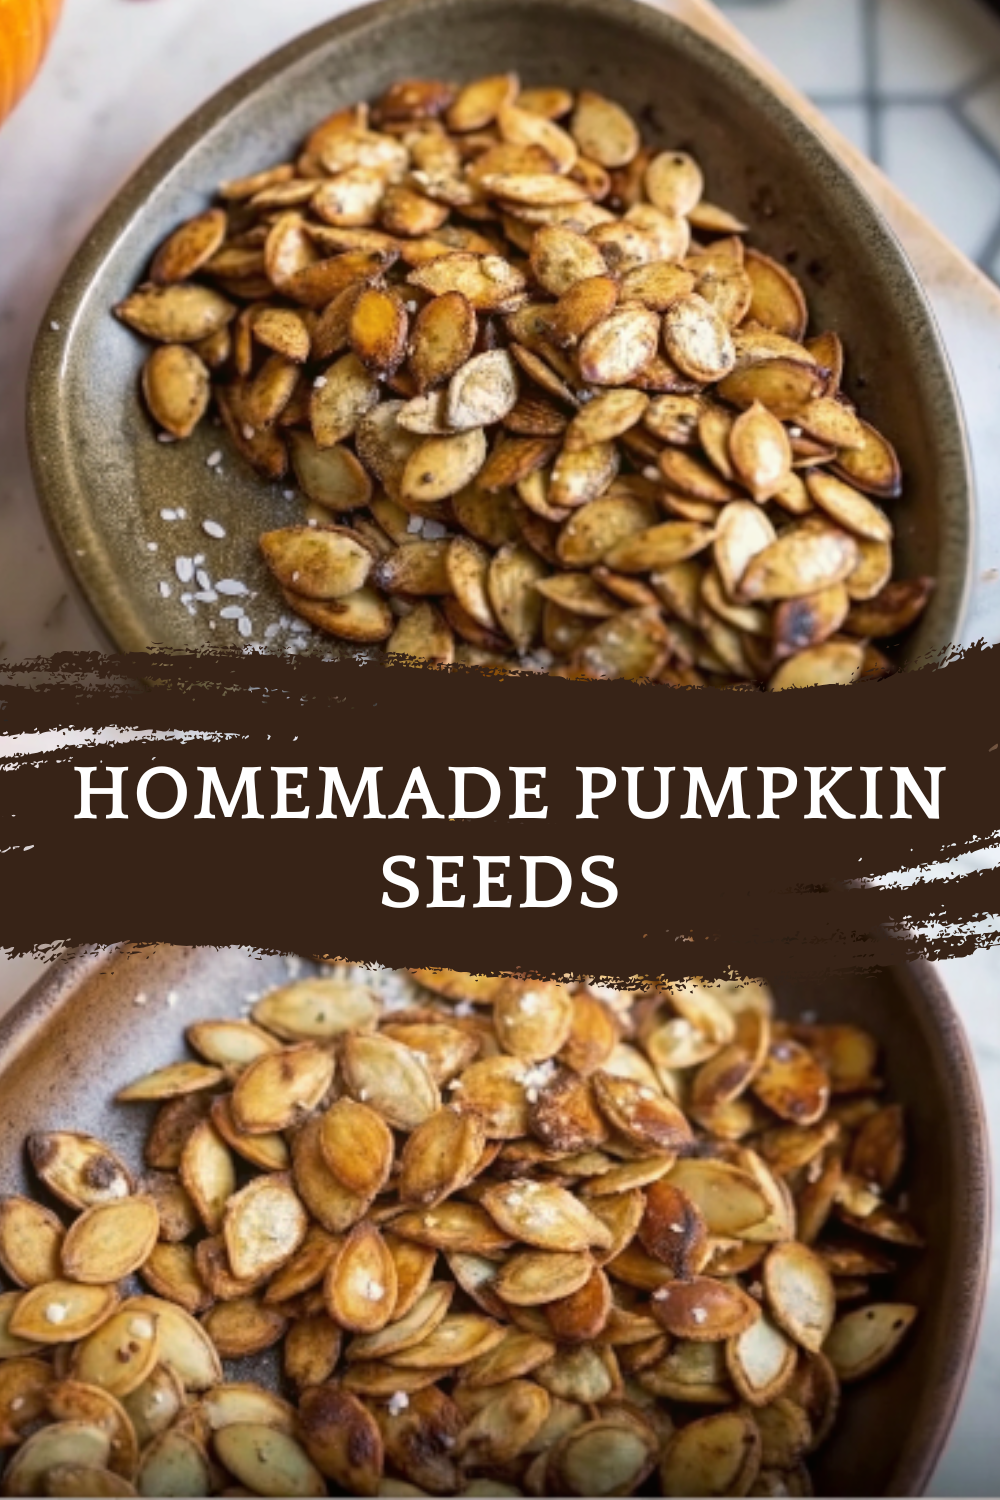
Ingredients
Equipment
Method
Step 1 – Clean the seeds
- Scoop seeds out of your pumpkin.
- Place them in a colander and rinse thoroughly to remove pulp.
- Pat dry with a towel or let air-dry for 30 minutes (dry seeds = crispier roast).
Step 2 – Preheat the oven
- Preheat oven to 350°F (175°C).
- Line a baking sheet with parchment paper.
Step 3 – Season the seeds
- Toss pumpkin seeds with olive oil, salt, and any spices of choice in a large bowl.
Step 4 – Roast
- Spread seeds in a single layer on the baking sheet.
- Bake for 20–25 minutes, stirring halfway through, until golden brown and crunchy.
Step 5 – Cool & enjoy
- Remove from oven and allow to cool.
- Enjoy warm, or store for later snacking.
Notes
🧊 Storage & Reheating
Room Temperature: Store in an airtight container for up to 1 week.
Refrigerator: Keeps fresh for up to 2 weeks.
Freezer: Freeze for up to 2 months. Thaw before eating.
Reheating: Re-crisp in the oven at 300°F (150°C) for 5 minutes.
🥄 Variations
Classic Salted: Just olive oil and sea salt.
Spicy Seeds: Add cayenne pepper or chili powder.
Sweet Cinnamon Sugar: Toss with sugar, cinnamon, and a drizzle of maple syrup.
Garlic Parmesan: Add garlic powder before baking, then toss with Parmesan afterward.
Smoky BBQ: Use smoked paprika, onion powder, and a pinch of brown sugar.
Herb Blend: Add dried rosemary, thyme, or oregano for a savory twist.
❓ 10 FAQs
1. Do I need to peel pumpkin seeds before roasting?
No, the shells become crispy and edible after roasting. 2. Can I use store-bought raw pumpkin seeds?
Yes, they work perfectly. 3. Why are my seeds chewy instead of crunchy?
They may not have dried completely before roasting. 4. Do I need to boil pumpkin seeds first?
Optional — boiling in salted water softens the shells, but it’s not necessary. 5. Can I make them without oil?
Yes, but they won’t be as crispy. Use a light cooking spray instead. 6. Can I use butter instead of olive oil?
Yes, butter adds a richer flavor. 7. How do I know when they’re done?
They’ll look golden brown and smell toasty. 8. Are homemade pumpkin seeds healthy?
Yes! They’re full of protein, healthy fats, and minerals. 9. Can I roast other squash seeds the same way?
Yes, butternut and acorn squash seeds also work well. 10. Can I season them after baking?
Yes, but oil helps seasonings stick better before roasting. 🏁 Conclusion Homemade pumpkin seeds are the perfect way to enjoy a crunchy, flavorful, and healthy snack while making the most out of pumpkin season. With endless seasoning possibilities, they’re fun to customize and easy to prepare. Once you try this recipe, you’ll never throw pumpkin seeds away again — instead, you’ll look forward to roasting a fresh batch every fall.
