Ingredients
Equipment
Method
Step 1. Prep the Oven and Pan
- Preheat your oven to 325°F (160°C).
- Line a 12-cup muffin tin with paper or foil cupcake liners. Set aside.
Step 2. Make the Graham Crust
- In a bowl, combine graham cracker crumbs, sugar, and melted butter.
- Mix until it resembles wet sand.
- Spoon about 1 tbsp of mixture into each liner and press down firmly with the back of a spoon or a small cup.
- Bake for 5 minutes, then remove from oven and set aside to cool slightly.
Step 3. Make the Cheesecake Batter
- In a large bowl, beat softened cream cheese until smooth and fluffy.
- Add honey and beat until fully combined and creamy.
- Mix in eggs, one at a time, followed by vanilla and sour cream.
- Sprinkle in flour and a pinch of salt, then mix just until smooth.
- Avoid overmixing to prevent cracks.
Step 4. Fill and Bake
- Divide the cheesecake batter evenly among the 12 liners (they should be about ¾ full).
- Bake at 325°F for 18–22 minutes, or until the centers are set but slightly jiggly.
- Turn off the oven, crack the door slightly, and let them cool for 10 minutes inside.
- Remove and cool to room temp, then chill in the fridge for at least 2 hours (or overnight).
Step 5. Prepare the Peach Topping
- In a small saucepan over medium heat, combine diced peaches, honey, lemon juice, and vanilla.
- Simmer gently for 5–7 minutes, stirring occasionally.
- For a thicker sauce, stir in the cornstarch slurry and cook for another 1–2 minutes until thickened.
- Remove from heat and let cool completely before topping.
Step 6. Assemble and Garnish
- Spoon a generous tablespoon of the peach topping over each chilled cheesecake cupcake.
- Optional: Garnish with a drizzle of honey, chopped mint, or a dollop of whipped cream.
Notes
🧊 Storage & Reheating
Refrigerator: Store in an airtight container for up to 5 days. Freezer: Freeze without peach topping, tightly wrapped, for up to 2 months. Thaw overnight in the fridge before topping and serving. Best served chilled for optimal flavor and texture. 🥄 Variations
Biscoff Crust: Swap graham crackers for crushed Biscoff cookies for extra spice and sweetness. Cream Cheese + Mascarpone: For a silkier filling, use half mascarpone. Berry Twist: Substitute peaches with blueberries, strawberries, or a mixed berry compote. No-Bake Option: Make crust and filling, then freeze for 1 hour and chill overnight instead of baking (note: texture will be softer). Nut Crust: Combine ground almonds or pecans with graham crumbs for a nuttier base. ❓ 10 FAQs
1. Can I use canned peaches?
Yes—just make sure they are in juice, not syrup. Drain well and dice. 2. Can I make this recipe no-bake?
Yes, but it will be softer. Freeze the cheesecakes for 1–2 hours to help them set before chilling. 3. Do I have to use honey?
No, you can use maple syrup or sugar, but honey gives these cupcakes a beautiful floral depth. 4. Can I use a mini muffin tin for bite-size versions?
Yes! Reduce the baking time to about 10–12 minutes and use mini cupcake liners. 5. Can I use low-fat cream cheese?
You can, but the texture will be slightly less rich and creamy. 6. What if I don’t have sour cream?
Plain Greek yogurt is a great substitute. 7. How do I avoid cracks?
Avoid overmixing, and bake low and slow. Let them cool gradually to prevent sudden temperature changes. 8. Can I add peach puree to the filling?
Yes, add ¼ cup peach purée, but reduce the sour cream slightly to avoid excess moisture. 9. Are these freezer friendly?
Absolutely—just freeze before topping for the best results. 10. Can I make this into a full-size cheesecake?
Yes—use an 8-inch springform pan and bake at 325°F for 50–60 minutes. 🏁 Conclusion
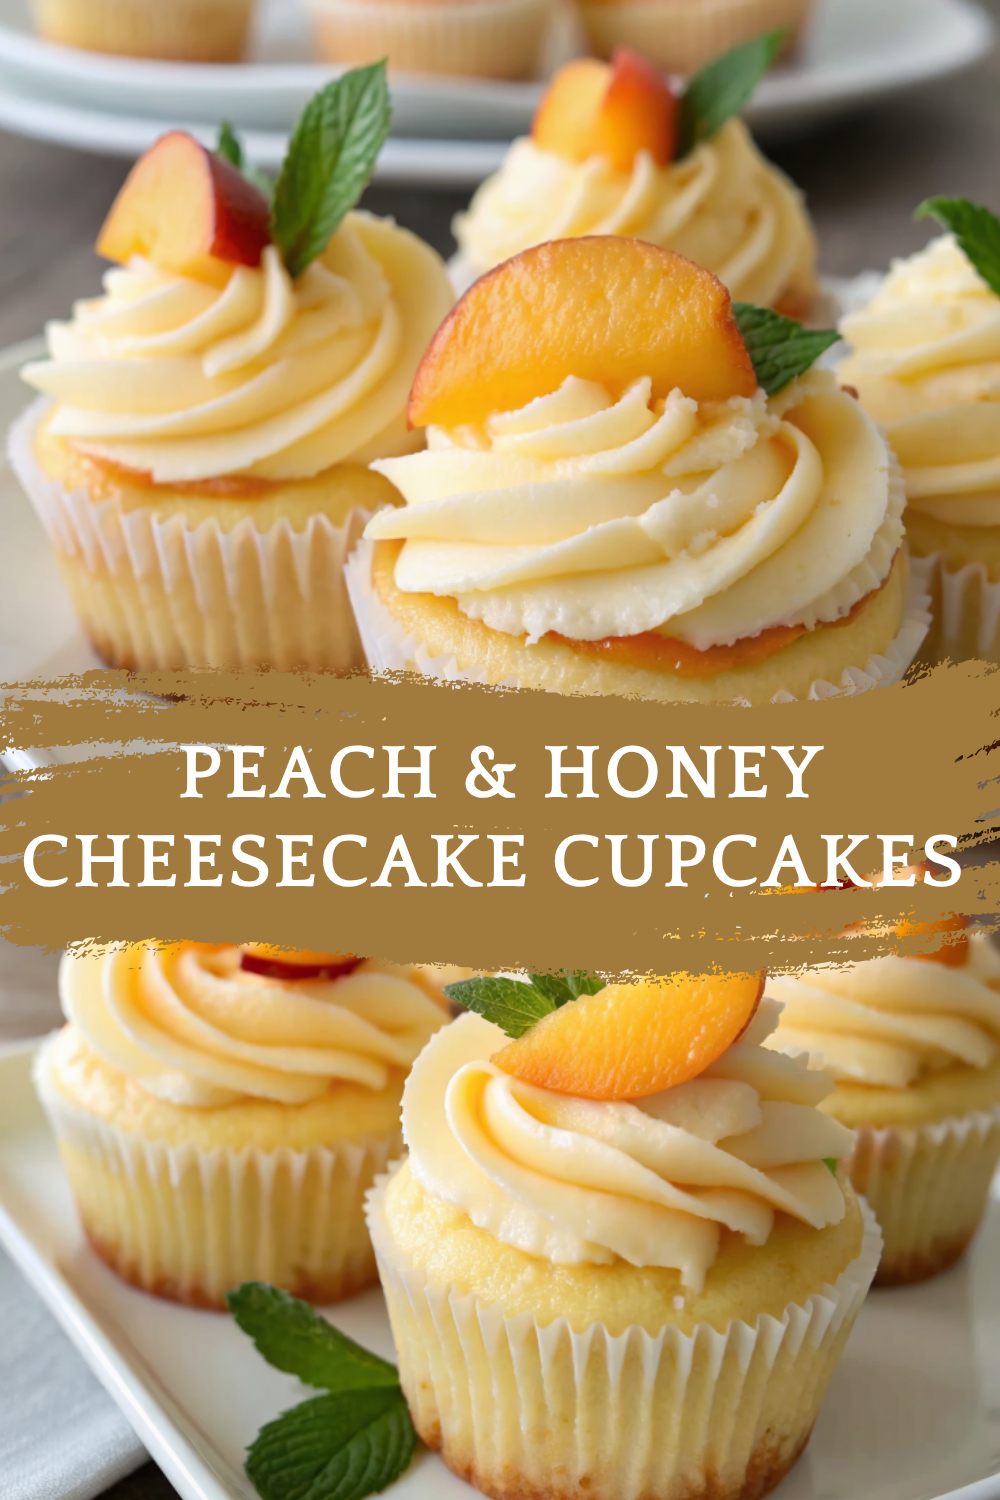
These Peach & Honey Cheesecake Cupcakes are the perfect blend of creamy indulgence and fruity freshness. With a hint of honey in every bite and a luscious peach topping, they bring summer flavor to your dessert table in the cutest form possible. Make them for brunch, a special celebration, or keep them in the fridge for whenever your sweet tooth strikes. Trust us—these won’t last long!
Refrigerator: Store in an airtight container for up to 5 days. Freezer: Freeze without peach topping, tightly wrapped, for up to 2 months. Thaw overnight in the fridge before topping and serving. Best served chilled for optimal flavor and texture. 🥄 Variations
Biscoff Crust: Swap graham crackers for crushed Biscoff cookies for extra spice and sweetness. Cream Cheese + Mascarpone: For a silkier filling, use half mascarpone. Berry Twist: Substitute peaches with blueberries, strawberries, or a mixed berry compote. No-Bake Option: Make crust and filling, then freeze for 1 hour and chill overnight instead of baking (note: texture will be softer). Nut Crust: Combine ground almonds or pecans with graham crumbs for a nuttier base. ❓ 10 FAQs
1. Can I use canned peaches?
Yes—just make sure they are in juice, not syrup. Drain well and dice. 2. Can I make this recipe no-bake?
Yes, but it will be softer. Freeze the cheesecakes for 1–2 hours to help them set before chilling. 3. Do I have to use honey?
No, you can use maple syrup or sugar, but honey gives these cupcakes a beautiful floral depth. 4. Can I use a mini muffin tin for bite-size versions?
Yes! Reduce the baking time to about 10–12 minutes and use mini cupcake liners. 5. Can I use low-fat cream cheese?
You can, but the texture will be slightly less rich and creamy. 6. What if I don’t have sour cream?
Plain Greek yogurt is a great substitute. 7. How do I avoid cracks?
Avoid overmixing, and bake low and slow. Let them cool gradually to prevent sudden temperature changes. 8. Can I add peach puree to the filling?
Yes, add ¼ cup peach purée, but reduce the sour cream slightly to avoid excess moisture. 9. Are these freezer friendly?
Absolutely—just freeze before topping for the best results. 10. Can I make this into a full-size cheesecake?
Yes—use an 8-inch springform pan and bake at 325°F for 50–60 minutes. 🏁 Conclusion
These Peach & Honey Cheesecake Cupcakes are the perfect blend of creamy indulgence and fruity freshness. With a hint of honey in every bite and a luscious peach topping, they bring summer flavor to your dessert table in the cutest form possible. Make them for brunch, a special celebration, or keep them in the fridge for whenever your sweet tooth strikes. Trust us—these won’t last long!