Ingredients
Equipment
Method
- Ready to make the easiest Halloween treat ever? Here’s how to do it:
Step 1: Prep the Baking Sheet
- Line a baking sheet with parchment paper.
- Set aside a clean workspace for assembling your bark.
Step 2: Melt the White Chocolate
- Place the white chocolate in a microwave-safe bowl.
- Microwave in 20-second intervals, stirring between each, until fully melted and smooth.
- Be careful not to overheat or burn.
- Alternatively, melt the chocolate using a double boiler on the stovetop for more control.
Step 3: Assemble the Bark
- Pour the melted white chocolate onto the lined baking sheet.
- Use a spatula to spread it into an even layer (about 1/4 inch thick).
Step 4: Add the Toppings
- While the chocolate is still warm:
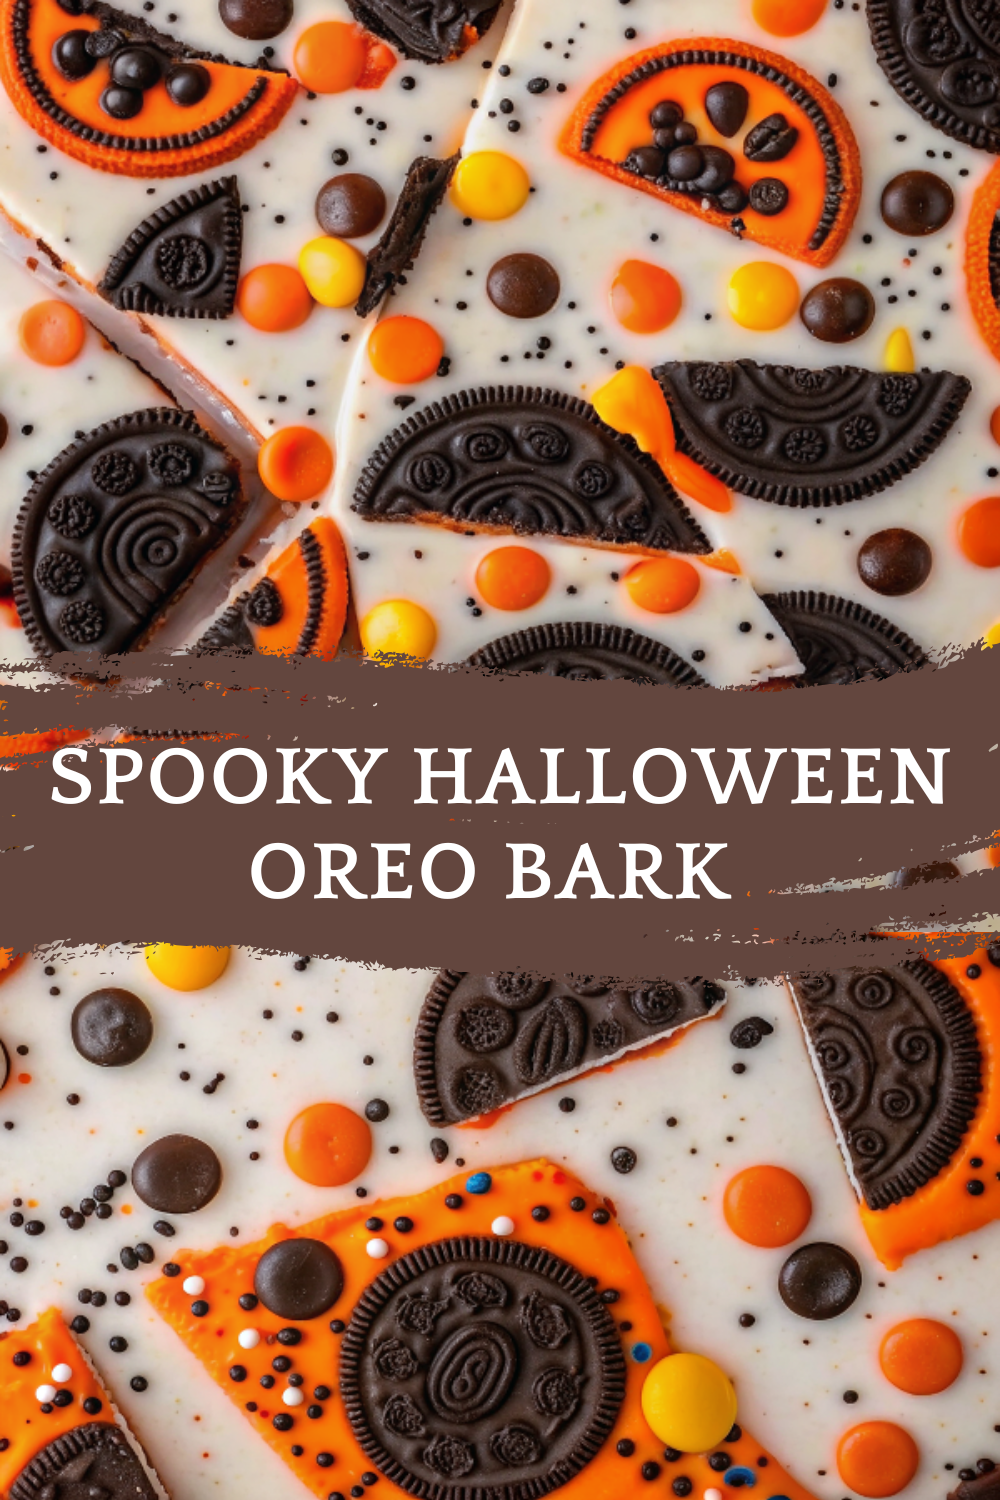
- Scatter the crushed Halloween Oreos over the top.
- Sprinkle on the Reese’s Pieces.
- Add Halloween sprinkles generously.
- Finish with candy eyeballs for a spooky effect.
- Press toppings gently into the chocolate so they stick when it hardens.
Step 5: Chill
- Place the tray in the refrigerator for 30–40 minutes, or until the chocolate is fully set and firm.
Step 6: Break Into Pieces
- Once hardened, break the bark into rough chunks using your hands or a knife.
- Serve on a Halloween platter or pack in treat bags!
Notes
🧊 Storage & Reheating
This bark is make-ahead friendly and stores very well.
Room Temperature:
Store in an airtight container for up to 1 week in a cool, dry place.
Refrigerator:
Store in the fridge for up to 2 weeks to keep chocolate firm.
Freezer:
Freeze in a sealed container for up to 2 months.
Thaw at room temperature for 10 minutes before serving.
Avoid storing near heat or moisture to prevent chocolate from blooming.
🥄 Variations
Want to switch things up? Try these fun variations of the classic Halloween bark:
Milk or Dark Chocolate Base: Use milk or dark chocolate instead of white for a rich, spooky twist.
Candy Corn Add-In: Love it or hate it — candy corn is festive and colorful.
Nut-Free Option: Swap Reese’s for nut-free candies or gummies.
Drizzle Effect: Melt a bit of orange or black candy melts and drizzle on top.
Salty-Sweet: Add mini pretzels, popcorn, or crushed potato chips for contrast.
Gummy Worms: Add for a “creepy crawly” effect — great for kids!
❓ 10 FAQs
Can I use white chocolate chips?
Yes, but choose high-quality ones that melt smoothly. Add a teaspoon of coconut oil if needed. How do I prevent the chocolate from seizing?
Melt slowly, stir often, and avoid getting water in the bowl. Are candy eyeballs safe for kids?
Yes — they’re edible and widely available in baking aisles. Can I use homemade cookies instead of Oreos?
Sure! Just make sure they’re crisp and not too soft. What’s a peanut-free candy I can use instead of Reese’s?
Use mini M&Ms, Sixlets, Skittles, or candy-coated sunflower seeds. Is this bark gluten-free?
Use gluten-free sandwich cookies and ensure all candy is GF-certified. Do I need to temper the chocolate?
No — this recipe is designed to be easy. Just chill to set. Can I double the batch?
Absolutely! Use a larger tray or make two batches side by side. Can kids help make this?
Yes! It’s a perfect no-bake, hands-on recipe for little chefs. Can I use candy melts instead of white chocolate?
Yes — they’re easy to melt, come in fun colors, and are great for themed desserts. 🏁 Conclusion This Spooky Halloween Oreo Bark is the kind of treat that turns a regular October day into a full-on celebration. With its colorful toppings, creamy white chocolate, and playful design, it’s a guaranteed hit at every Halloween gathering — and you won’t believe how easy it is to make. Whether you’re handing them out in treat bags, adding them to a dessert table, or just nibbling them while watching spooky movies, these sweet bites are always a scream. No baking, no stress — just melt, mix, and enjoy. Happy Halloween!
