Ingredients
Equipment
Method
- Get ready to bring your spooky mummies to life — step by step!
Step 1: Preheat the Oven
- Preheat your oven to 375°F (190°C).
- Line your baking sheet with parchment paper or a silicone mat to prevent sticking.
Step 2: Prepare the Puff Pastry
- Unroll your puff pastry sheet onto a lightly floured surface or cutting board.
- Using a sharp knife or pizza cutter, slice the pastry into thin strips about ½ inch wide.
- These strips will become your mummy “bandages.”
Step 3: Wrap the Sausages
- Pat the sausages dry with paper towels (this helps the pastry stick better).
- Starting at one end, wrap a strip of pastry around each sausage, slightly overlapping as you go. Leave small gaps so the sausage peeks through — just like a mummy’s bandages!
- Make sure to leave a little space near the top for the “face” where the edible eyes will go later.
- Pro Tip: Don’t wrap too tightly — the pastry will expand as it bakes.
Step 4: Brush with Egg Wash
- In a small bowl, whisk the egg to make your egg wash.
- Use a pastry brush to lightly coat each wrapped sausage.
- This will give your mummy bandages that perfect golden color once baked.
Step 5: Bake the Mummies
- Place the wrapped sausages on your prepared baking sheet.
- Bake for 18–20 minutes, or until the pastry is puffed, crisp, and golden brown.
- Remove from the oven and let cool for a few minutes before decorating.
Step 6: Add the Eyes
- Once slightly cooled, give your mummies their spooky faces! 👀
- Attach edible eyes using small dabs of ketchup, mustard, or cream cheese as “glue.”
- If making DIY eyes, cut tiny circles of cheese for the whites and place a small piece of black olive in the center for pupils.
- Optional: For extra fun, draw tiny mouths or stitches with a dab of mustard or olive paste!
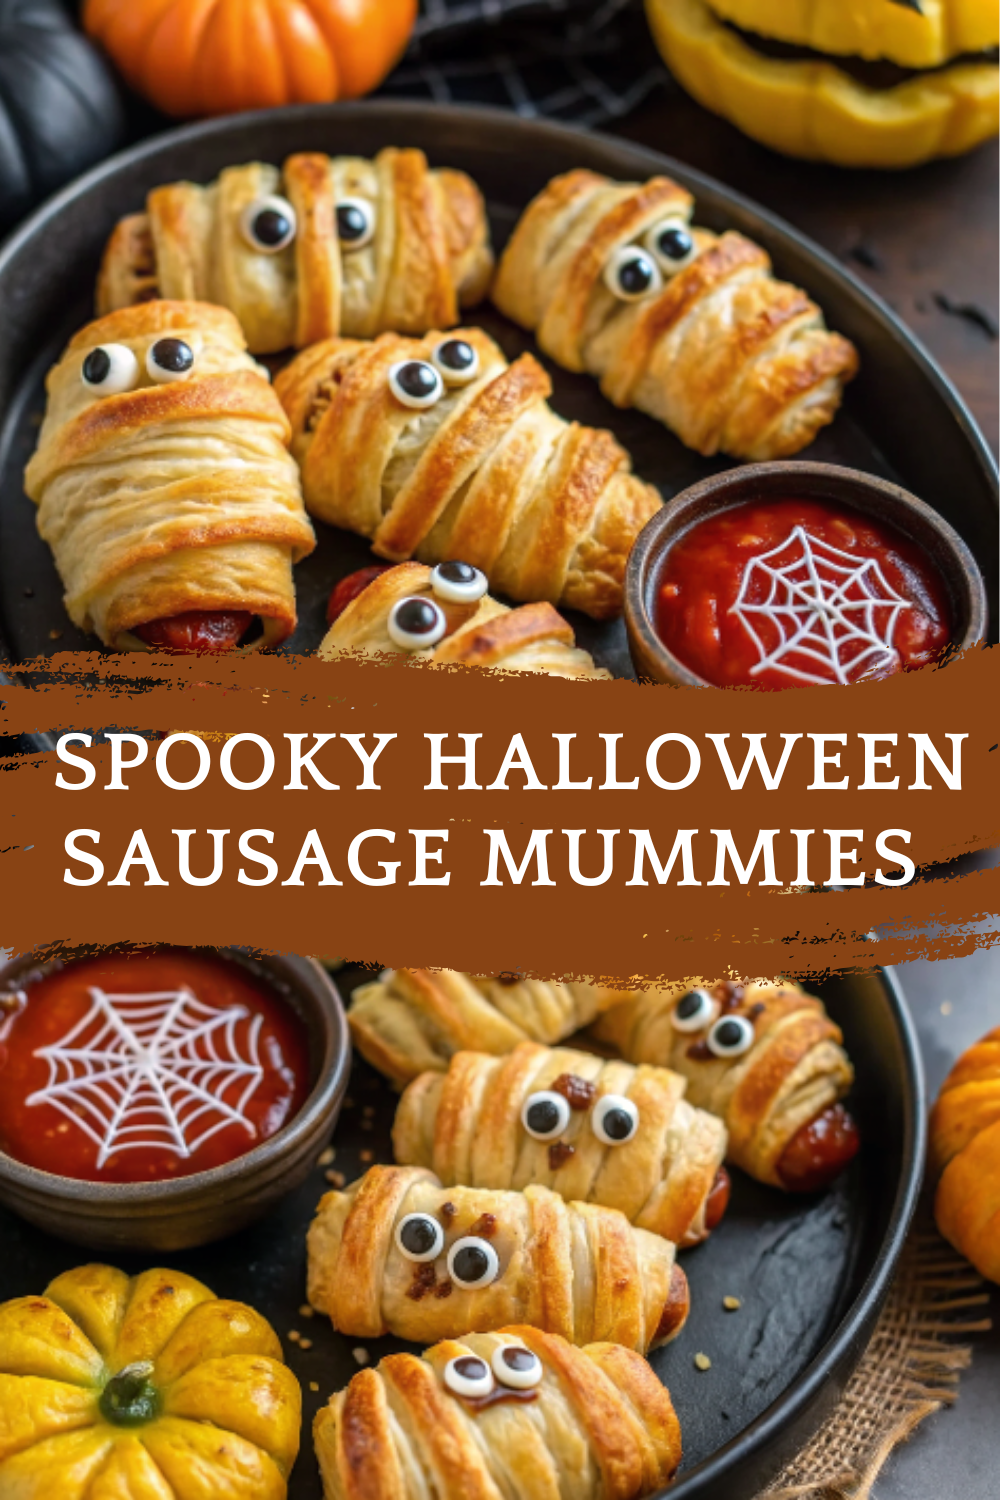
Step 7: Serve with “Spider Sauce”
- Arrange your mummies on a platter.
- In a small bowl, swirl tomato ketchup or mustard into a spider web design using a toothpick or skewer.
- Serve the mummies with this spooky “spider web” dip for the ultimate Halloween presentation!
Notes
🧊 Storage & Reheating
If you’re making these ahead of time or saving leftovers, here’s how to store them:
Refrigerator: Store cooled mummies in an airtight container for up to 3 days.
Freezer: Freeze unbaked wrapped sausages on a tray, then transfer to a freezer bag for up to 1 month.
To Reheat:
Oven: Bake at 350°F (175°C) for 10 minutes.
Air Fryer: Heat at 350°F (175°C) for 4–5 minutes.
Microwave: 20–30 seconds for quick reheating (note: pastry will be softer).
🥄 Variations
Make your spooky sausages even more fun with these creative twists:
Cheesy Mummies: Add a thin slice of mozzarella under the pastry for gooey cheese inside.
Veggie Mummies: Use vegetarian sausages or carrot sticks wrapped in pastry for a meat-free version.
Mini Mummy Bites: Cut sausages in half before wrapping for bite-sized snacks.
Spicy Mummies: Brush inside the pastry with a touch of chili sauce before wrapping.
Sweet & Savory Mummies: Add a thin drizzle of honey mustard inside before baking.
Monster Mummies: Use green olives for creepy, monster-like eyes.
Witch’s Finger Mummies: Shape pastry strips into fingers and press an almond slice at the tip for a “nail.”
Ghostly Mummies: Wrap pastry around cheese sticks instead of sausages for vegetarian “ghosts.”
Bloody Mummies: Serve with raspberry or chili jam for a sweet-spicy “bloody” dip.
Breakfast Mummies: Use mini breakfast sausages and serve with scrambled eggs for a spooky morning treat!
❓ 10 FAQs
Can I make these mummy sausages ahead of time?
Yes! Assemble and refrigerate unbaked mummies for up to 24 hours, then bake fresh. Can I use different sausages?
Definitely! Chicken, beef, or vegetarian sausages all work perfectly. Can I use crescent roll dough instead of puff pastry?
Yes! Crescent rolls bake up soft and golden — a great alternative. How do I make the eyes stick?
Use a small dab of mustard, ketchup, or cream cheese as glue. Can I air fry them instead of baking?
Yes! Air fry at 350°F (175°C) for 10–12 minutes. How can I make them more colorful?
Brush the pastry with a little food coloring or add poppy seeds for texture. Can I make these gluten-free?
Absolutely — just use gluten-free puff pastry. What’s the best dipping sauce?
Ketchup, mustard, BBQ sauce, or ranch dressing — all kid favorites! Can kids help with this recipe?
Yes! Kids love wrapping the sausages and adding the eyes — it’s a fun Halloween kitchen activity. Can I serve them cold?
They’re best warm, but can be served at room temperature for parties. 🏁 Conclusion These Spooky Halloween Sausage Mummies – Fun & Easy Party Snacks for Kids are the ultimate Halloween finger food! 👻🌭 They’re flaky, buttery, and just creepy enough to make kids giggle and adults smile. With their golden pastry bandages, cute edible eyes, and spooky ketchup “spider” dip, they’re sure to steal the spotlight at your Halloween table. The best part? They’re so simple to make that even beginner bakers can master them. They’re also easy to customize — go spooky, silly, or downright hilarious depending on your Halloween vibe! So this October, let the kids join in on the fun. Roll up your sleeves, grab your puff pastry, and wrap up some frightfully fun mummy sausages that are as tasty as they are adorable. Because Halloween snacks should be spooky… but never scary to make!