Ingredients
Method
Step 1: Crush the Oreos
- Place cookies in a food processor and pulse into fine crumbs.
- Reserve about ½ cup for topping; set the rest aside.
Step 2: Make the Cream Cheese Layer
- In a large bowl, beat cream cheese, butter, and powdered sugar until smooth and fluffy.
Step 3: Prepare Pudding
- In a separate bowl, whisk pudding mix with cold milk until thickened (about 2 minutes).
- Fold in Cool Whip and vanilla extract, mixing until light and creamy.
Step 4: Combine Layers
- Fold the pudding mixture into the cream cheese mixture until well combined and smooth.
Step 5: Assemble the Cake
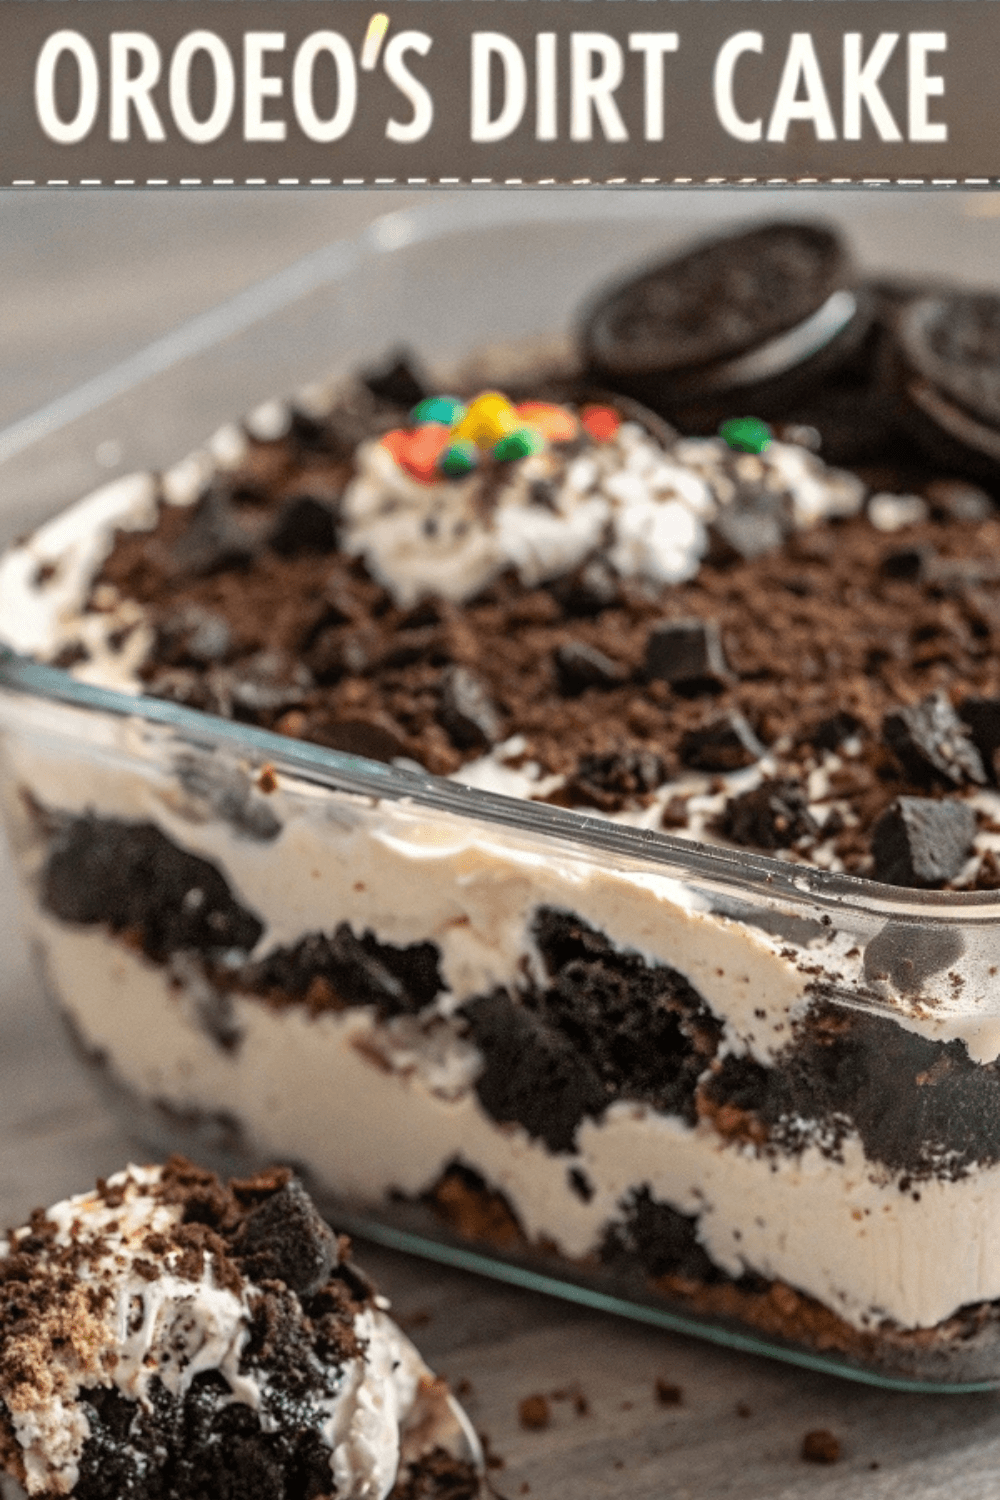
- In a 9x13-inch pan or trifle dish, start with a layer of Oreo crumbs.
- Alternate layers of cream filling and crushed cookies until used up.
- Finish with a thick layer of Oreo crumbs on top.
Step 6: Chill & Serve
- Cover and refrigerate for 4 hours minimum, or overnight for best flavor and texture.
- Add gummy worms or decorations just before serving.
Notes
🥄 Variations
Chocolate Version: Use chocolate pudding instead of vanilla for extra richness. Halloween Twist: Add Halloween Oreos and creepy candy decorations. Berry Dirt Cake: Add a layer of fresh berries between cream and cookie layers. Individual Cups: Perfect for parties—layer in small mason jars or plastic cups. Nutty Crunch: Sprinkle chopped peanuts or almonds between layers for added texture. 🧊 Storage & Reheating
Refrigerator: Store covered for up to 5 days. Freezer: Not ideal for freezing once assembled—it affects the texture. Make Ahead: Can be made 1–2 days in advance. Just wait to add gummy worms until serving. ❓ 10 FAQs
Can I use Double Stuf Oreos?
Yes, though they make the crumbs a bit moister. Can I use homemade whipped cream instead of Cool Whip?
Absolutely! Use about 4½ cups of homemade whipped cream. Do I need to scrape out the Oreo filling?
Nope—use the whole cookie for the best flavor and texture. Can I use chocolate pudding?
Yes, it makes a more chocolatey version that’s just as delicious. Is this safe to leave out at room temp?
No—keep it chilled due to the dairy ingredients. Can I add cream cheese flavoring or extract?
Optional, but vanilla or almond extract pairs well. Will it hold its shape for slicing?
It’s soft and scoopable—not firm like a cake, but it sets beautifully. Can I make this gluten-free?
Yes—use gluten-free sandwich cookies and check pudding brand ingredients. What dish should I use?
A 9×13-inch dish or a trifle bowl both work great. Clear dishes show the layers! Can kids help make this?
Definitely! Crushing cookies and layering the cake is super kid-friendly. 🏁 Conclusion
This Oreo Dirt Cake is everything a no-bake dessert should be—easy, indulgent, nostalgic, and impossible to resist. Whether you’re making it for a party, a potluck, or just because you want to relive your childhood, this creamy, crunchy treat is always a hit. Serve it chilled, pile it high, and don’t be surprised when it disappears in minutes. 🍪💫